Skip to content
OCTOBER 27, 2022
Instagram
Facebook
Youtube
Profile
Fashion
Beauty
Culture
Travel
Food
Entertainment
Human Interest
Menu
Profile
Fashion
Beauty
Culture
Travel
Food
Entertainment
Human Interest
ABOUT US
INQUIRER.NET
BRANDROOM
F&B REPORT
MULTISPORT
NOLISOLI
PREEN
SCOUT
Search
Home
LIFESTYLE.INQ Latest
,
LIFESTYLE.INQ Travel
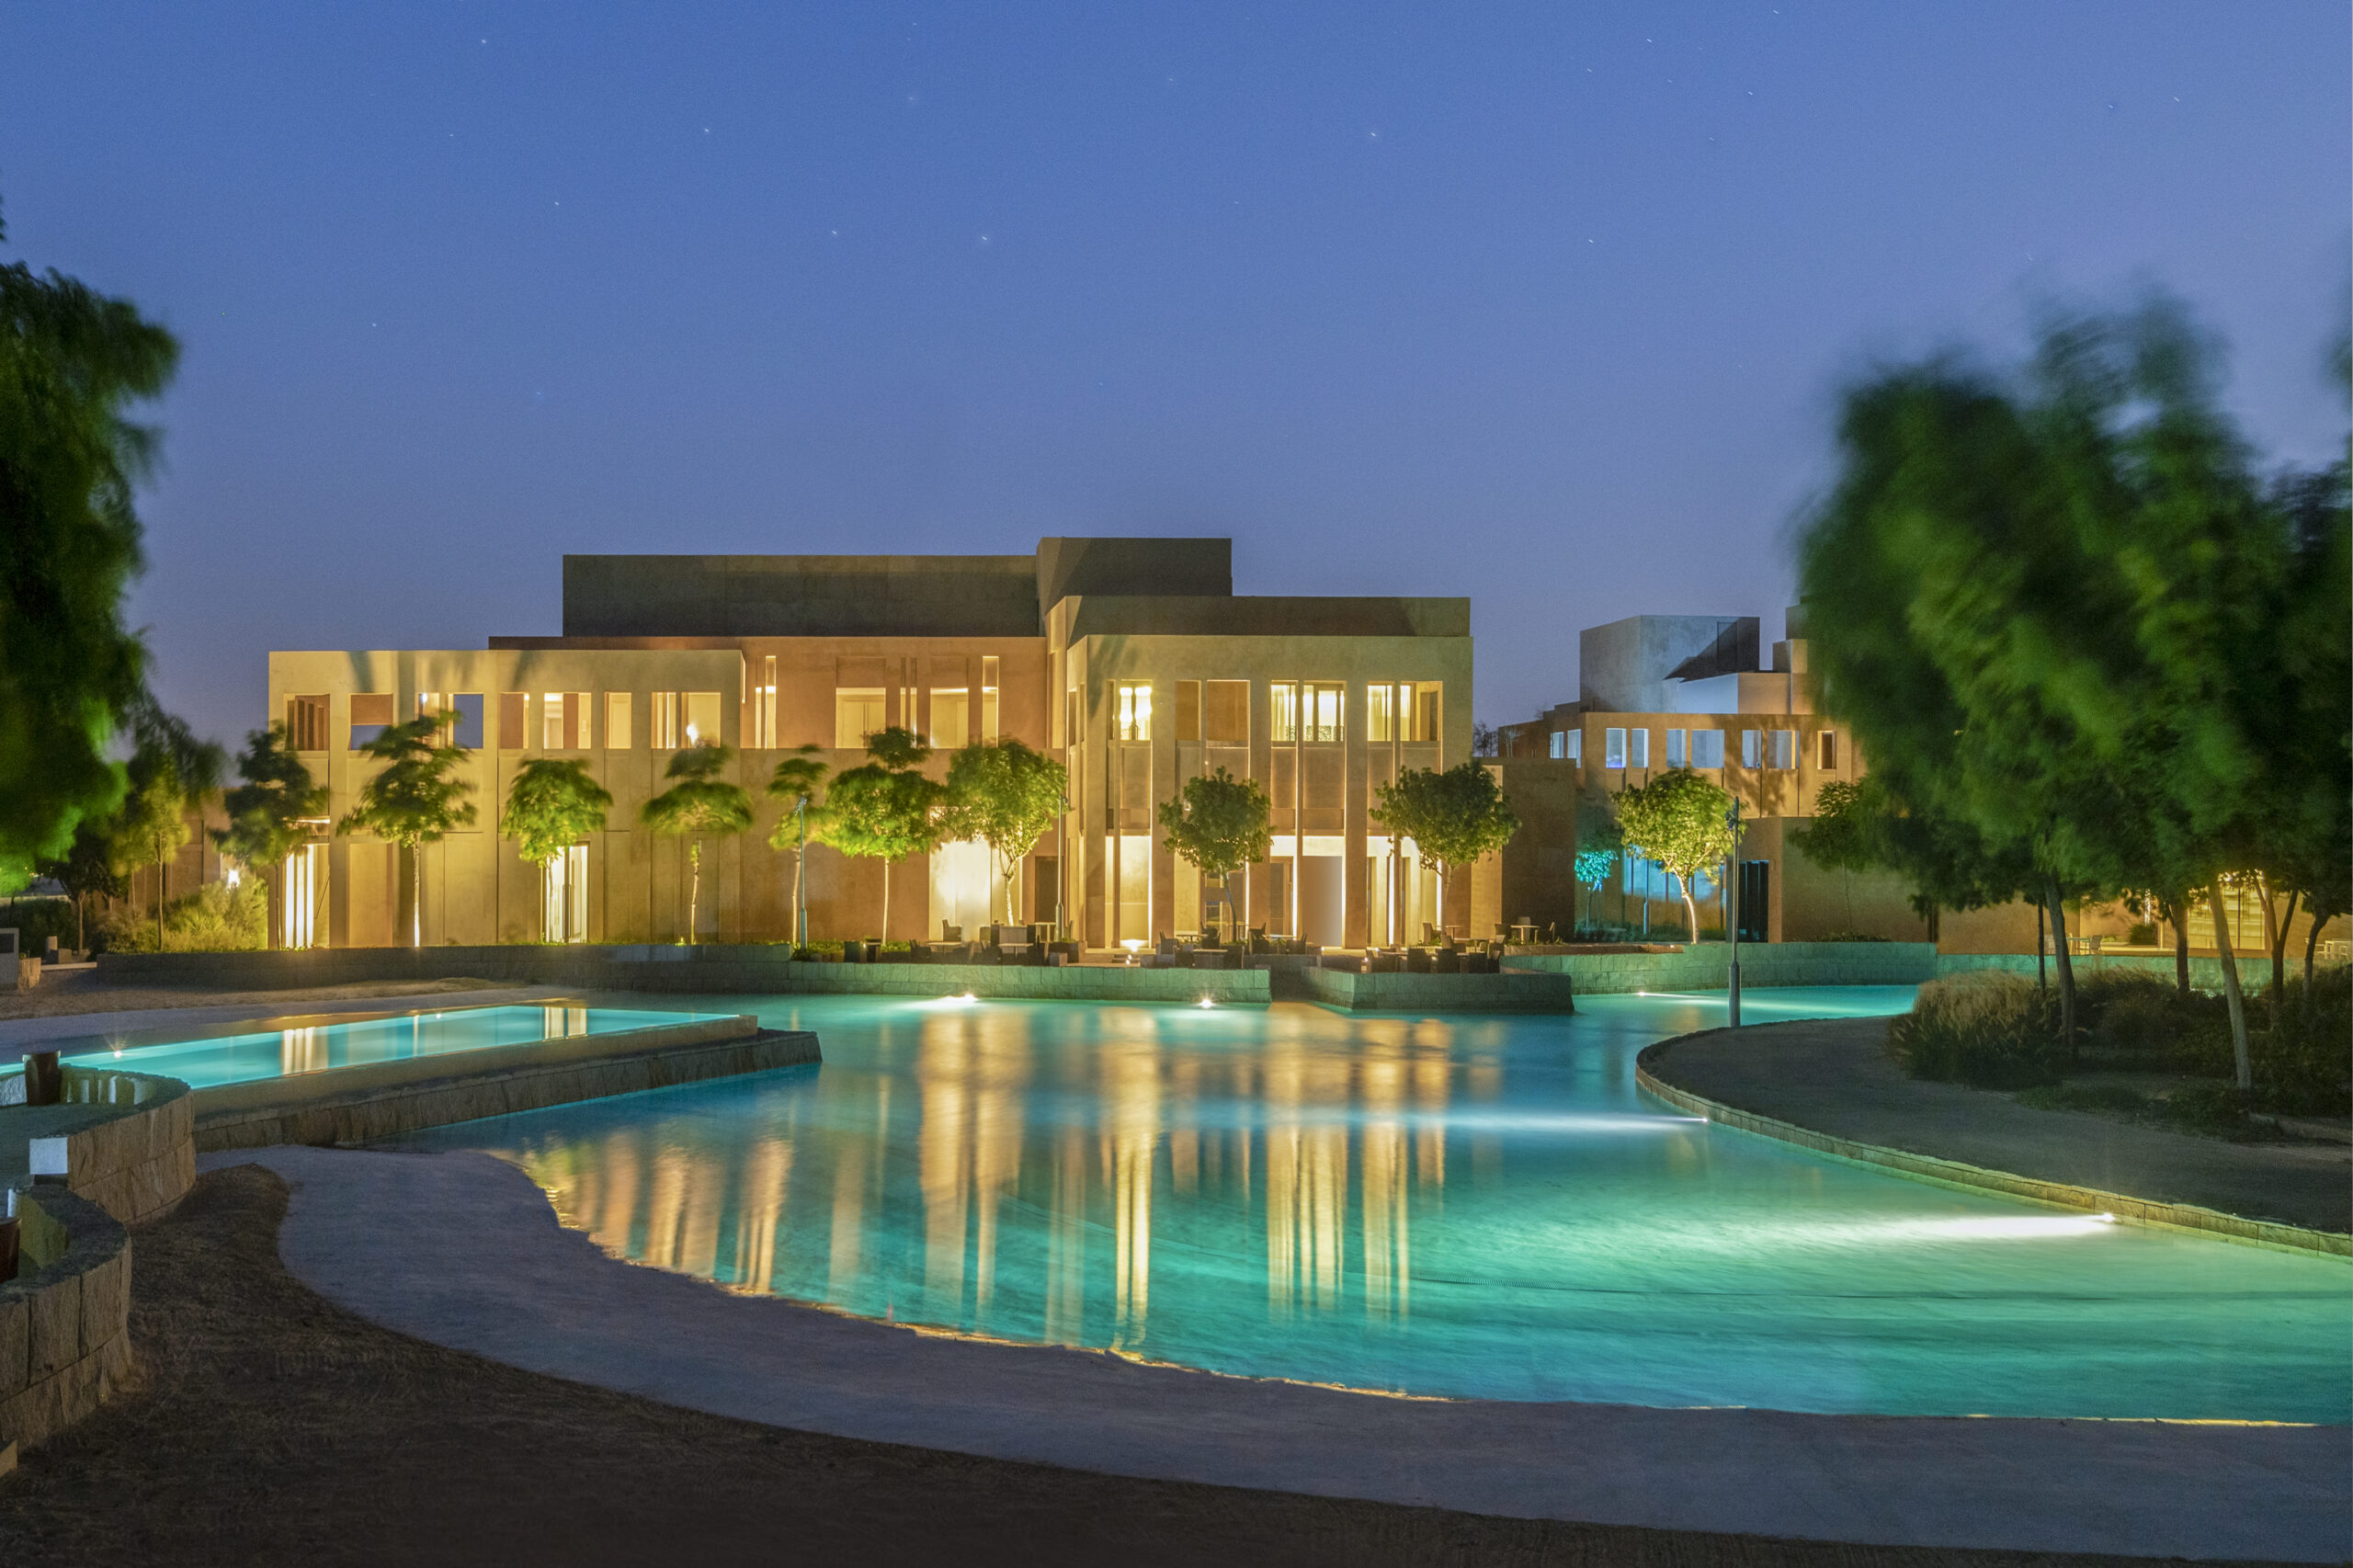
Discover the beauty of the night sky at Zulal Wellness Resort by Chiva-Som
BY
The Lifestyle.INQ Staff
April 25, 2024
6:00 pm
LATEST ARTICLES
LIFESTYLE.INQ Design
,
LIFESTYLE.INQ Latest
Unveiling next-level luxury: Sealy debuts latest mattress innovation with Ballet Philippines
BY
The Lifestyle.INQ Staff
April 25, 2024
5:00 pm
LIFESTYLE.INQ Entertainment
,
LIFESTYLE.INQ Latest
‘Godzilla x Kong: The New Empire’ smashes its way to the top as 2024’s biggest movie in the PH
BY
The Lifestyle.INQ Staff
April 25, 2024
4:12 pm
LIFESTYLE.INQ Fashion
,
LIFESTYLE.INQ Latest
,
LIFESTYLE.INQ Profiles
,
Uncategorized
Nordstrom director Jian de Leon on how community cultivates style
BY
Lala Singian
April 24, 2024
12:42 pm
LIFESTYLE.INQ Latest
,
LIFESTYLE.INQ Ria Recommends
Argentinian Consul Fabricio Sordoni celebrates 36th birthday in Makati
BY
The Lifestyle.INQ Staff
April 23, 2024
6:34 pm
Editor's Picks
LIFESTYLE.INQ Editor's Picks
,
LIFESTYLE.INQ Fashion
,
LIFESTYLE.INQ Latest
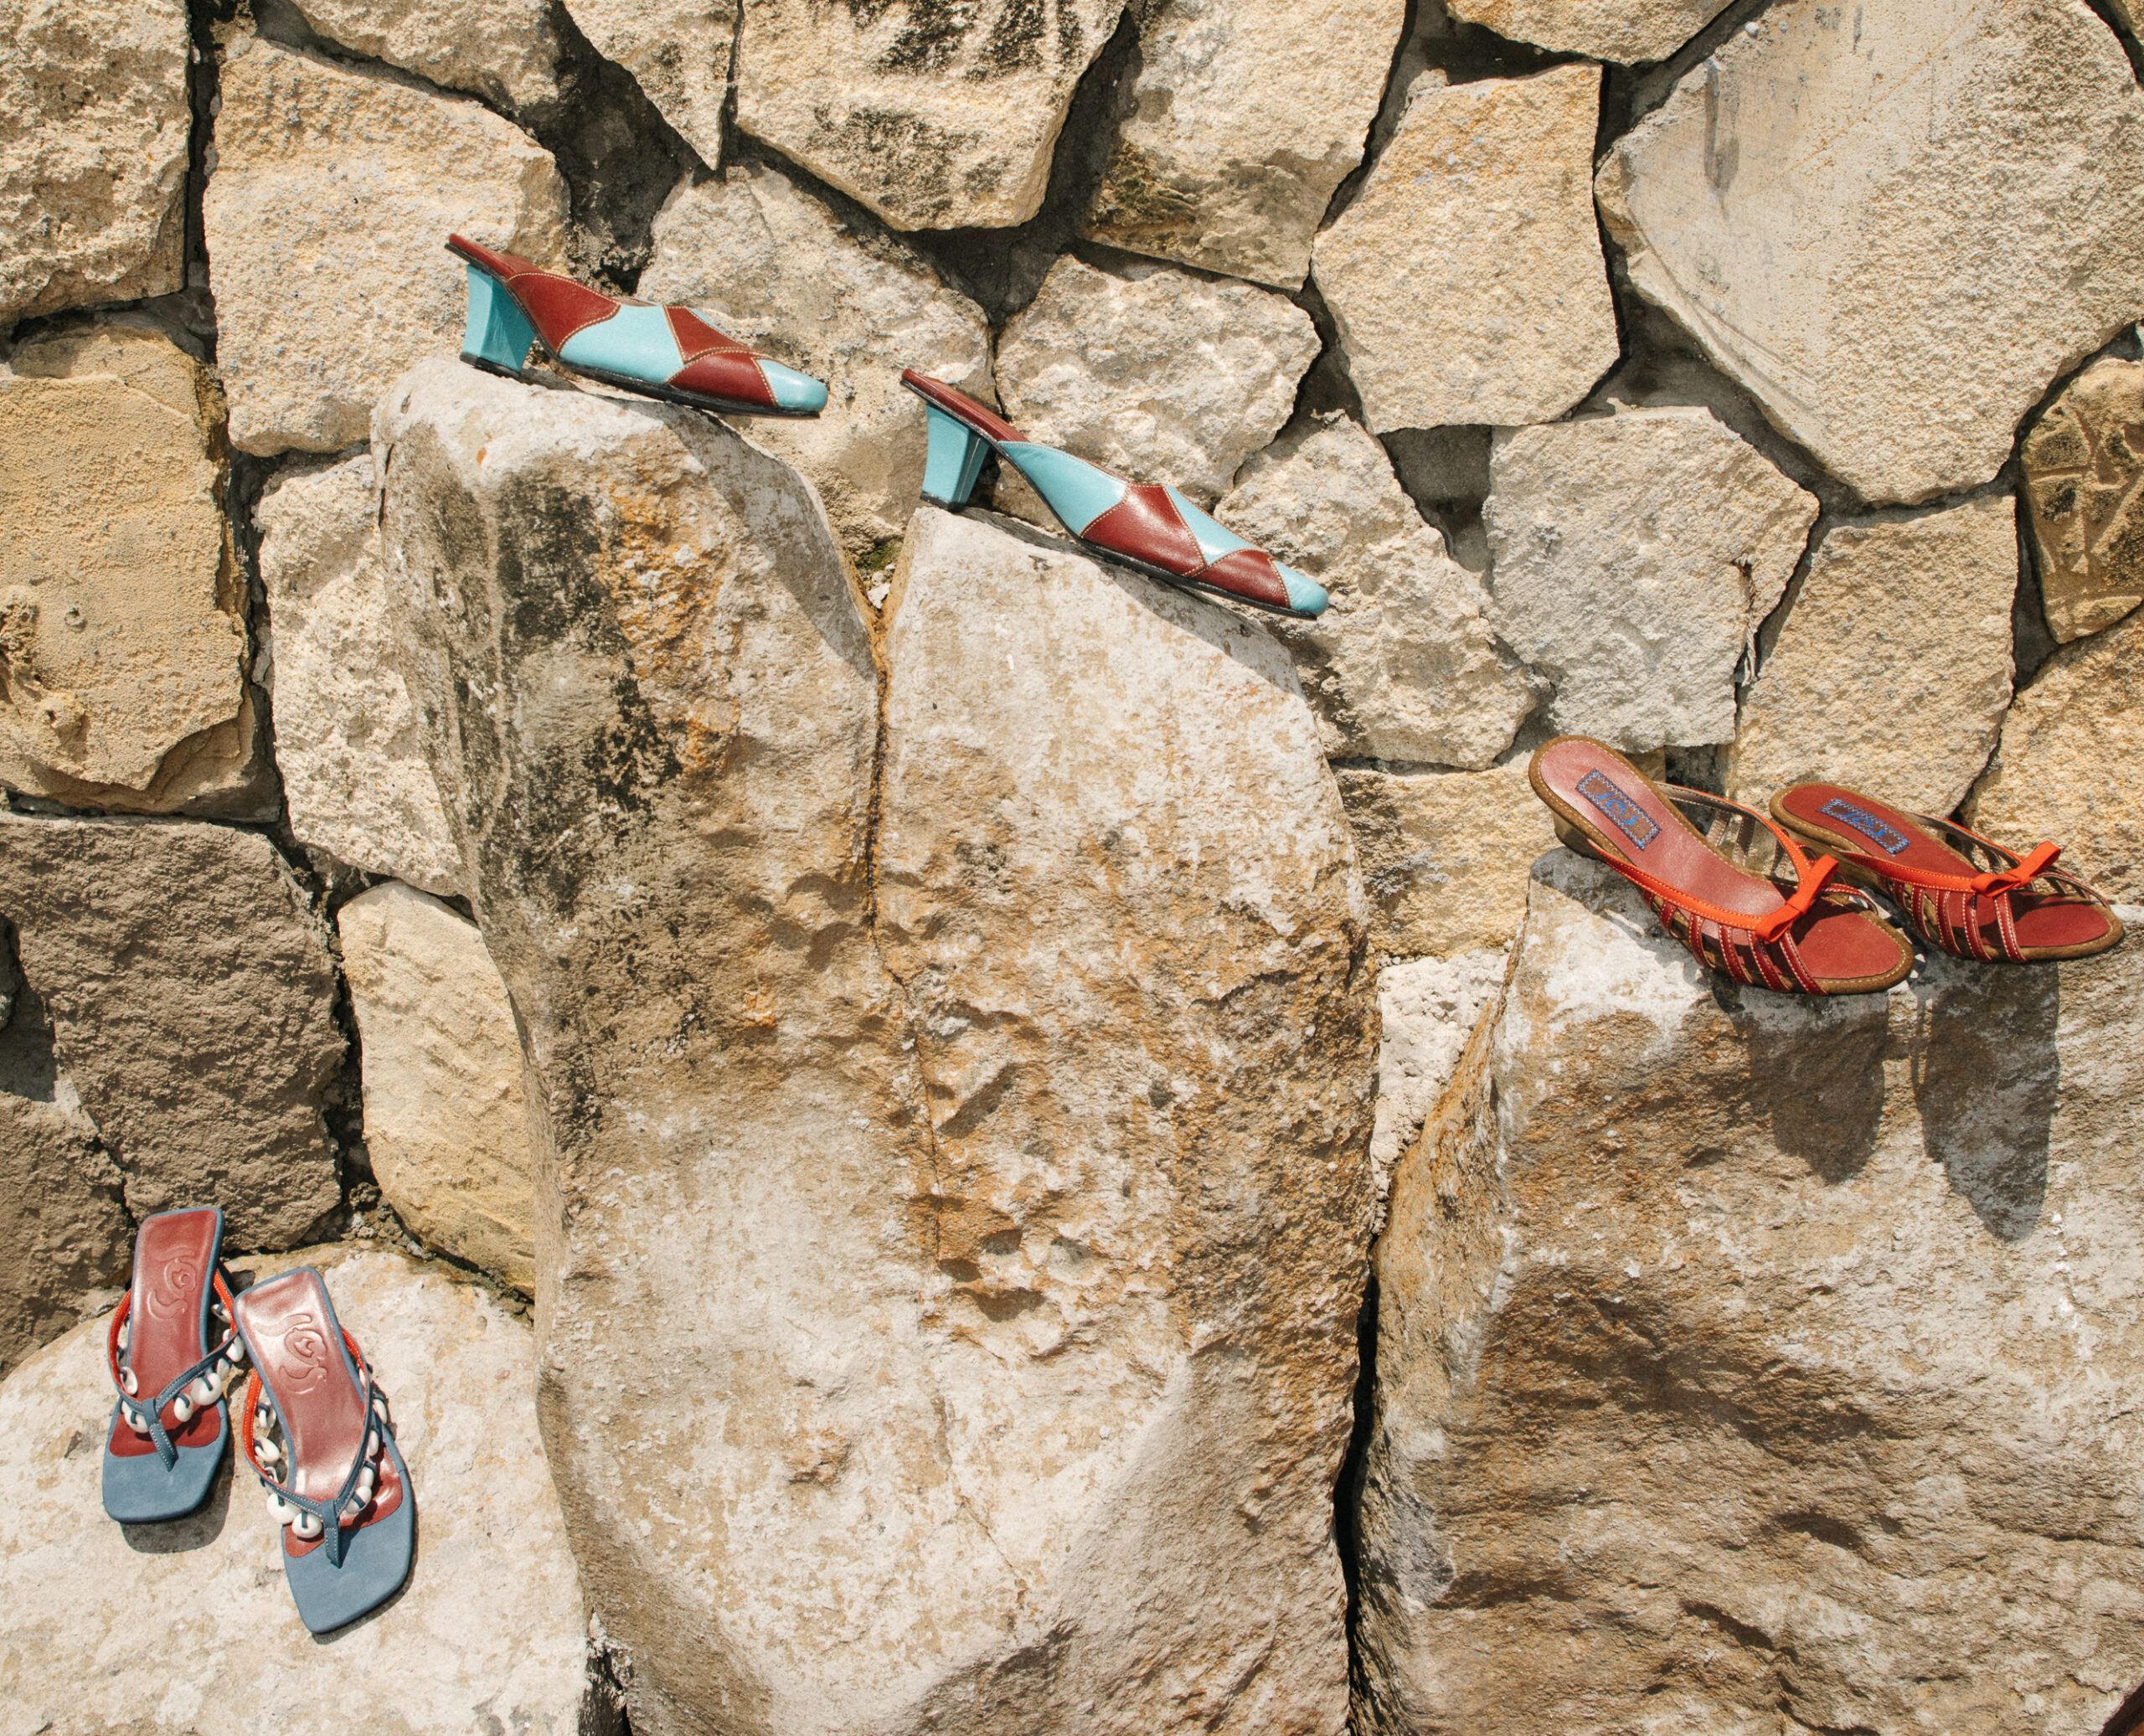
Filipino brands to nail that maximalist summer style
Ashley Valderrama
LIFESTYLE.INQ Editor's Picks
,
LIFESTYLE.INQ Latest
,
LIFESTYLE.INQ Travel
What makes Aman, Aman, what makes Janu, Janu
Maja Olivares-Co
LIFESTYLE.INQ Culture
,
LIFESTYLE.INQ Editor's Picks
,
LIFESTYLE.INQ Latest
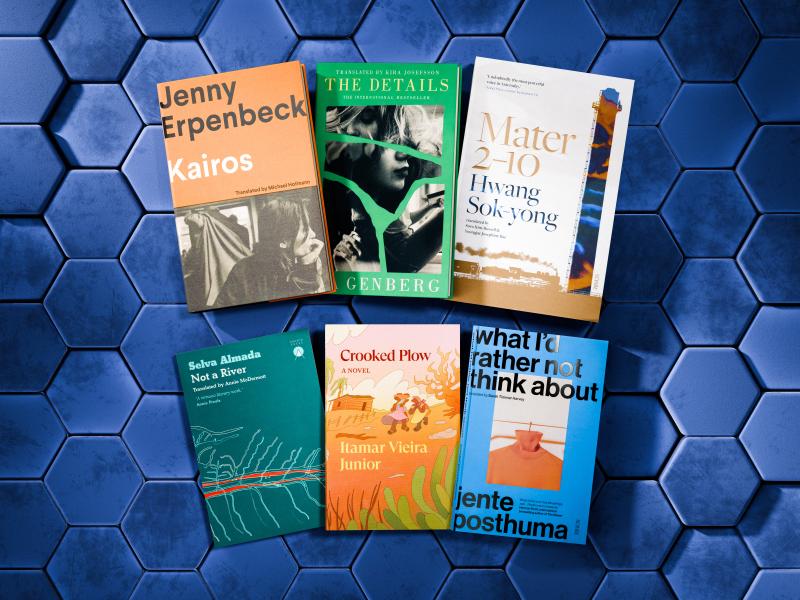
International Booker Prize 2024 shortlist includes ‘implicitly optimistic’ titles from 6 countries
Jan Alyanna G. Tamaray
LIFESTYLE.INQ Art
,
LIFESTYLE.INQ Editor's Picks
,
LIFESTYLE.INQ Latest
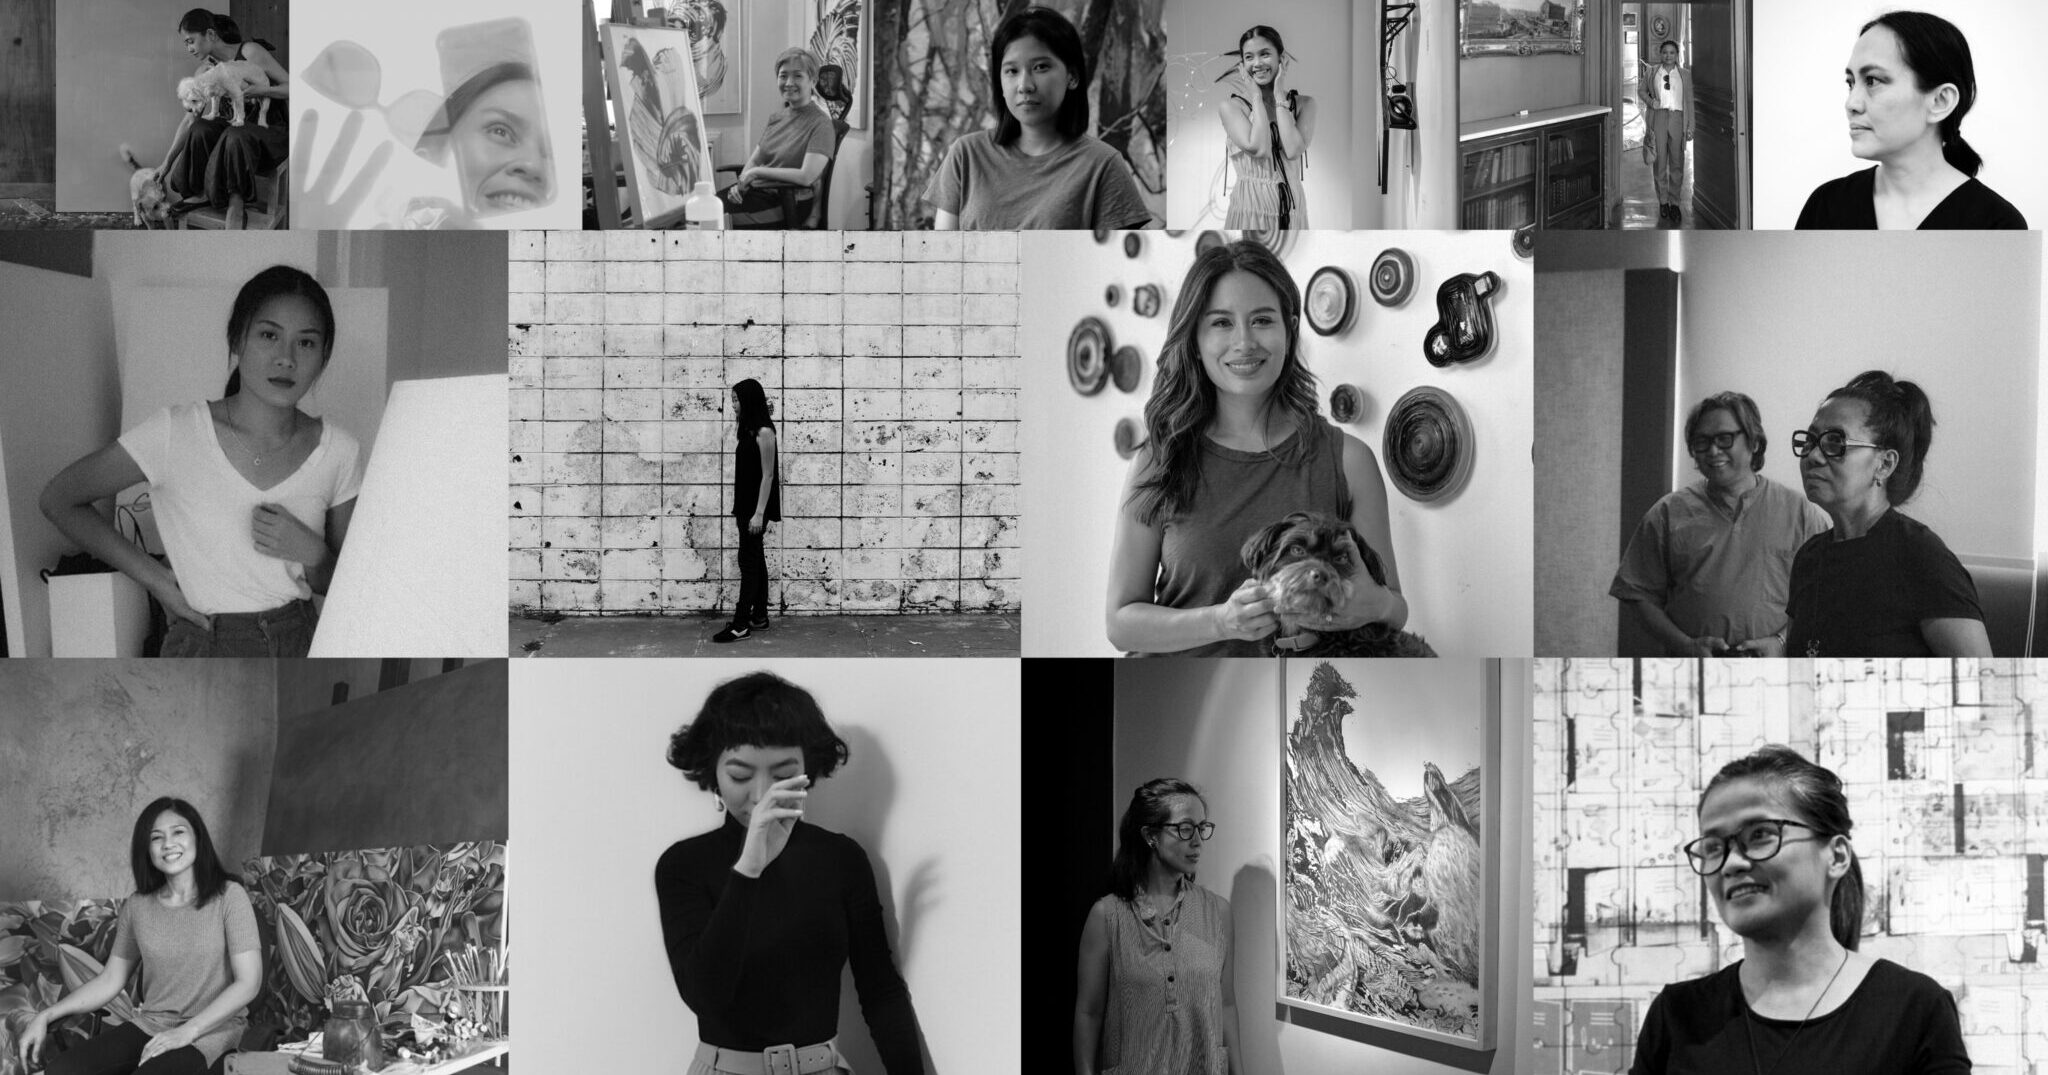
30 women artists, curators, designers, and art educators to watch out for in 2024
Patrick de Veyra
LIFESTYLE.INQ Editor's Picks
,
LIFESTYLE.INQ Entertainment
,
LIFESTYLE.INQ Latest
‘The Zone of Interest’: Condemning apathy in the Third Reich
Hannah Manuel
LIFESTYLE.INQ Editor's Picks
,
LIFESTYLE.INQ Fashion
,
LIFESTYLE.INQ Latest
Jos Mundo builds an artistic and tropical world that is distinctly Filipino
Lala Singian
Previous
Next
Ria Recommends
RIA RECOMMENDS
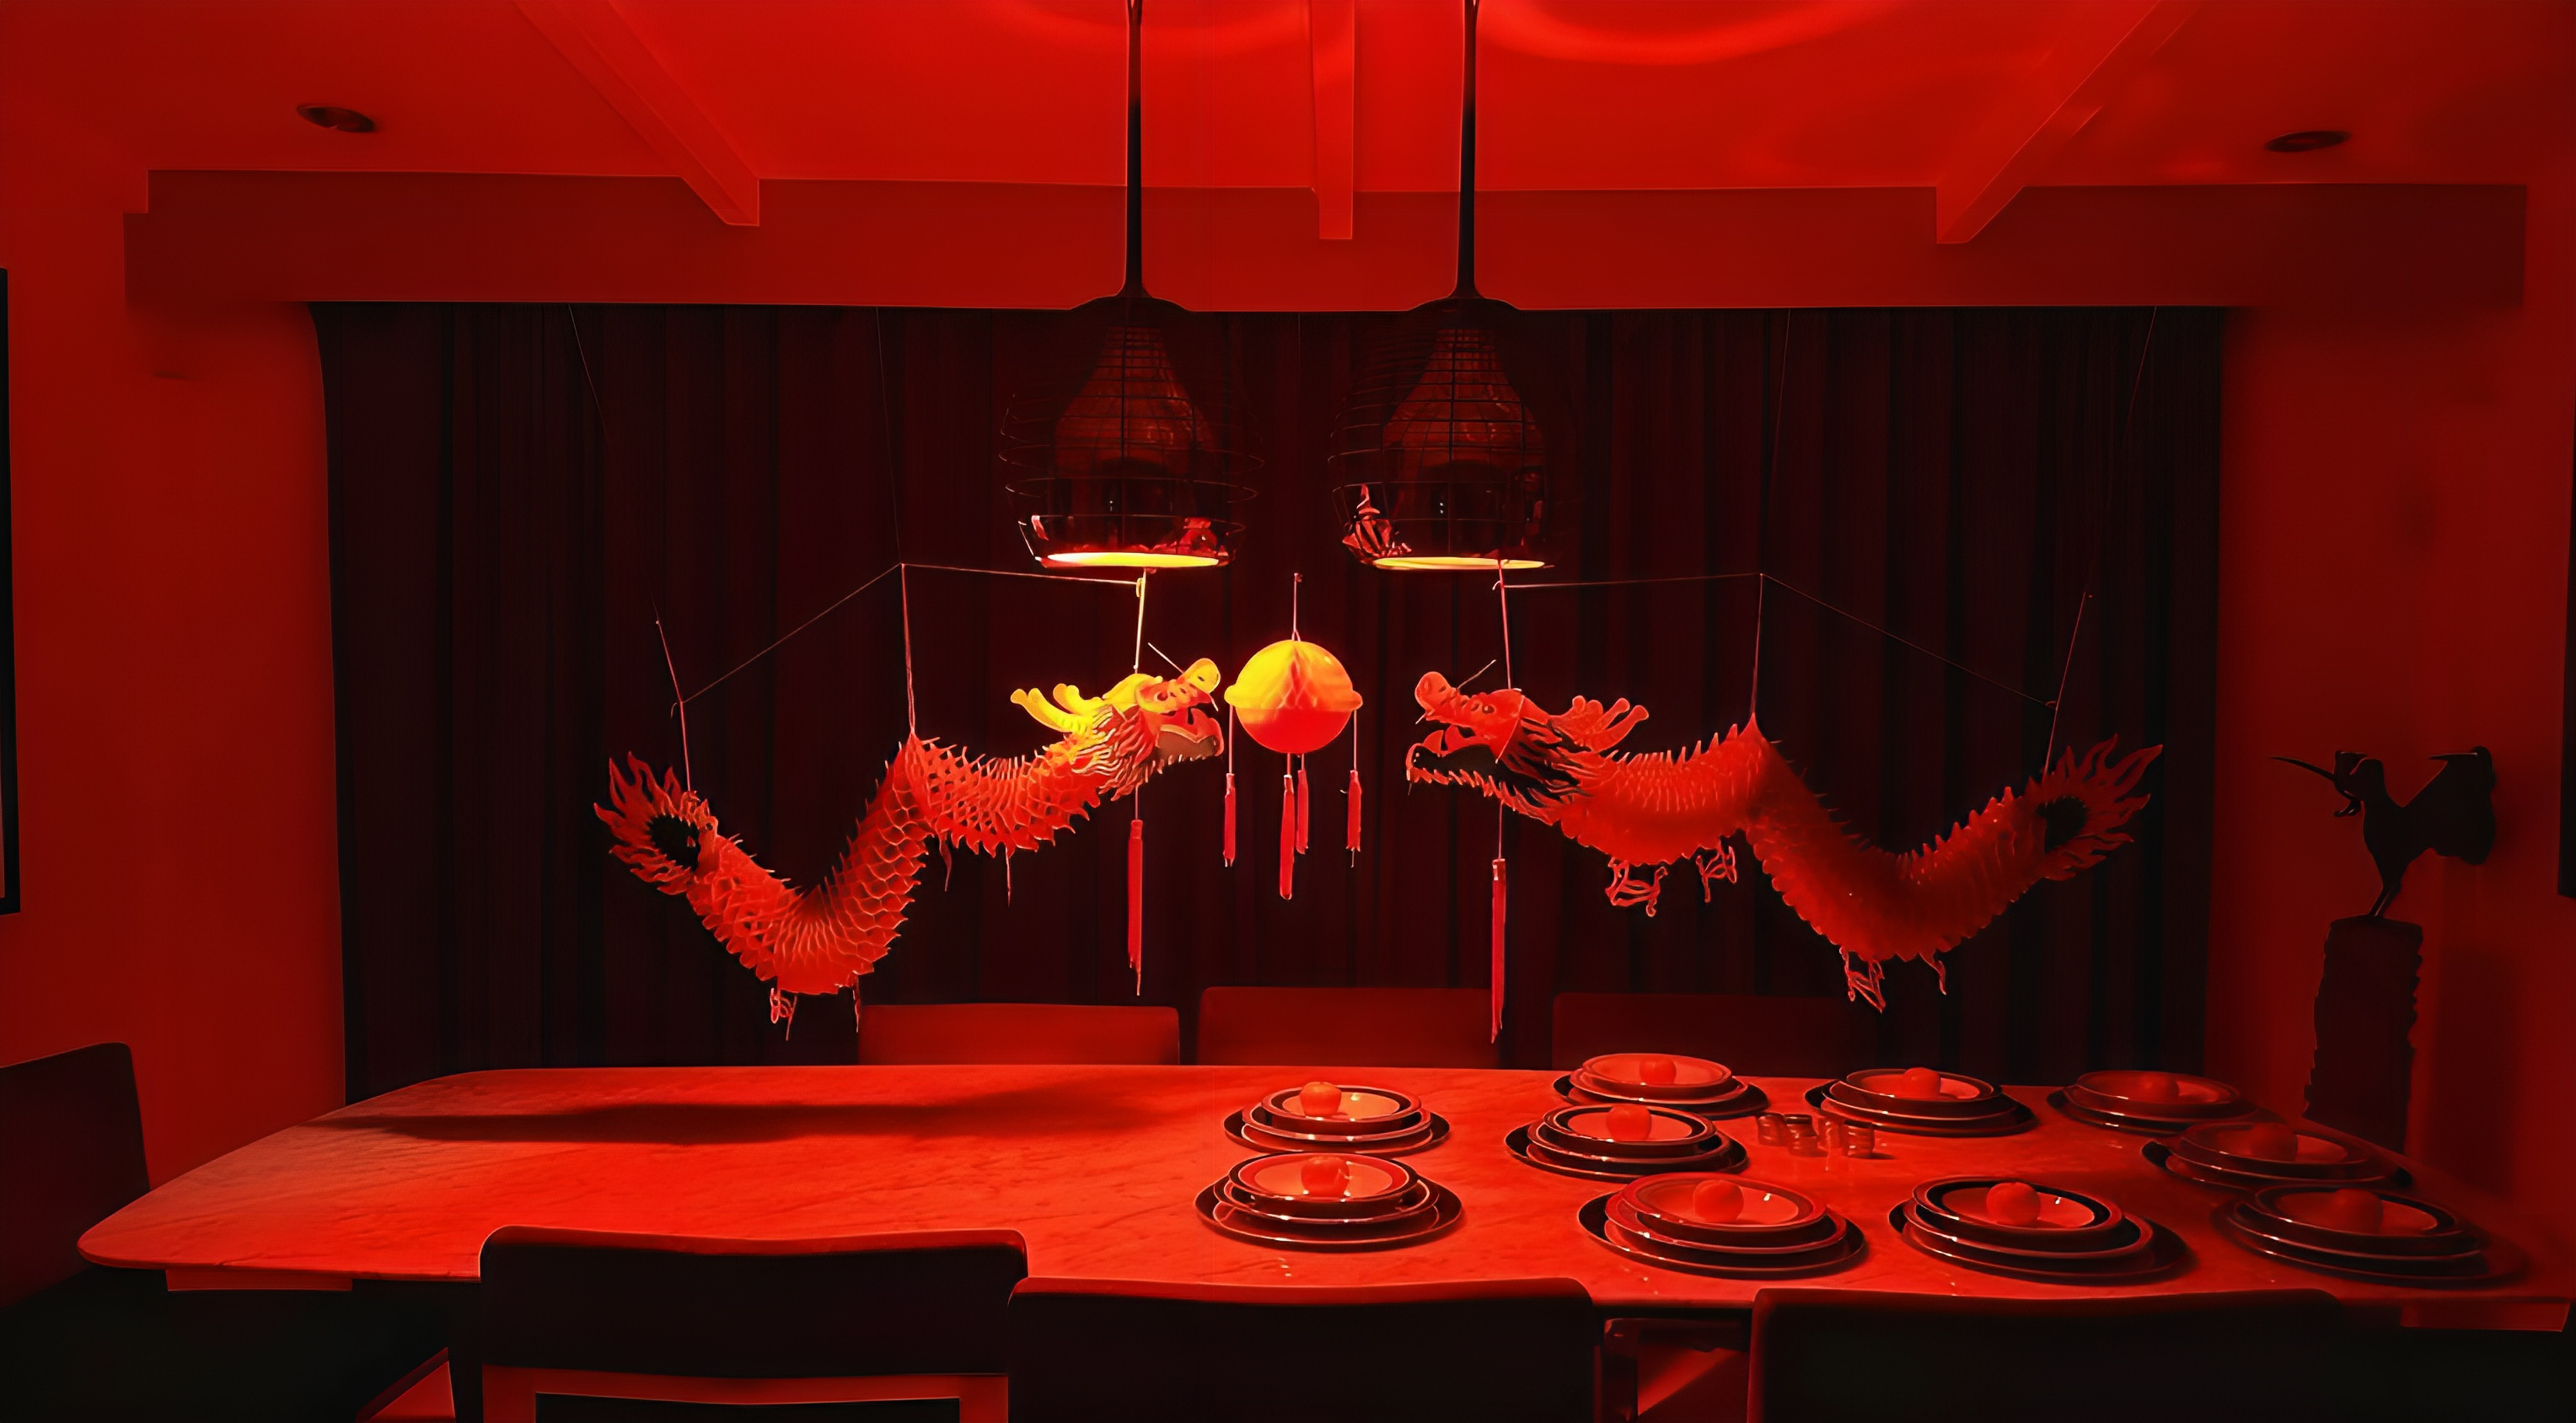
Everything I’ve done to prepare for Chinese New Year
Ria Prieto
RIA RECOMMENDS
10 principles Tim Yap lives by
Ria Prieto
RIA RECOMMENDS
Le Monde des Arts de la Parure: Marrakech’s global museum
Ria Prieto
RIA RECOMMENDS
Amanjena: Morocco’s desert oasis
Ria Prieto
RIA RECOMMENDS
Of souls and spirits: My Halloween 2023 looks
Ria Prieto
RIA RECOMMENDS
A memoir in motion: Ivarluski Aseron and the Red Charity Gala
Ria Prieto
Previous
Next
ON THE COVER
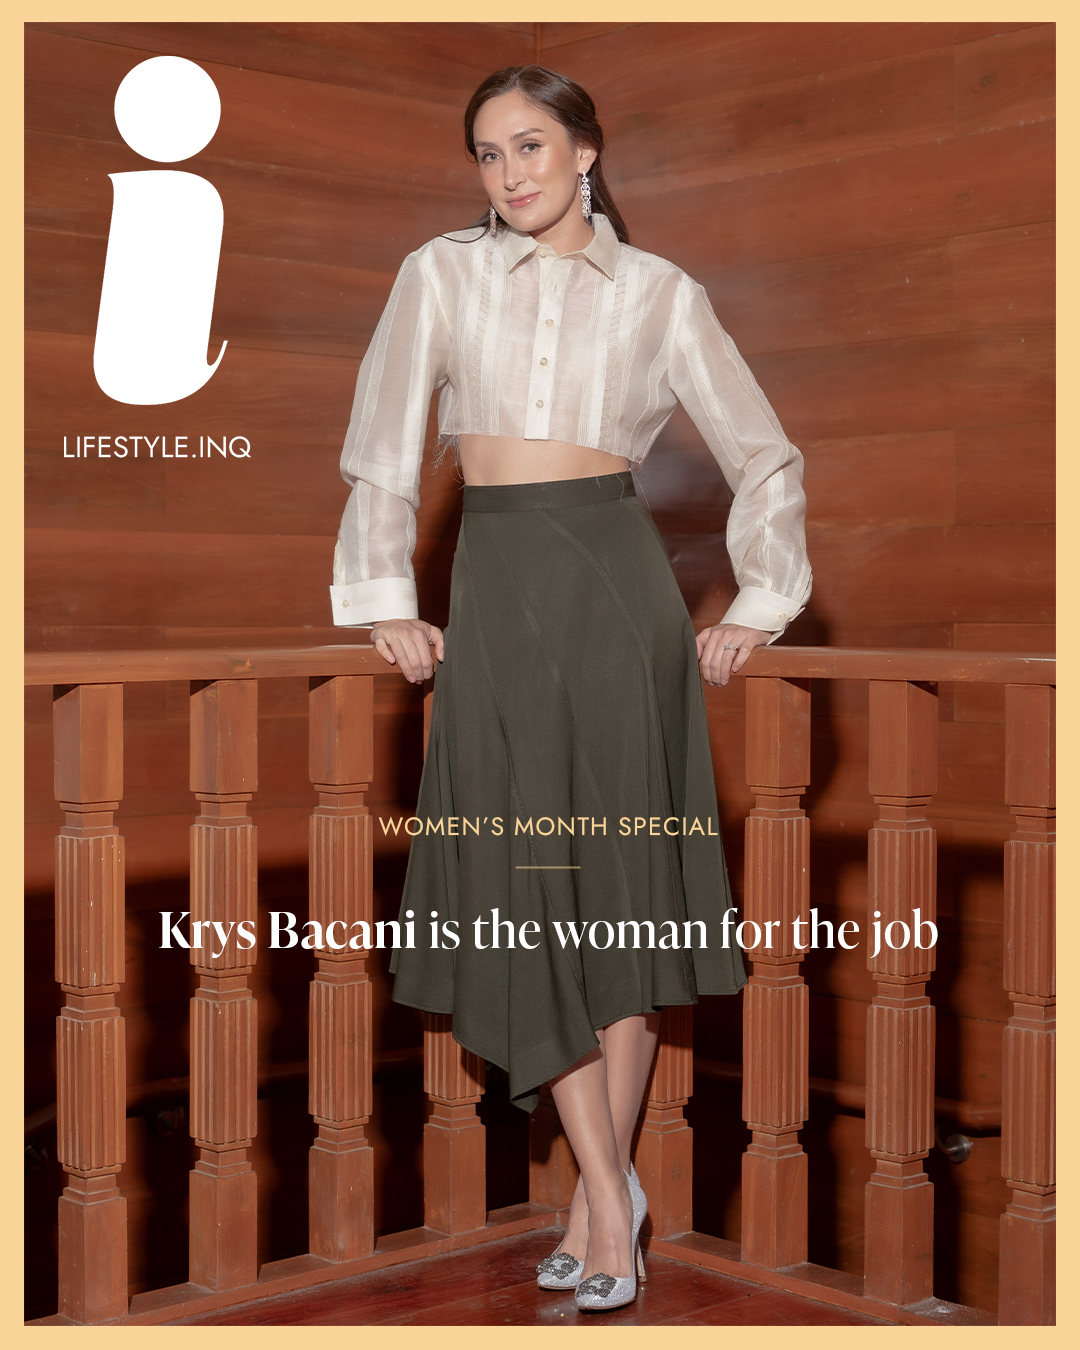
Passionate politics: Manila Councilor Krys Bacani drives women-empowered change
BY LALA SINGIAN
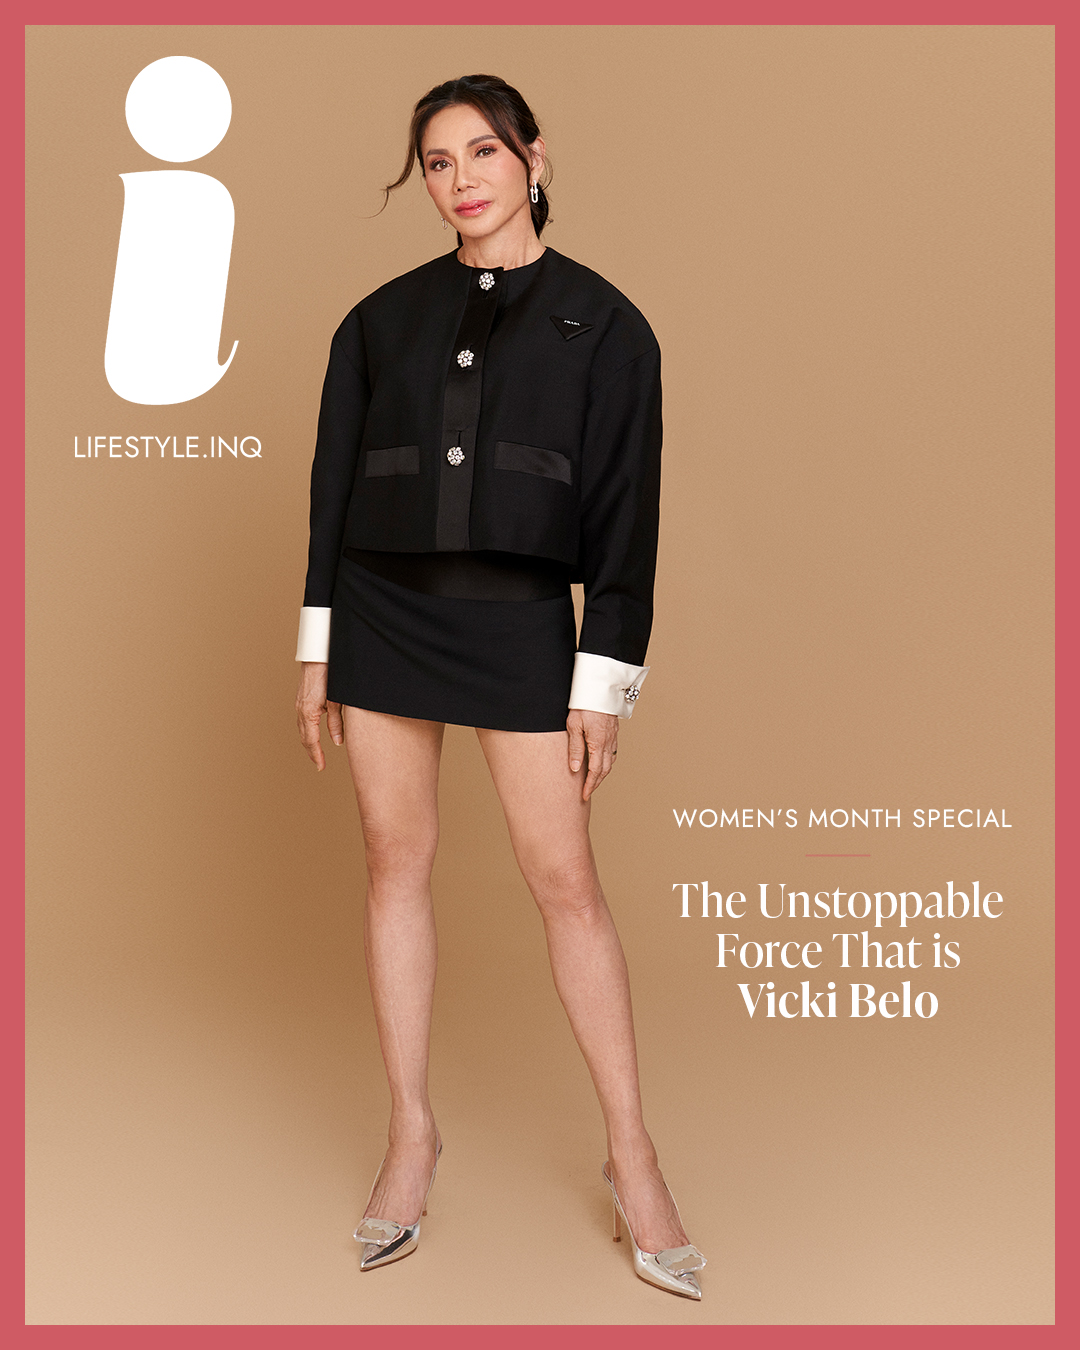
Vicki Belo bares her own brand of beautiful
BY SOPHIA BERBANO CONCORDIA
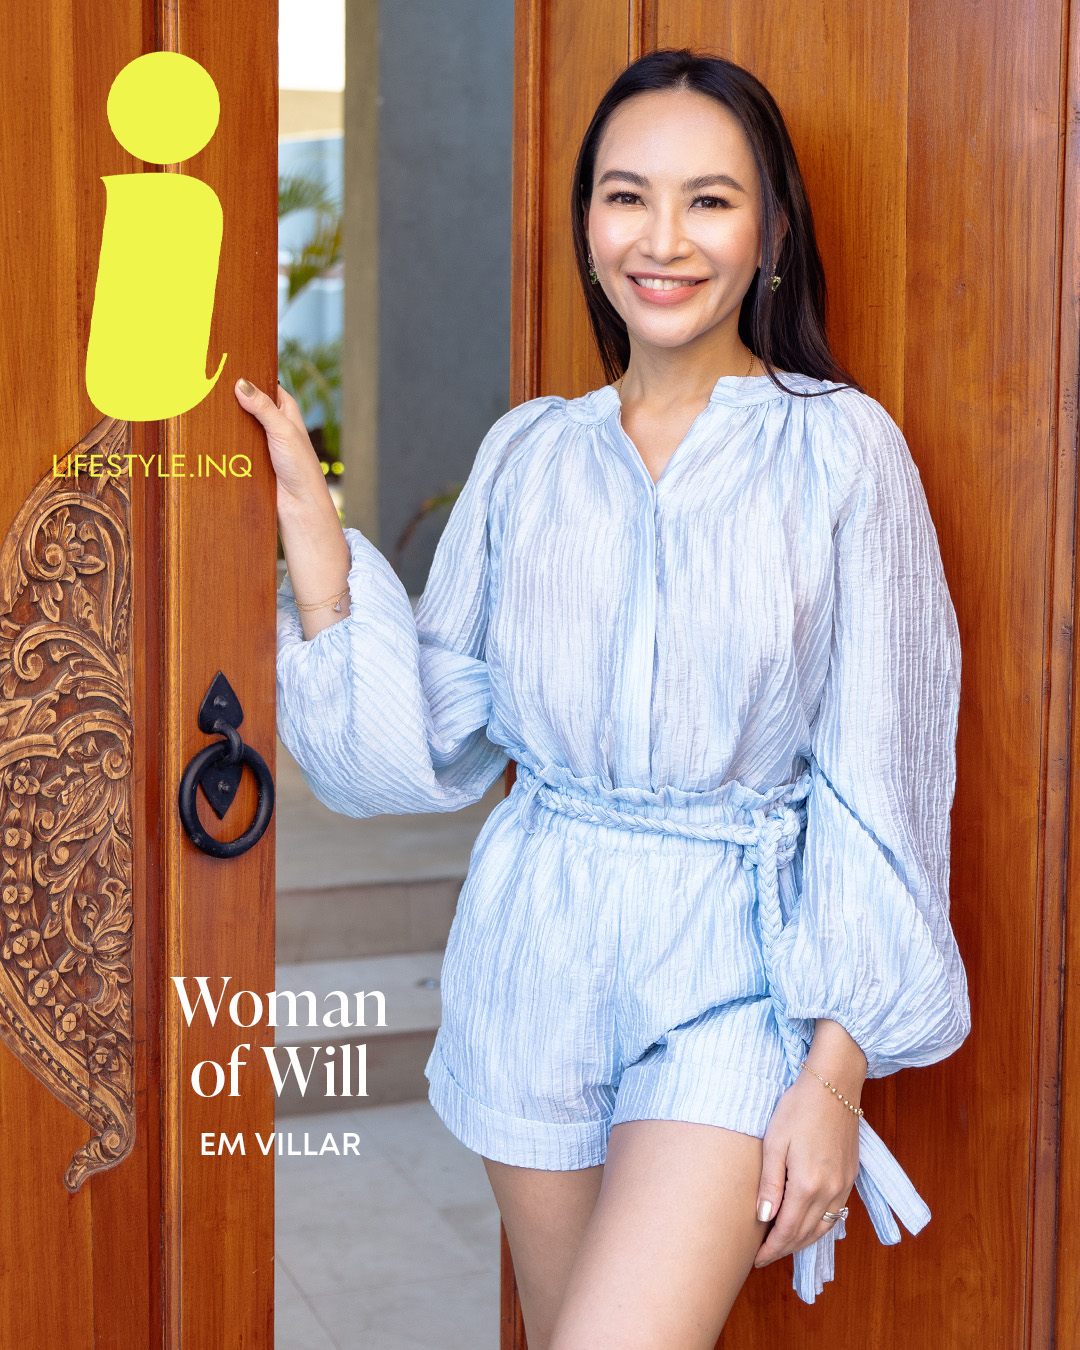
Emmeline Aglipay-Villar on finding and giving second chances
BY CARL MARTIN AGUSTIN
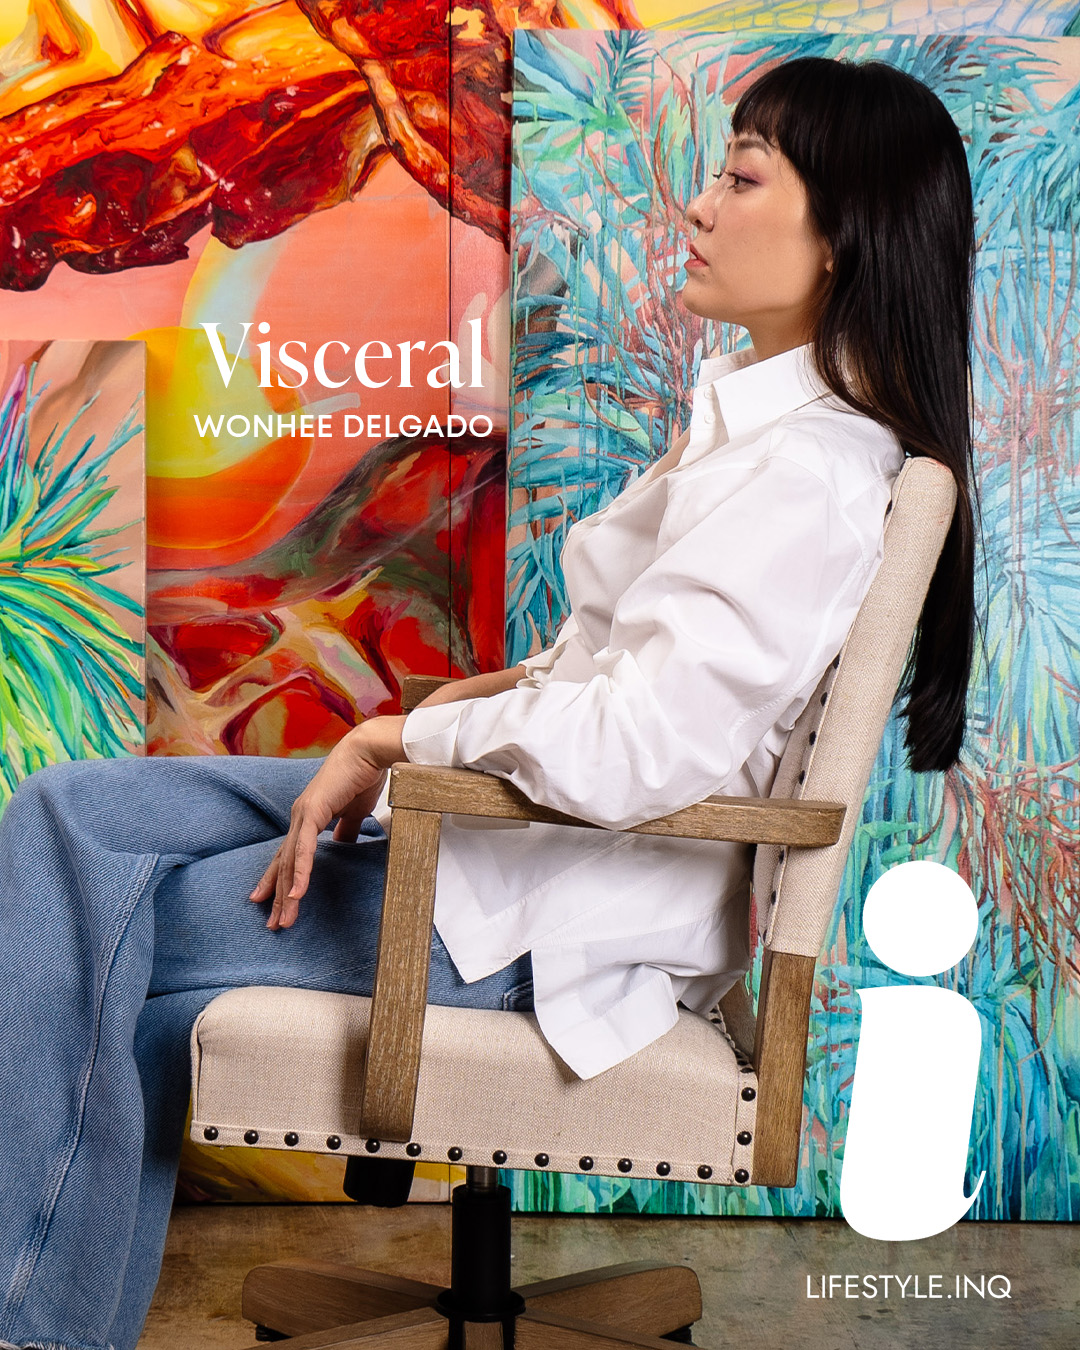
Wonhee Delgado embodies the delights of making art dynamic
BY LALA SINGIAN
Symphonic youth: How the Makati City Youth Orchestra resonates hope
BY LALA SINGIAN
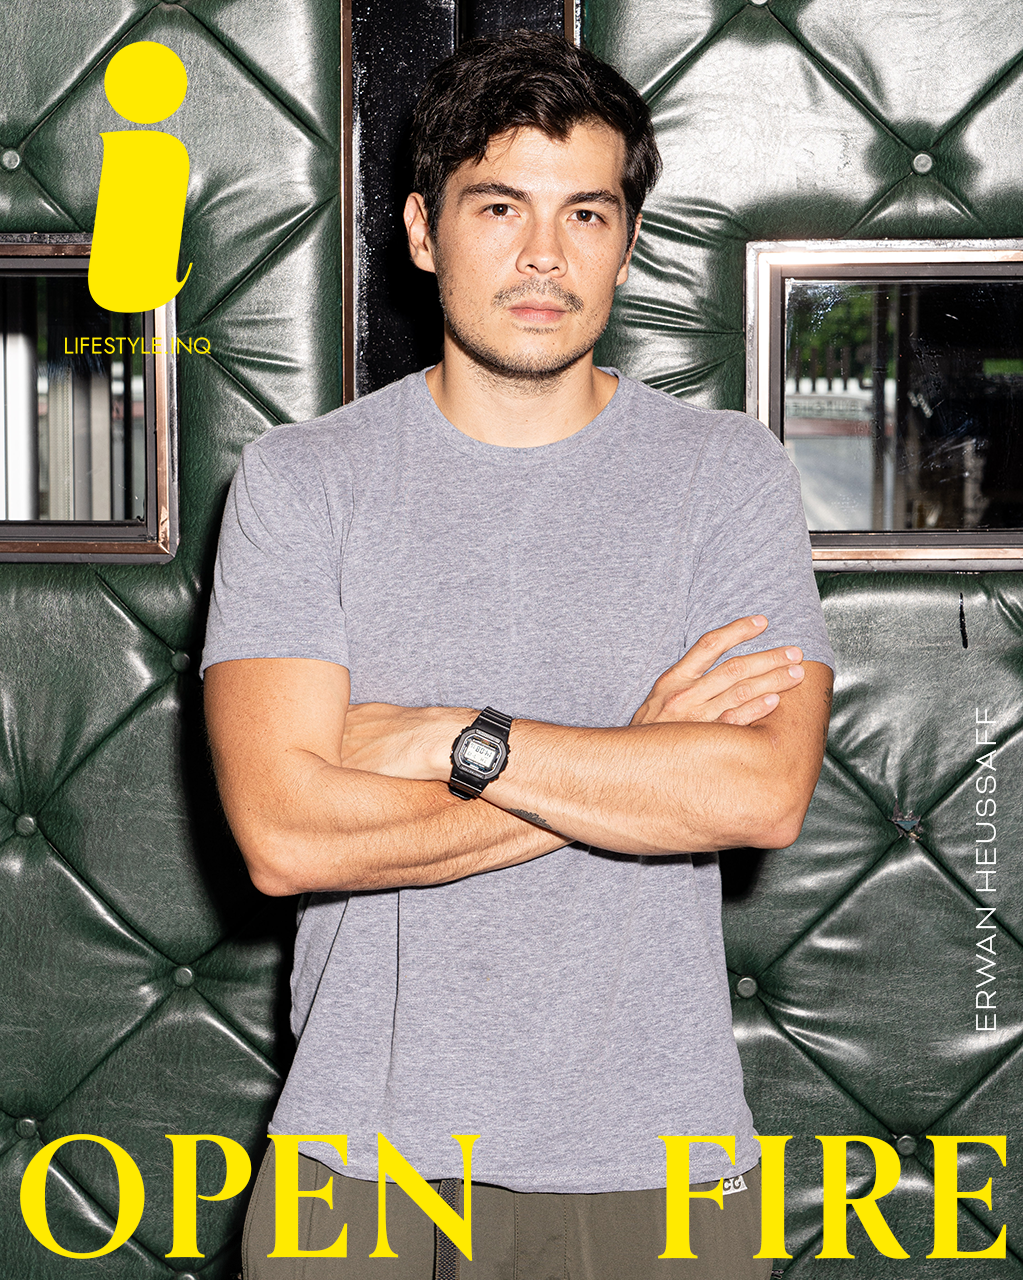
Open fire: Erwan Heussaff is carving a niche in the food industry
BY LALA SINGIAN
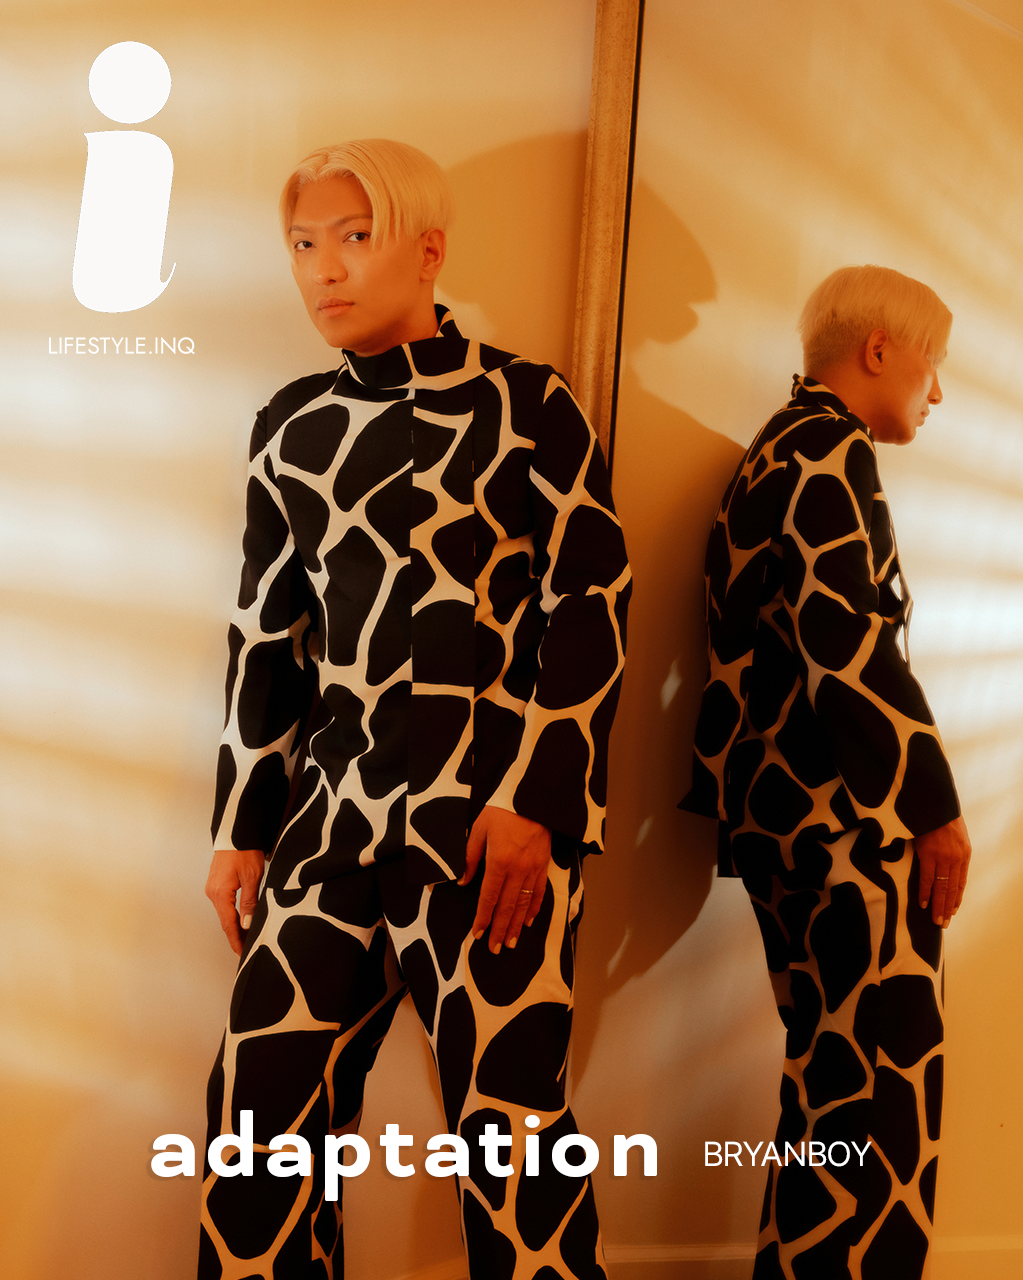
How Bryanboy defined the age of influence(ing)
BY SOPHIA BERBANO CONCORDIA
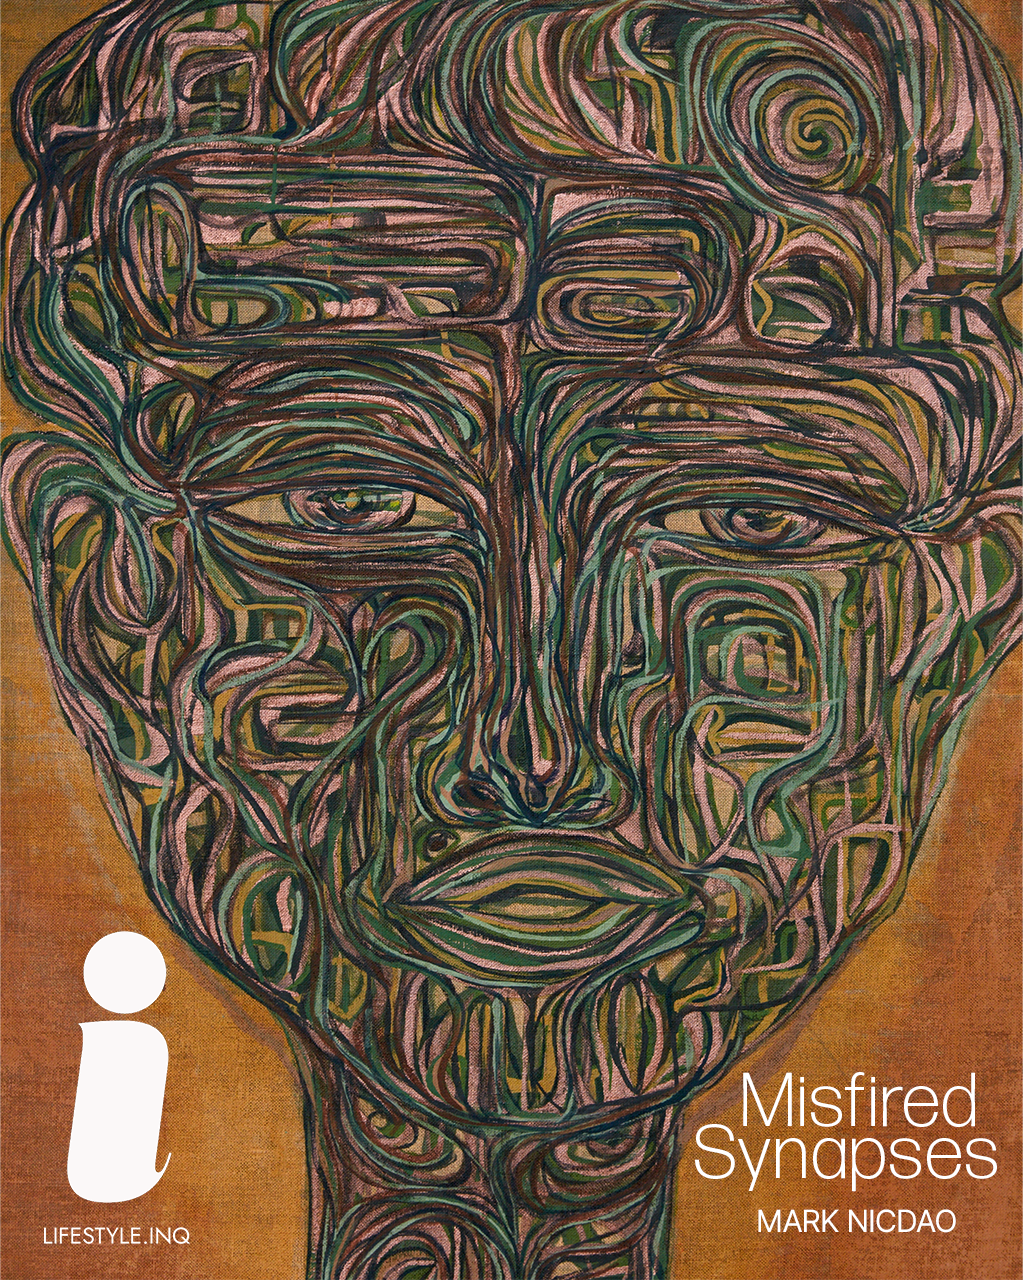
Reflections on raw canvas: Mark Nicdao’s latest exhibition in a palazzo in Venice
BY LALA SINGIAN
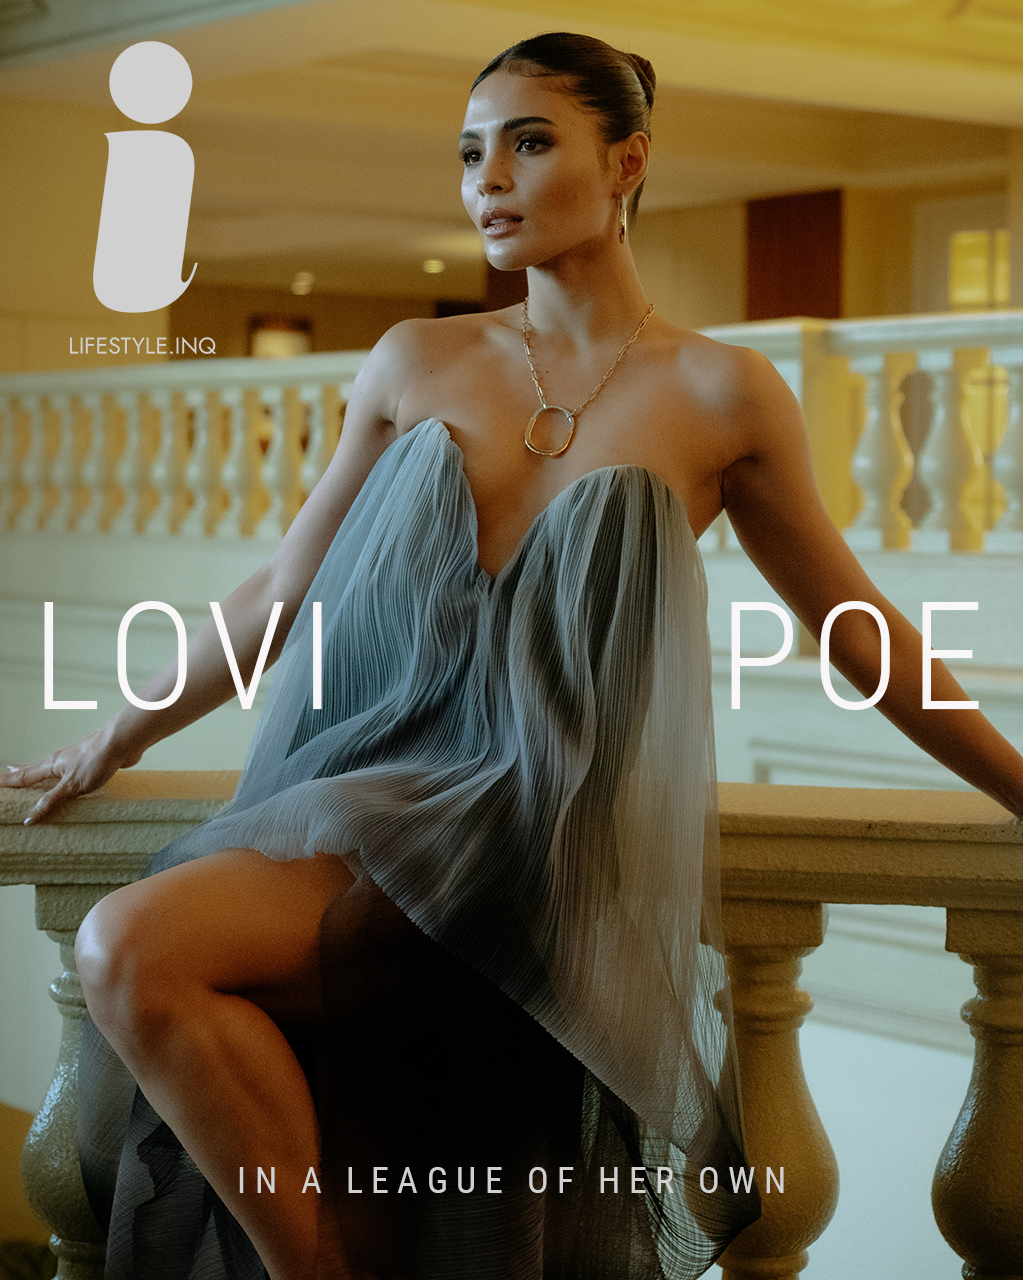
Lovi Poe is the hardest working woman in showbiz
BY SOPHIA BERBANO CONCORDIA
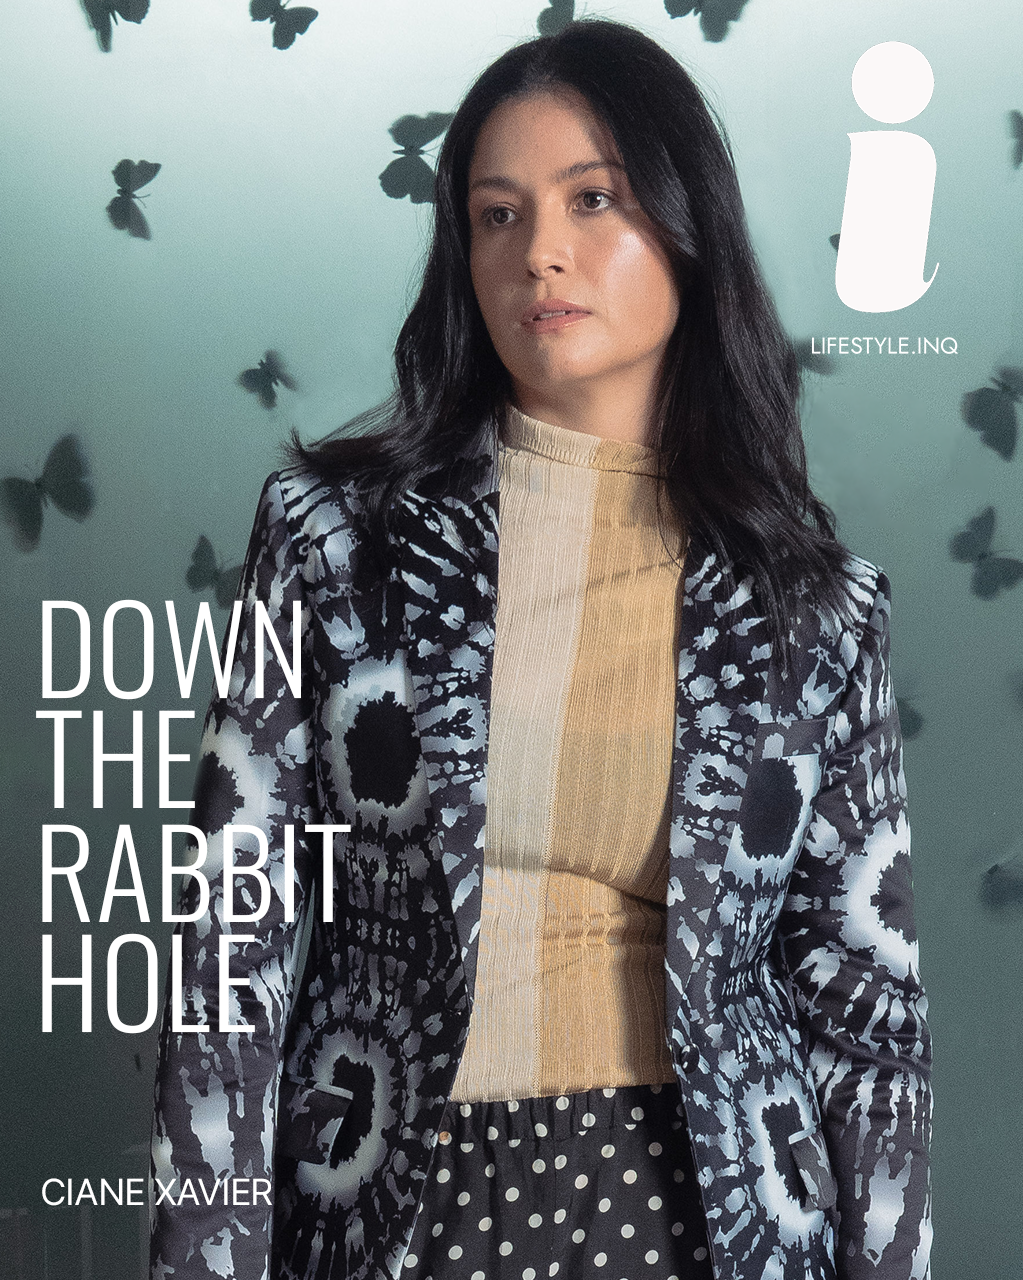
Down the divergent rabbit hole with Ciane Xavier
BY LALA SINGIAN
Previous
Next
PROFILES
Nordstrom director Jian de Leon on how community cultivates style
BY LALA SINGIAN
Artist Anna Bautista exhibits at the Palazzo Mora in Venice
BY LALA SINGIAN
For Cyrus Cañares, his brand Travelfund by Siriusdan is but a means to an end
BY CARL MARTIN AGUSTIN
Lessons on business and wellness with clinical herbalist and beauty entrepreneur René Rosario Rodrigo
BY SOPHIA BERBANO CONCORDIA
Cynthia Almario on finding balance in and out of her interior design practice
BY SOPHIA BERBANO CONCORDIA
‘The personal is global,’ says Nicole Coson in latest New York exhibit
BY LALA SINGIAN
Previous
Next
FASHION
Nordstrom director Jian de Leon on how community cultivates style
BY LALA SINGIAN
Colombian designer Nancy Gonzalez jailed 18 months over reptile handbags
BY AGENCE FRANCE-PRESSE
How to wear 7 of the hottest Spring/Summer 2024 trends
BY JAN ALYANNA G. TAMARAY
Coachella 2024’s best-dressed fashionably beat the heat
BY CARL MARTIN AGUSTIN
Filipino brands to nail that maximalist summer style
BY ASHLEY VALDERRAMA
Filipina model Hannah Locsin is at ease in the global fashion scene
BY LALA SINGIAN
Previous
Next
BEAUTY
How to revamp your summer makeup routine for that sun-kissed glow
BY ALANNA GO
Celebrate skin confidence and the power of a healthy glow with DMark Beauty
BY ALANNA GO
Clara Benin, Zarah Juan, and Elle Battung underscore the importance of self-care
BY CARL MARTIN AGUSTIN
24K beauty: Start the year glowing with these gold-infused skincare products
BY COLLEEN COSME
It’s Belo’s world after all
BY THE LIFESTYLE.INQ STAFF
8 essential skin tips for traveling to colder climates
BY COLLEEN COSME
Previous
Next
ART
10 questions with Miguel Lorenzo Uy
BY PATRICK DE VEYRA
These Filipino artists are exhibiting in Venice
BY LALA SINGIAN
At a special exhibit in Venice, Isko Andrade bares his own life experiences
BY LALA SINGIAN
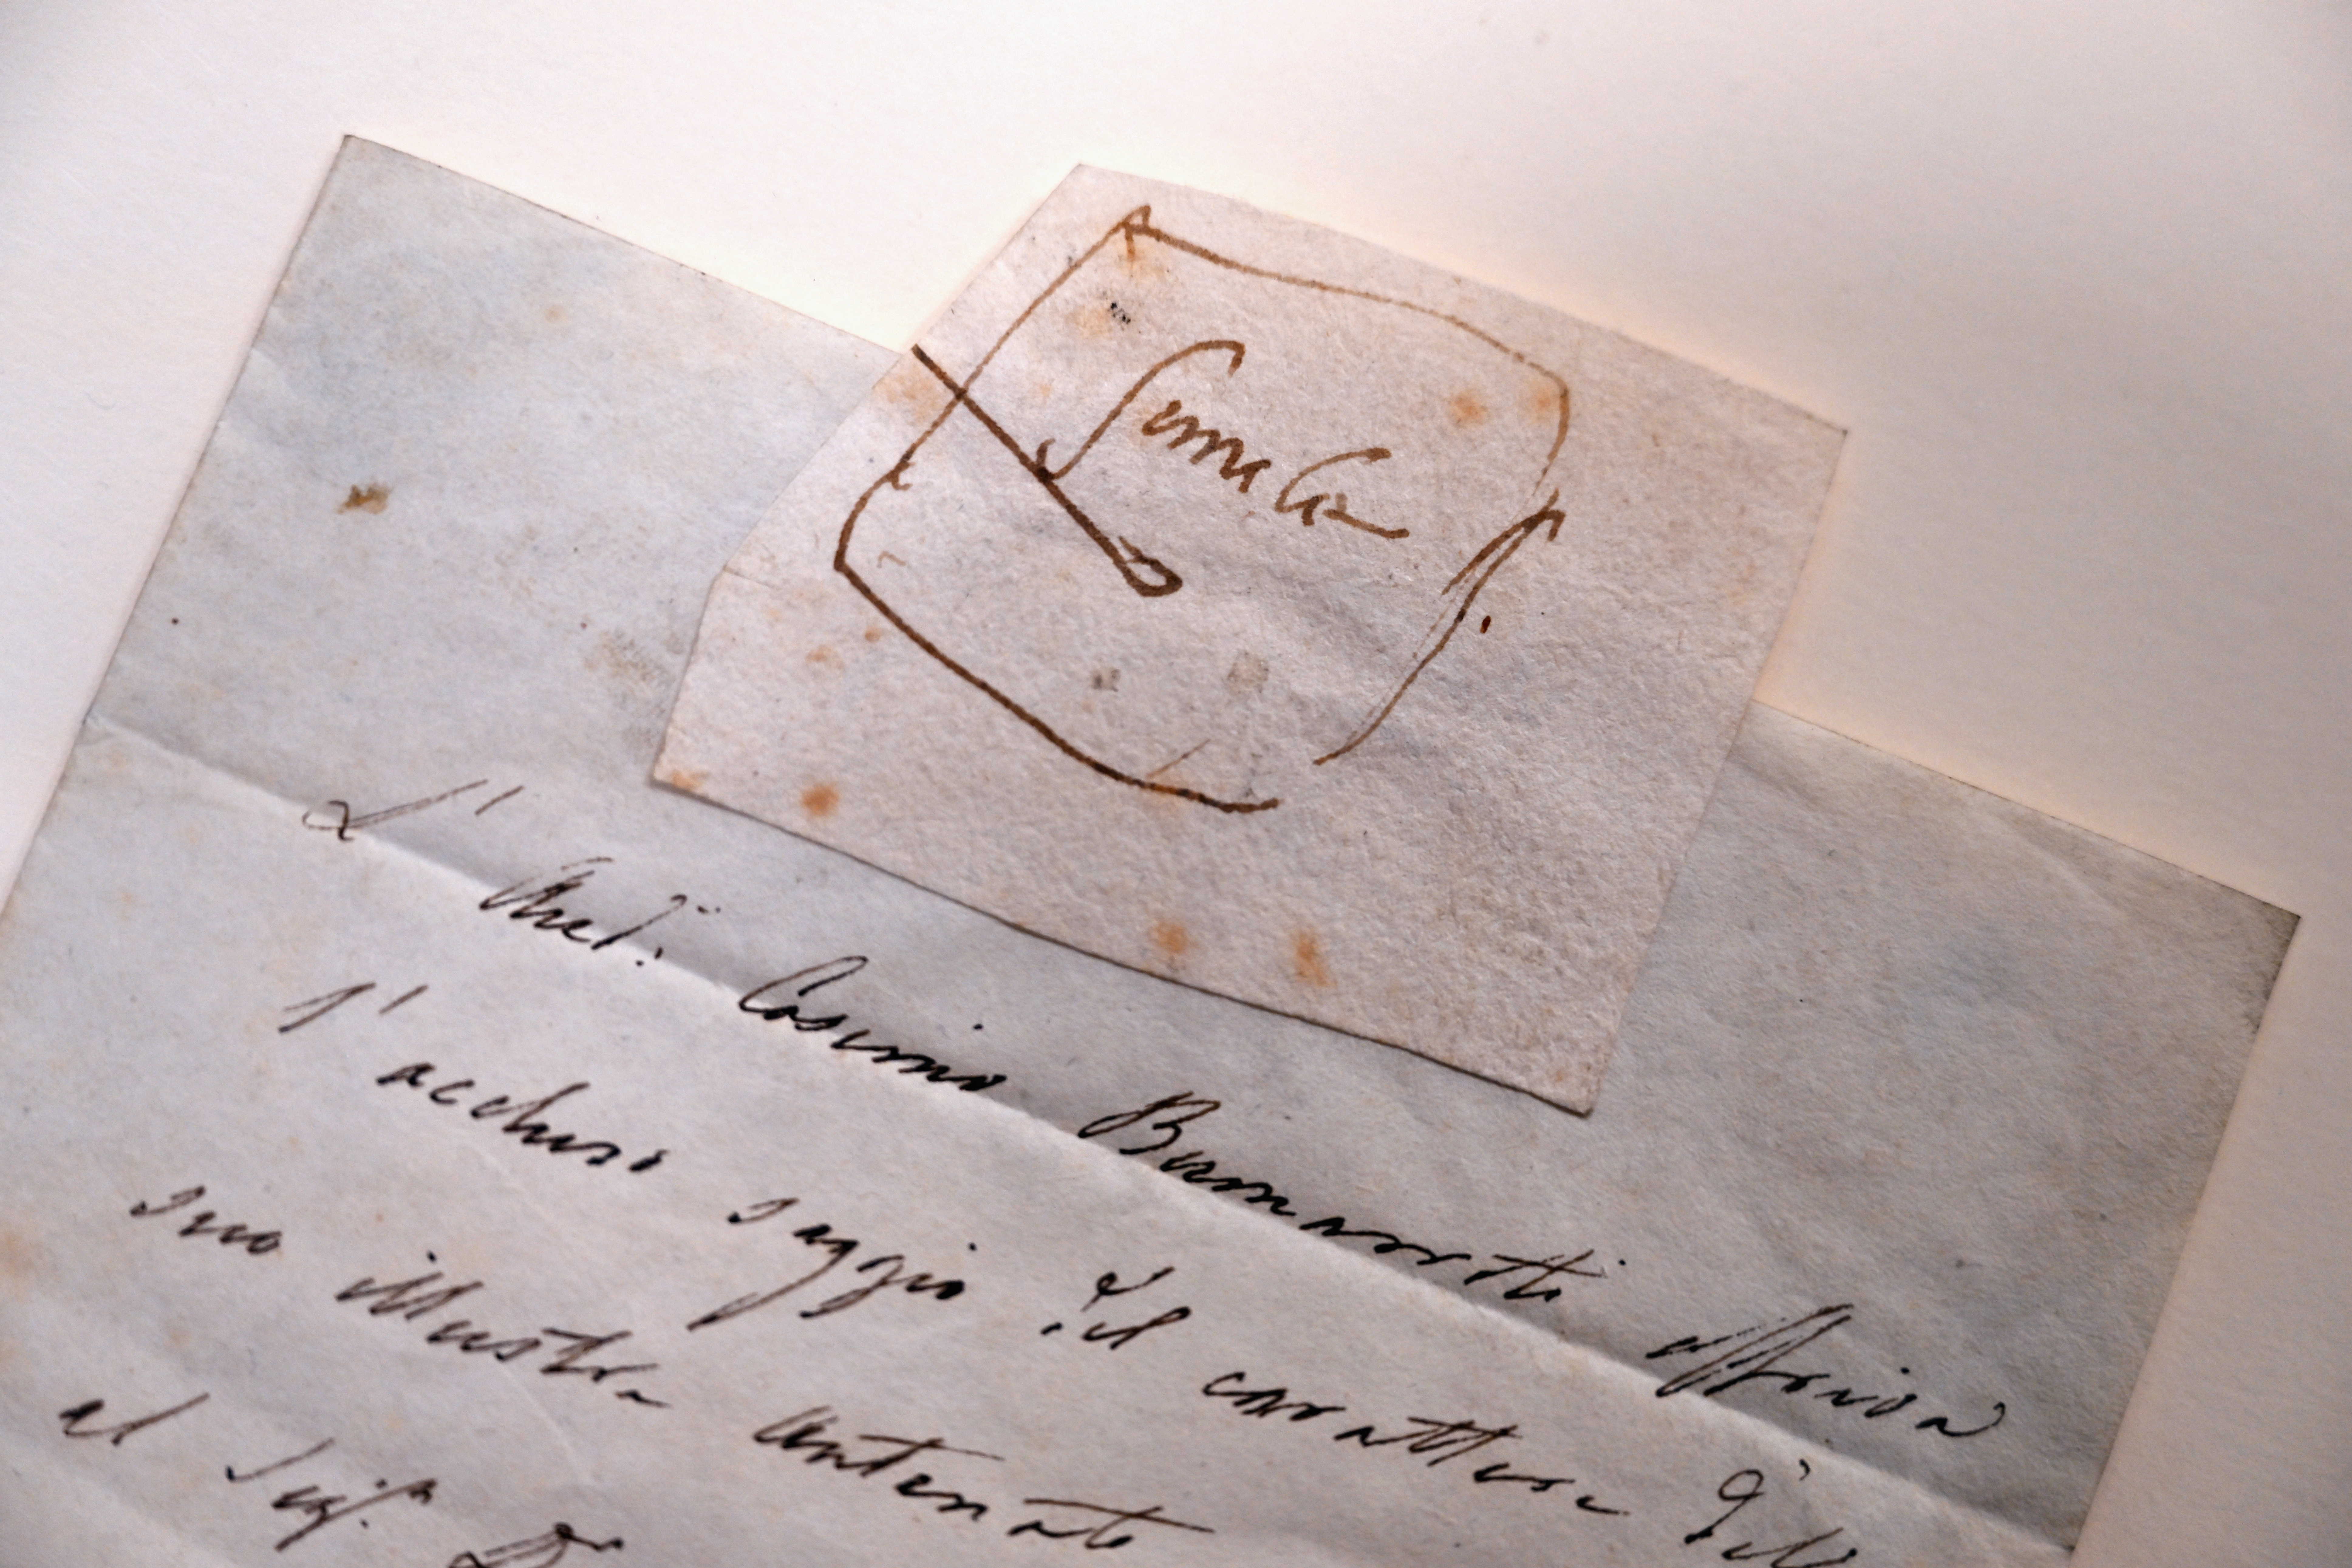
Michelangelo’s scribble sells for $200,000 at New York auction
BY AGENCE FRANCE-PRESSE
Marrie Saplad’s serene still-lifes grace a Venetian exhibit
BY LALA SINGIAN
Dino Gabito debuts new direction of ‘Shroud Series’ in Venice
BY LALA SINGIAN
Previous
Next
DESIGN
Unveiling next-level luxury: Sealy debuts latest mattress innovation with Ballet Philippines
BY THE LIFESTYLE.INQ STAFF
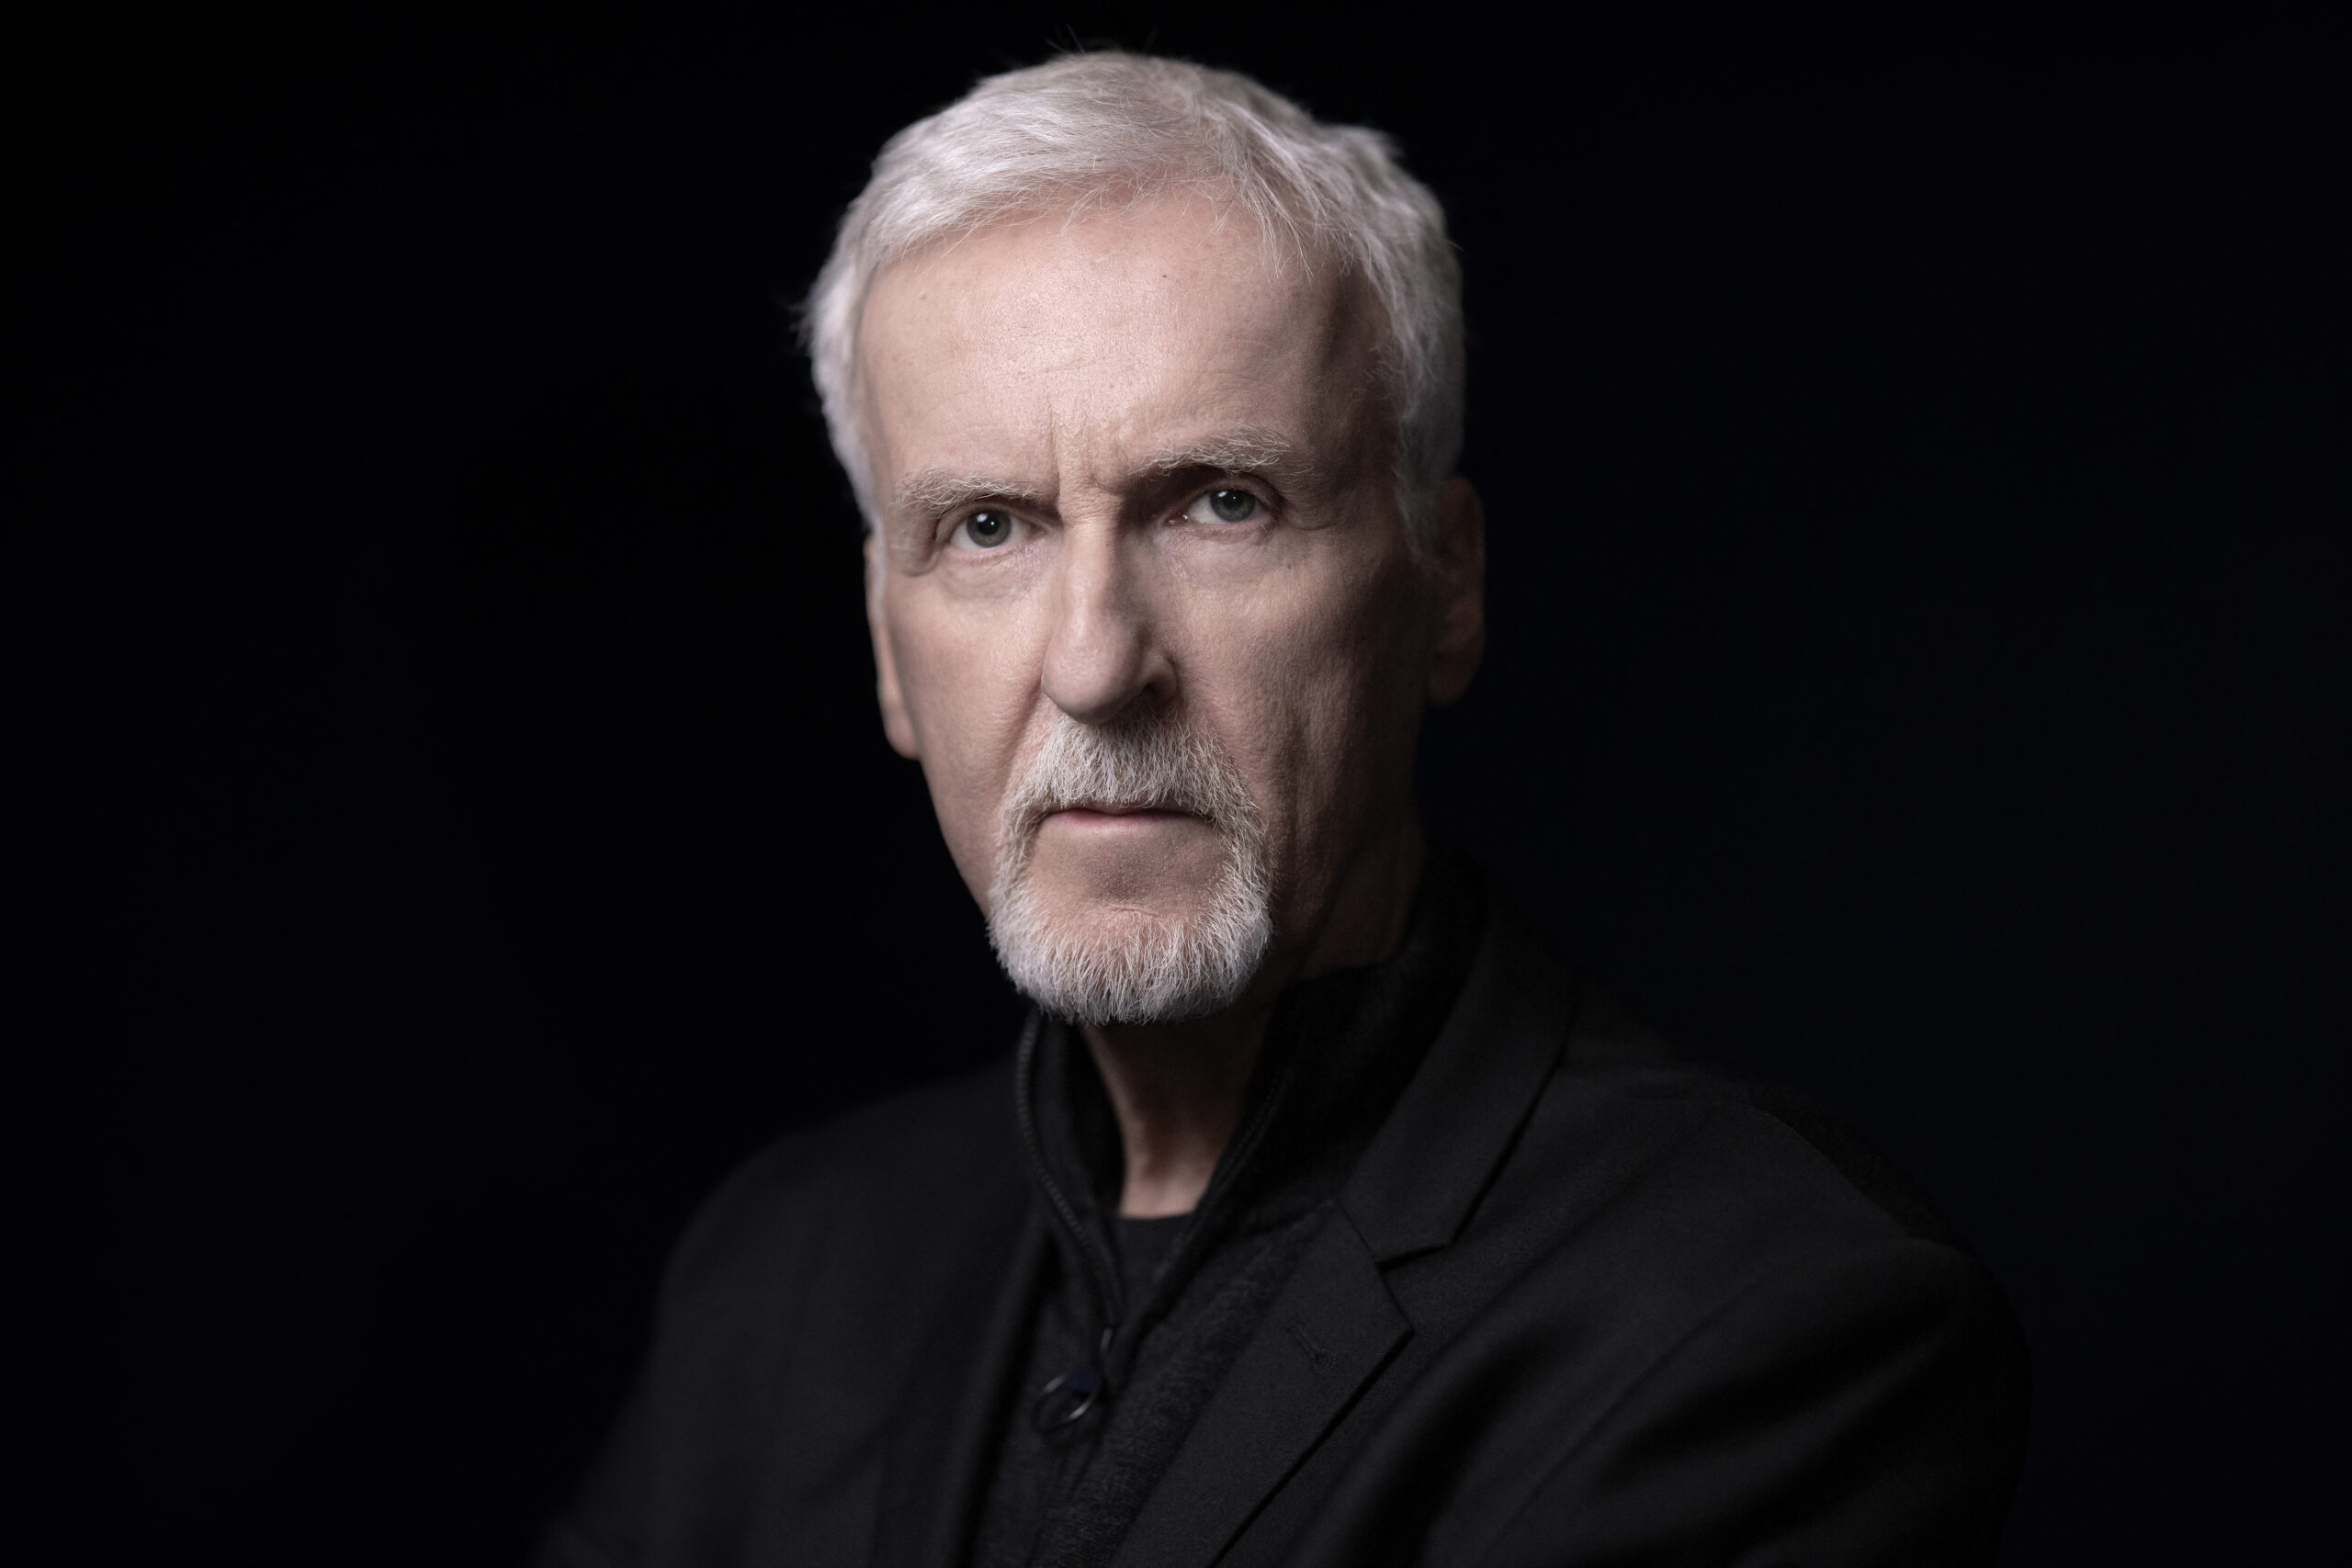
James Cameron unveils artistic process in Paris exhibition
BY CARL MARTIN AGUSTIN
Furniture brand Philux creates conscious luxury, crafted locally
BY LALA SINGIAN
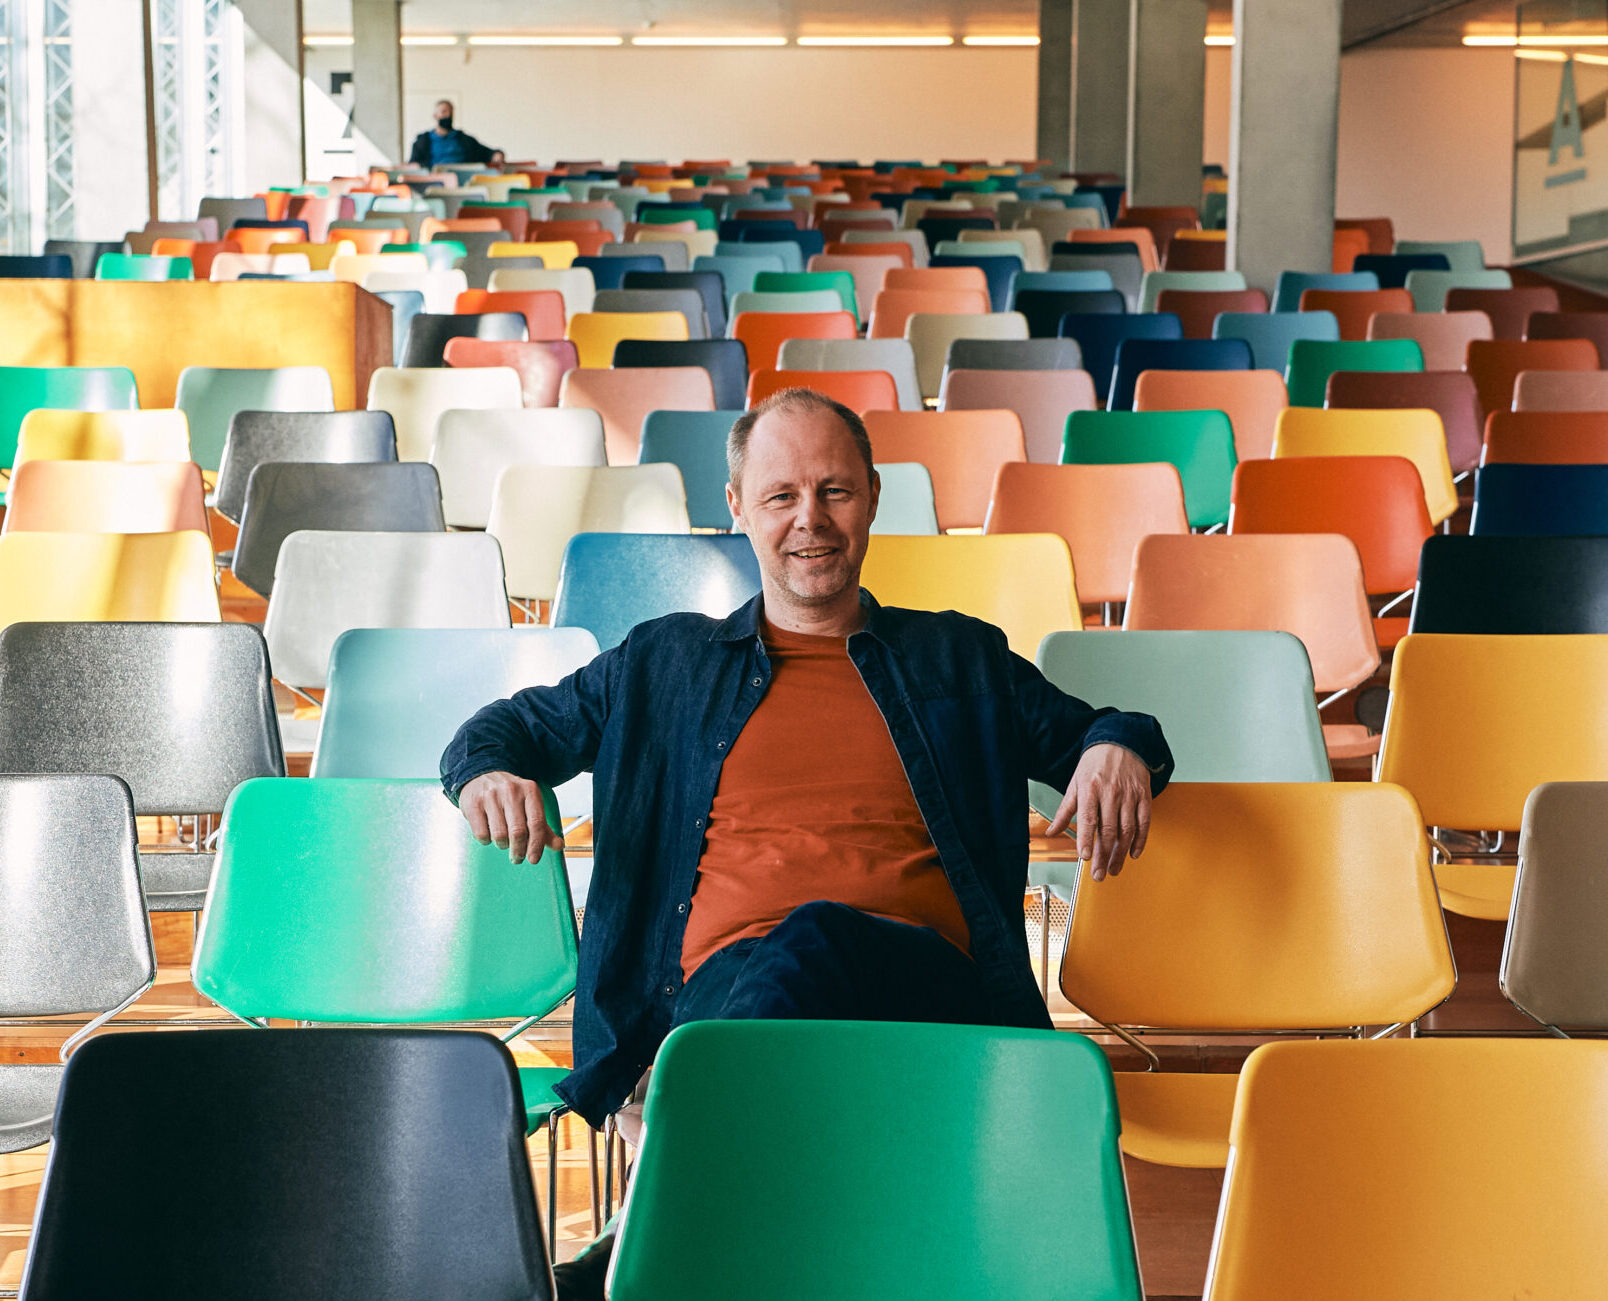
Chris van Duijn makes the case for contemporary architecture
BY CARL MARTIN AGUSTIN
Make your space award-winning—the Glam way
BY LALA SINGIAN
Timeless opulence: How to decorate your space with art deco elegance
BY COLLEEN COSME
Previous
Next
FEATURED VIDEO
In His Element: Kaloy Sanchez lets us into his artistic space
BY SOPHIA YSABEL CONCORDIA
CULTURE
International Booker Prize 2024 shortlist includes ‘implicitly optimistic’ titles from 6 countries
BY
Jan Alyanna G. Tamaray
This event invites writers on a literary adventure on love, sex, and women
BY
The Lifestyle.INQ Staff
‘Alahas’ author Gigi Bermejo encourages self-discovery through jewelry
BY
Lala Singian
TRAVEL
Discover the beauty of the night sky at Zulal Wellness Resort by Chiva-Som
BY
The Lifestyle.INQ Staff
This is how I ate my way around snowy Sapporo
BY
Colleen Cosme
What makes Aman, Aman, what makes Janu, Janu
BY
Maja Olivares-Co
FOOD
Japon Iberico: The fifth Amanpulo Culinary Weekend
BY
Rama O. Co
Five irresistible Valentine’s Day desserts to melt hearts
BY
Colleen Cosme
100 years: Recipes from an archipelago
BY
Ray Soberano
HUMAN INTEREST
Why are we so obsessed with the alleged homewrecker?
BY
Ally De Leon
We won’t see the solar eclipse but it may affect your zodiac sign
BY
Carl Martin Agustin
Motherhood & me: On arguments and sassy kids
BY
Tricia Centenera
entertainment
‘Godzilla x Kong: The New Empire’ smashes its way to the top as 2024’s biggest movie in the PH
BY
The Lifestyle.INQ Staff
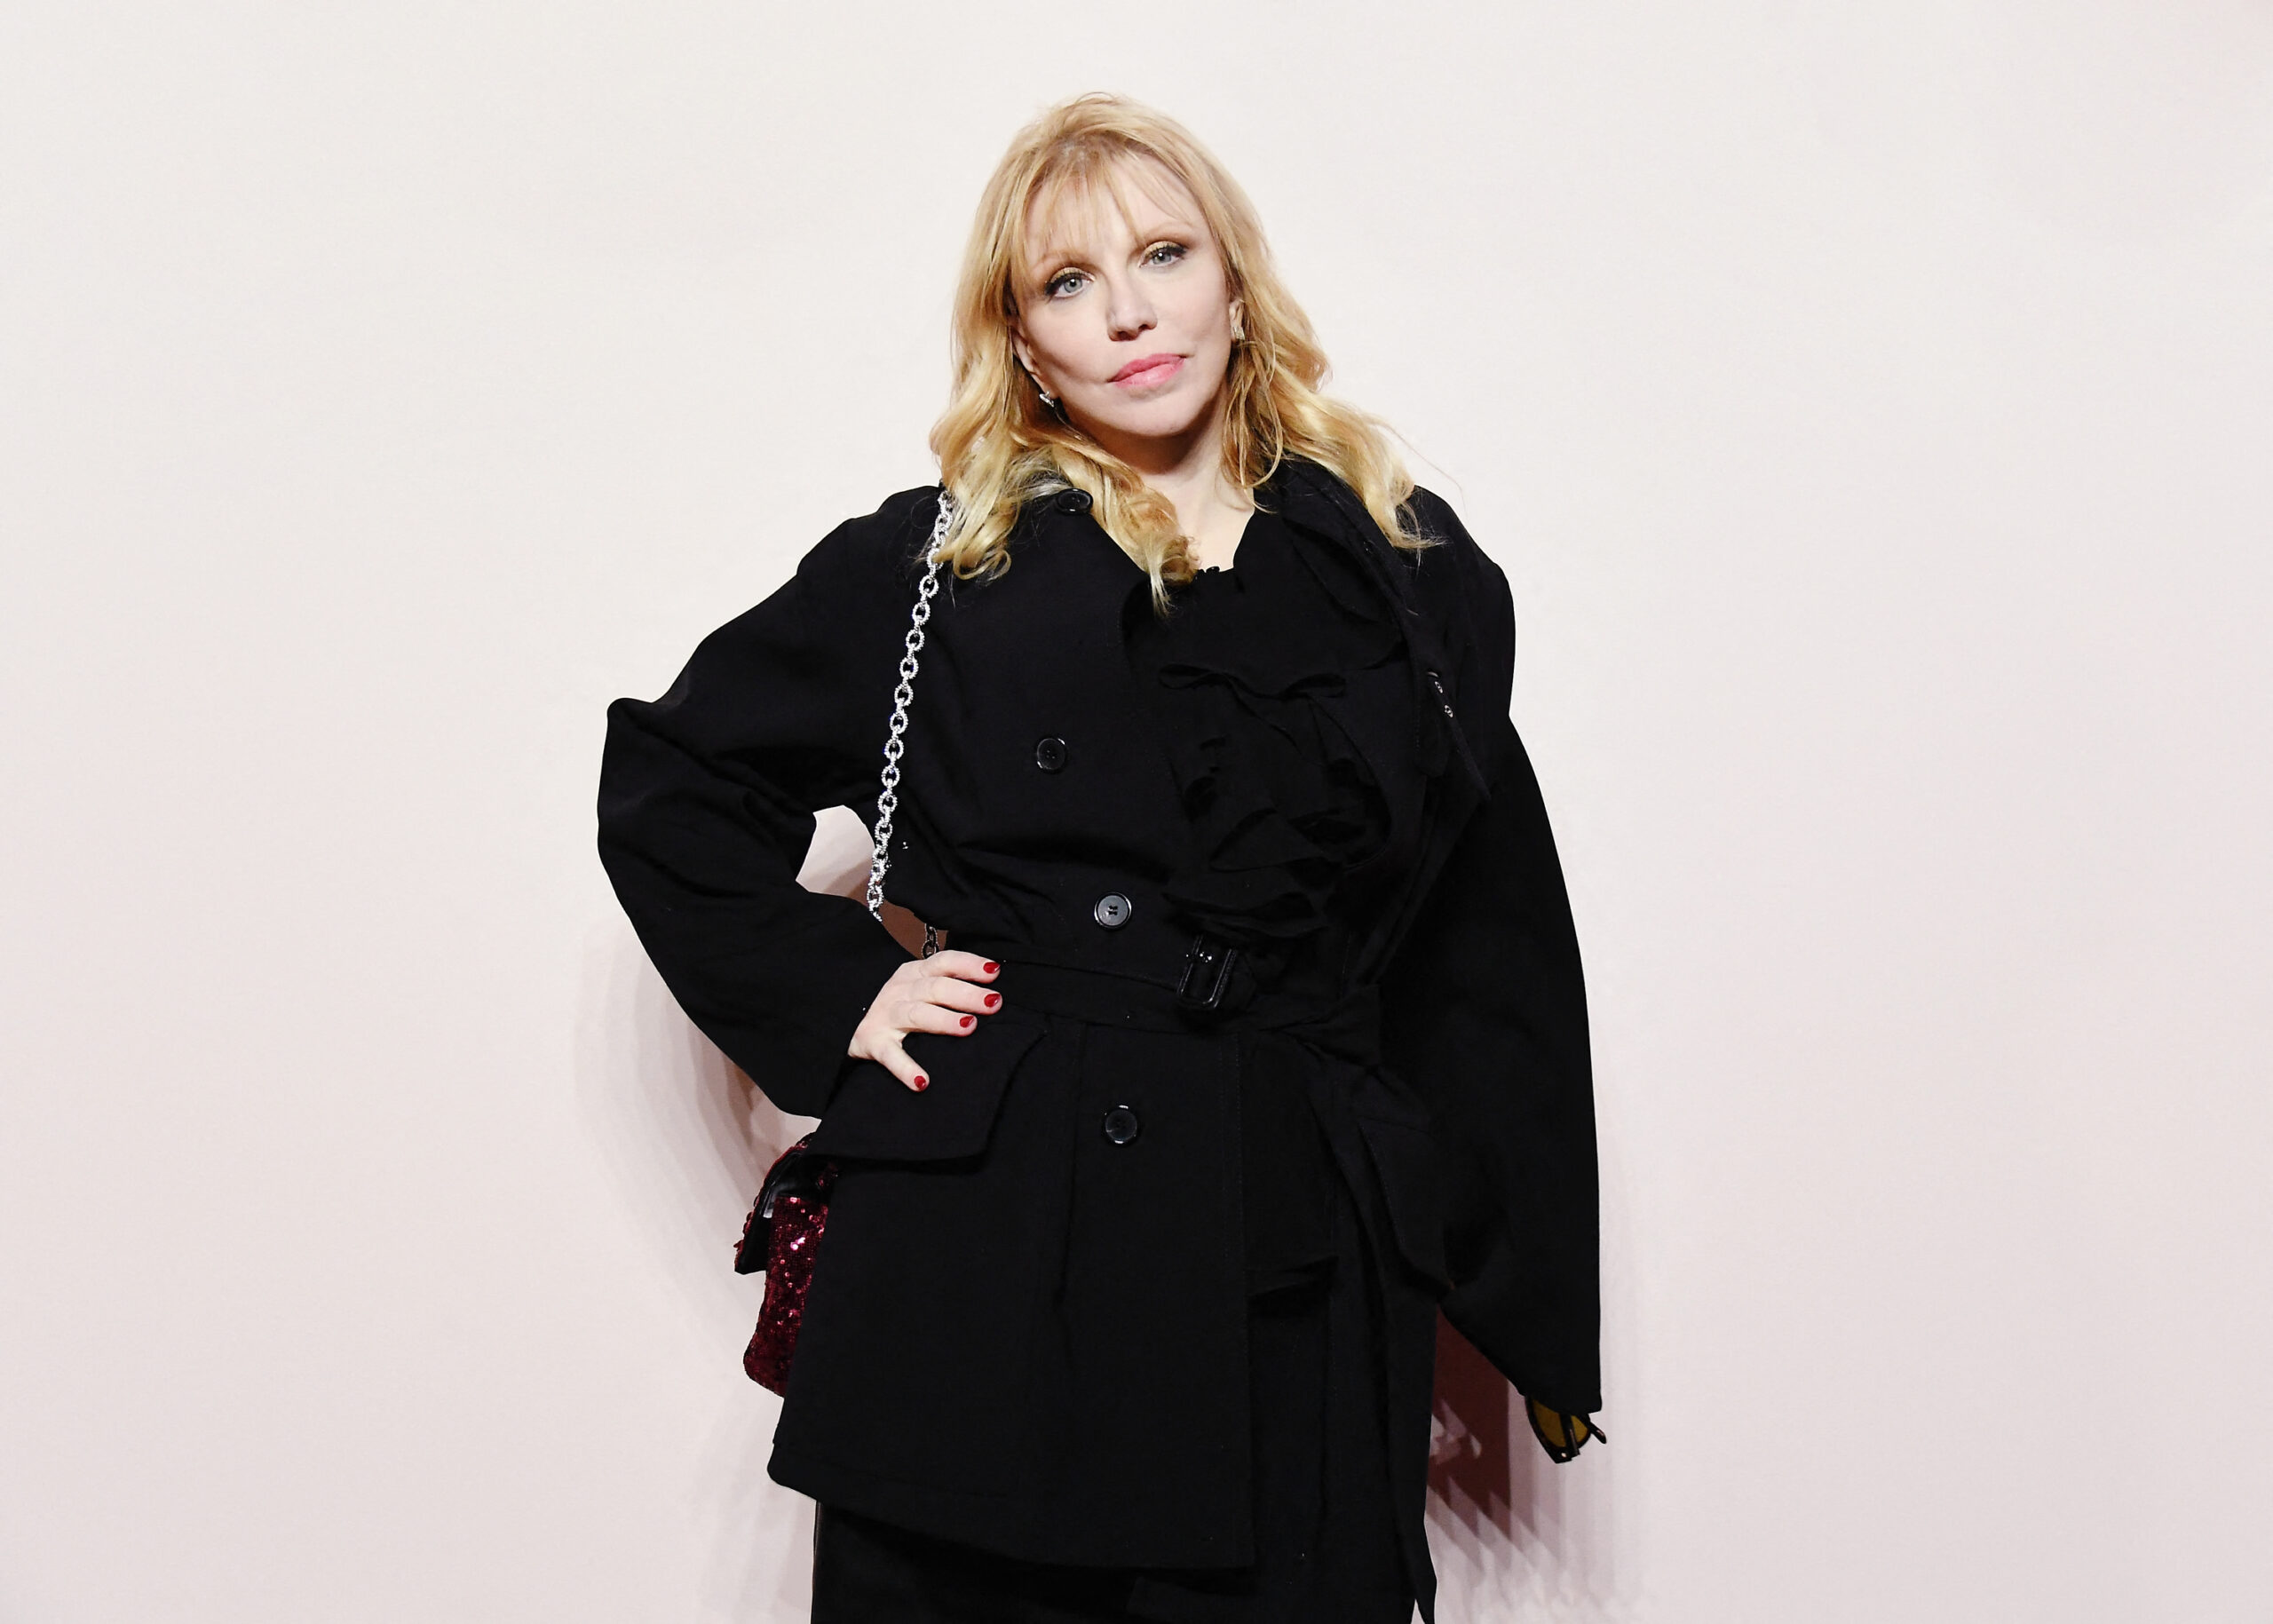
Courtney Love: ‘Every successful woman is cloned’
BY
Jan Alyanna G. Tamaray
Ryan Gosling returns better (?) than ever before in SNL’s ‘Papyrus 2’
BY
Carl Martin Agustin
health and wellness
Lessons on business and wellness with clinical herbalist and beauty entrepreneur René Rosario Rodrigo
BY
Sophia Berbano Concordia
World Sleep Day: 4 shops for your sleep essentials
BY
Carl Martin Agustin
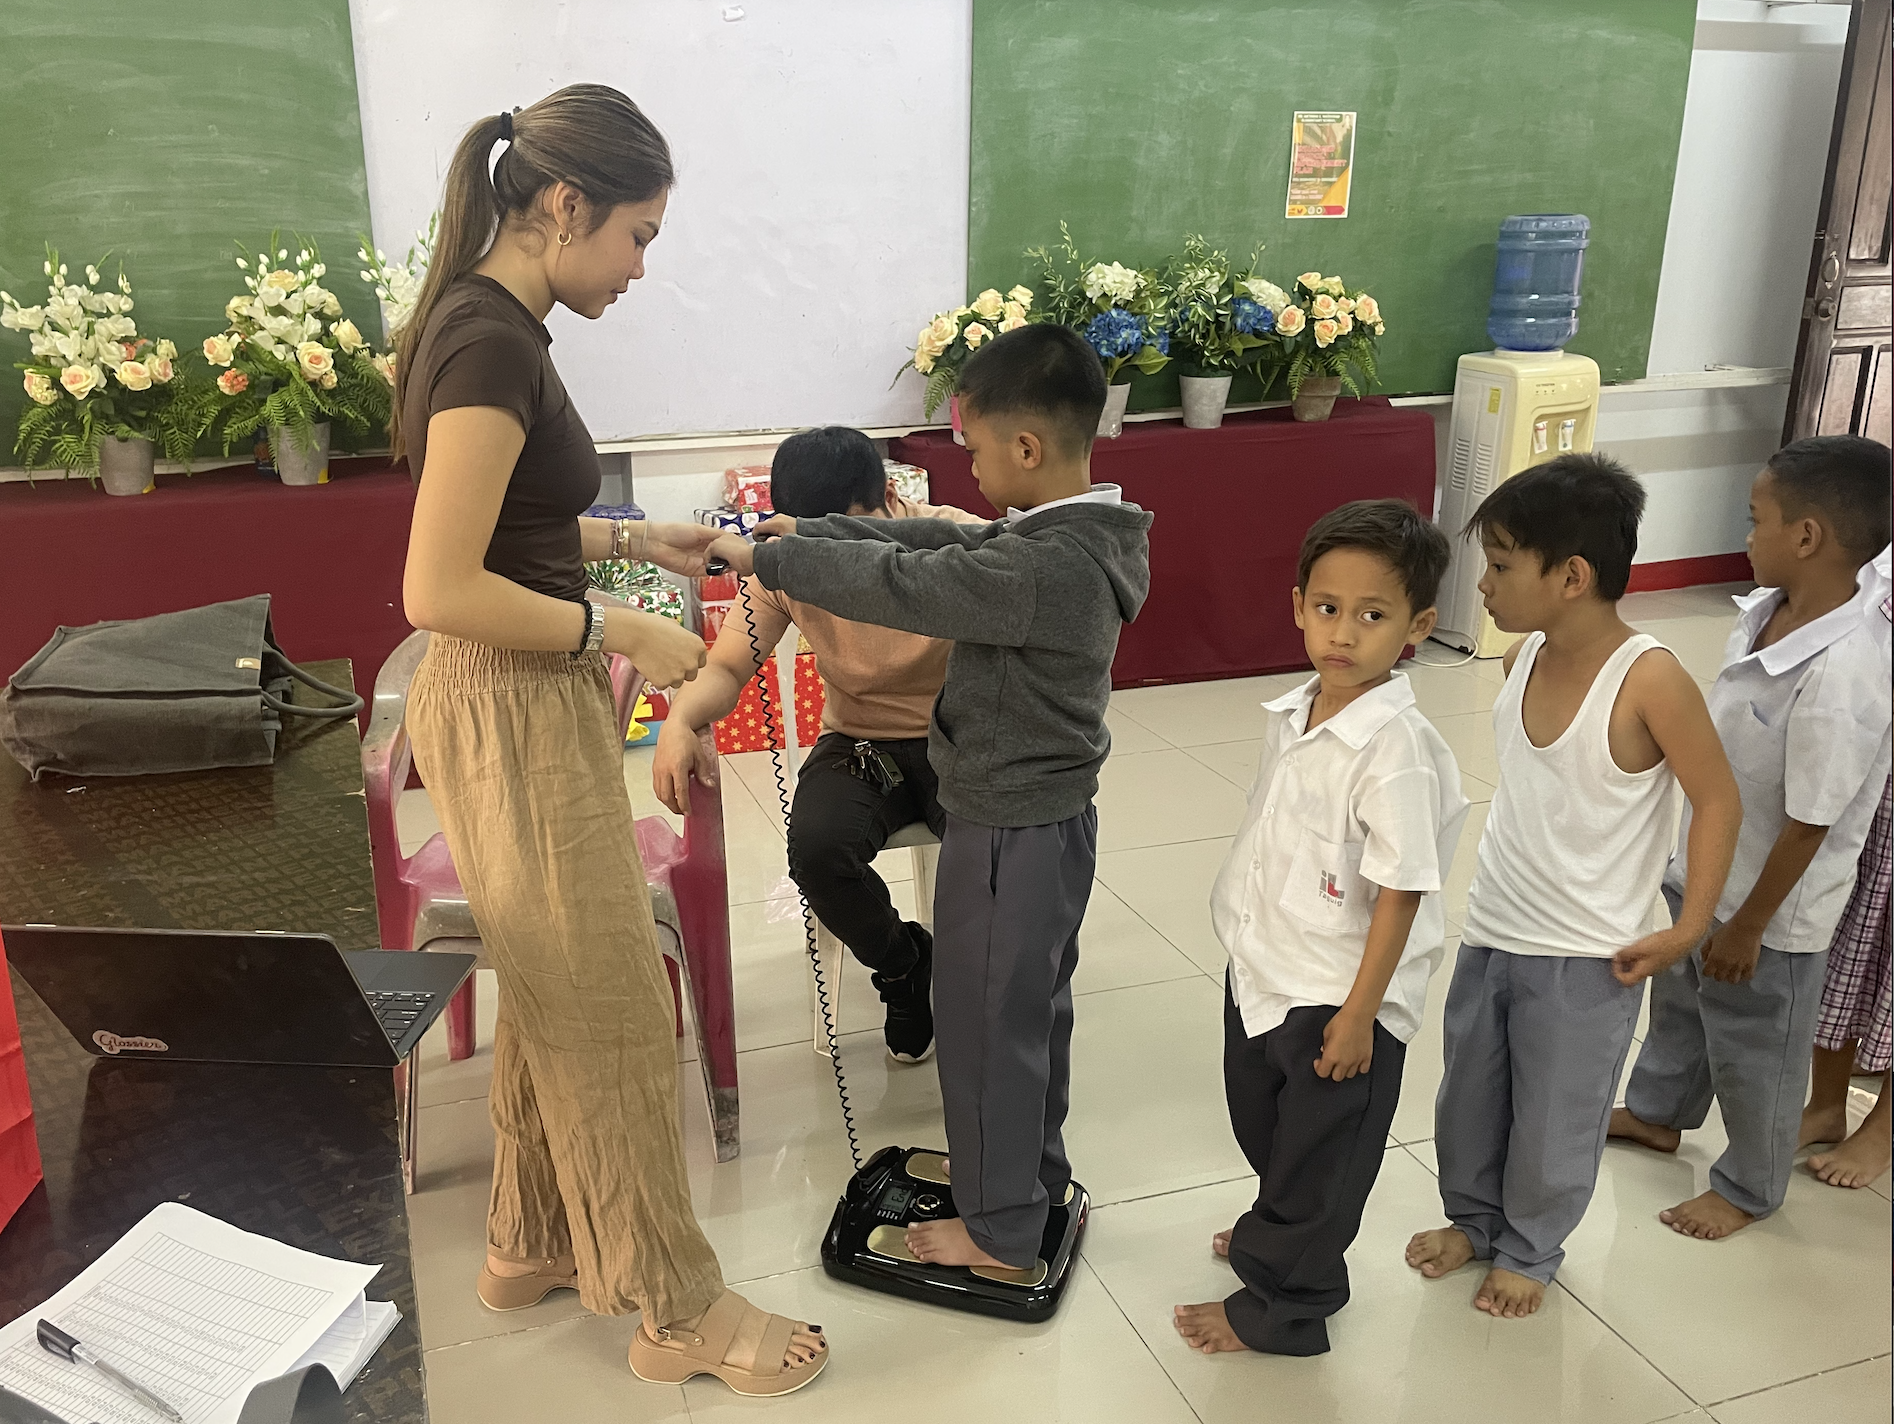
Nourishing the future: Solenne Santos takes steps to address child malnutrition
BY
The Lifestyle.INQ Staff
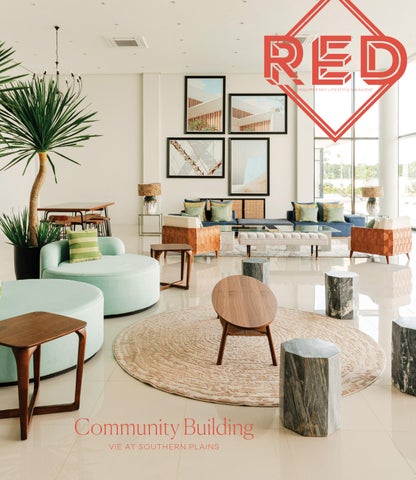
INQUIRER RED
RED August - September 2022
Insert some text here to add to the space?
VIEW MAGAZINE
FROM THE NICHE TITLES
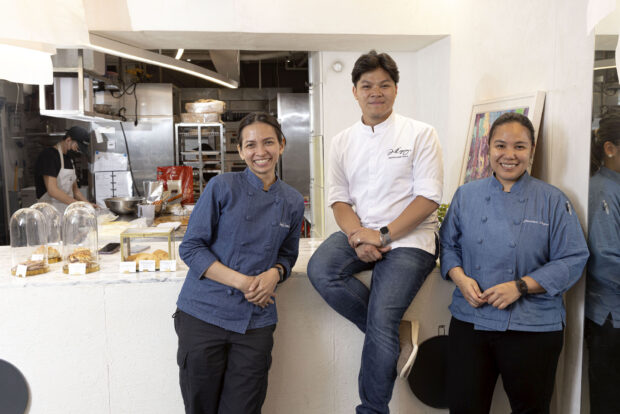
F&B Report
The Half Saints and Daniel Corpuz collaboration is more than just about food
BY JAR CONCENGCO
Multisport
Want to try out climbing? This community for women and by women is the safe space for you
BY ROMEO MORAN
Noli Soli
In defense of touristy spots—as a proud tourist
BY ANDREI YUVALLOS
Preen
6 local queer movies and shows to catch in 2023
BY AMRIE CRUZ
Scout
P-pop group VXON just wants to be honest with you
BY JELOU GALANG
Malaysian brand brews specialty coffee as a necessity rather than luxury
BY INQUIRER.NET BRANDROOM
Passion and ‘heart for children’ guide Wyeth Philippines’ new ‘Promil Gifted Brain Room’ Innovation
BY INQUIRER.NET BRANDROOM
Level up the summer fun with these cool hangout spots on your itinerary
BY INQUIRER.NET BRANDROOM
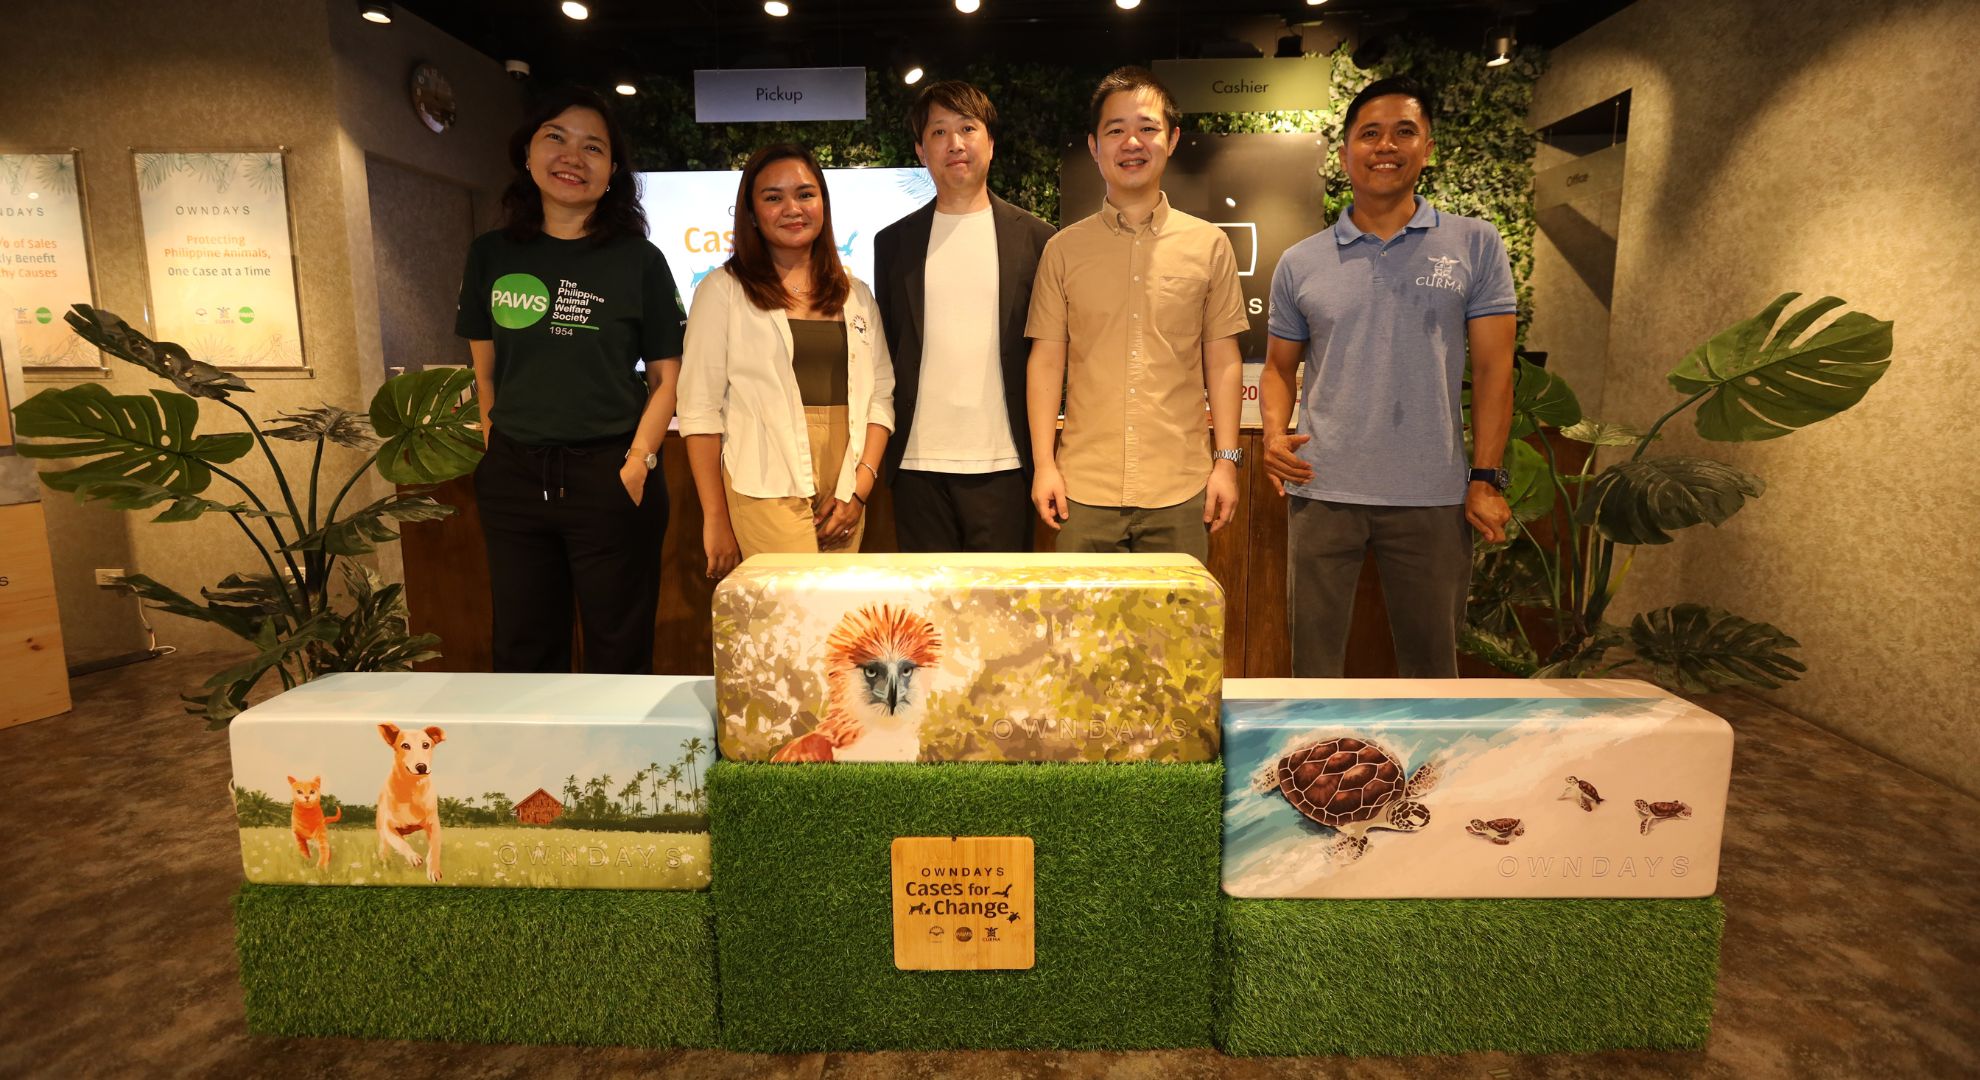
Owndays Philippines unveils ‘Cases For Change,’ an initiative for Philippine animal well-being
BY INQUIRER.NET BRANDROOM
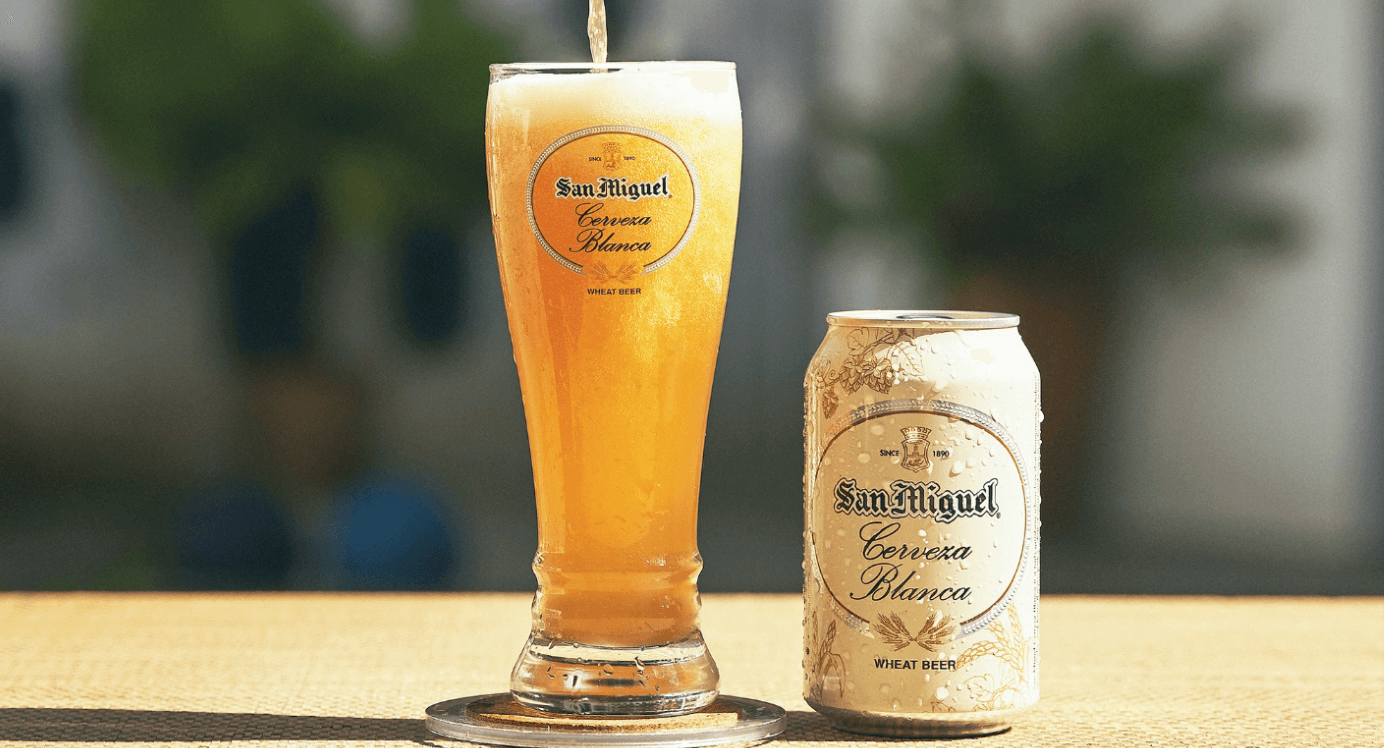
Beer trends and Filipino flavor fondness through the years
BY INQUIRER.NET BRANDROOM
The incalculable costs of hospitalization in the Philippines
BY INQUIRER.NET BRANDROOM
Previous
Next
McDonald’s McSavers Mix & Match: Make any day special for as low as Php 79
BY INQUIRER.NET BRANDROOM
Texas Roadhouse, Denny’s and Modern Shang are now open at Ayala Malls Vermosa
BY INQUIRER.NET BRANDROOM
How Organic European Dairy Contributes to a Balanced and Sustainable Diet
BY CARL MARTIN AGUSTIN
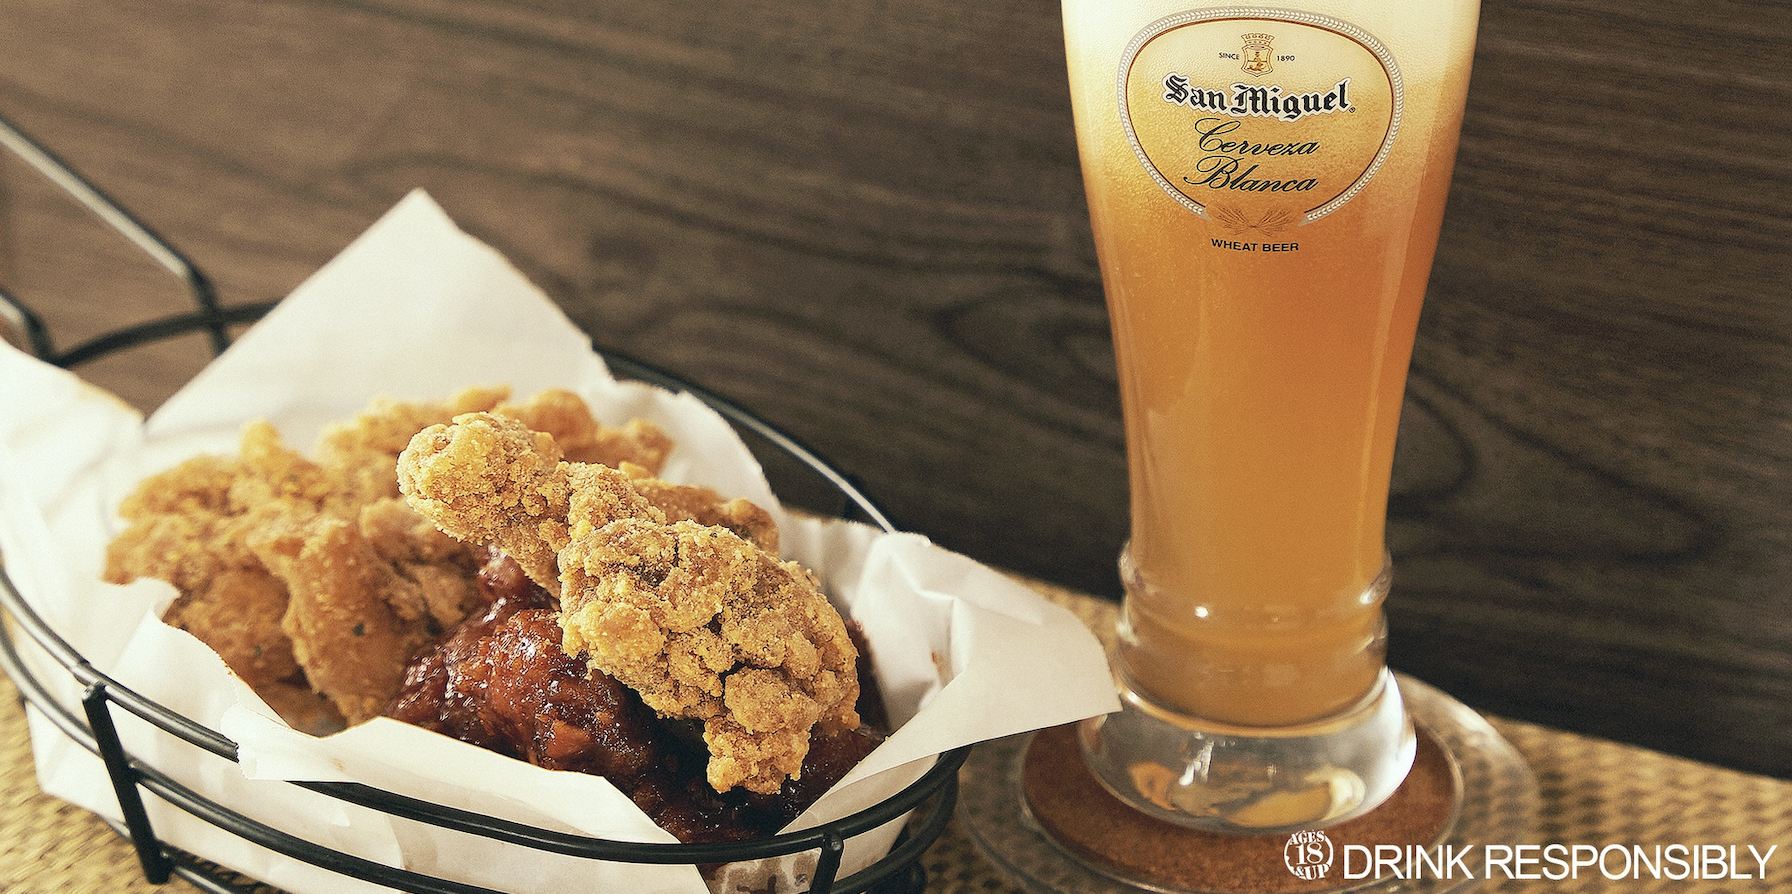
Have a distinct beer experience with this authentic local wheat beer
BY INQUIRER.NET BRANDROOM
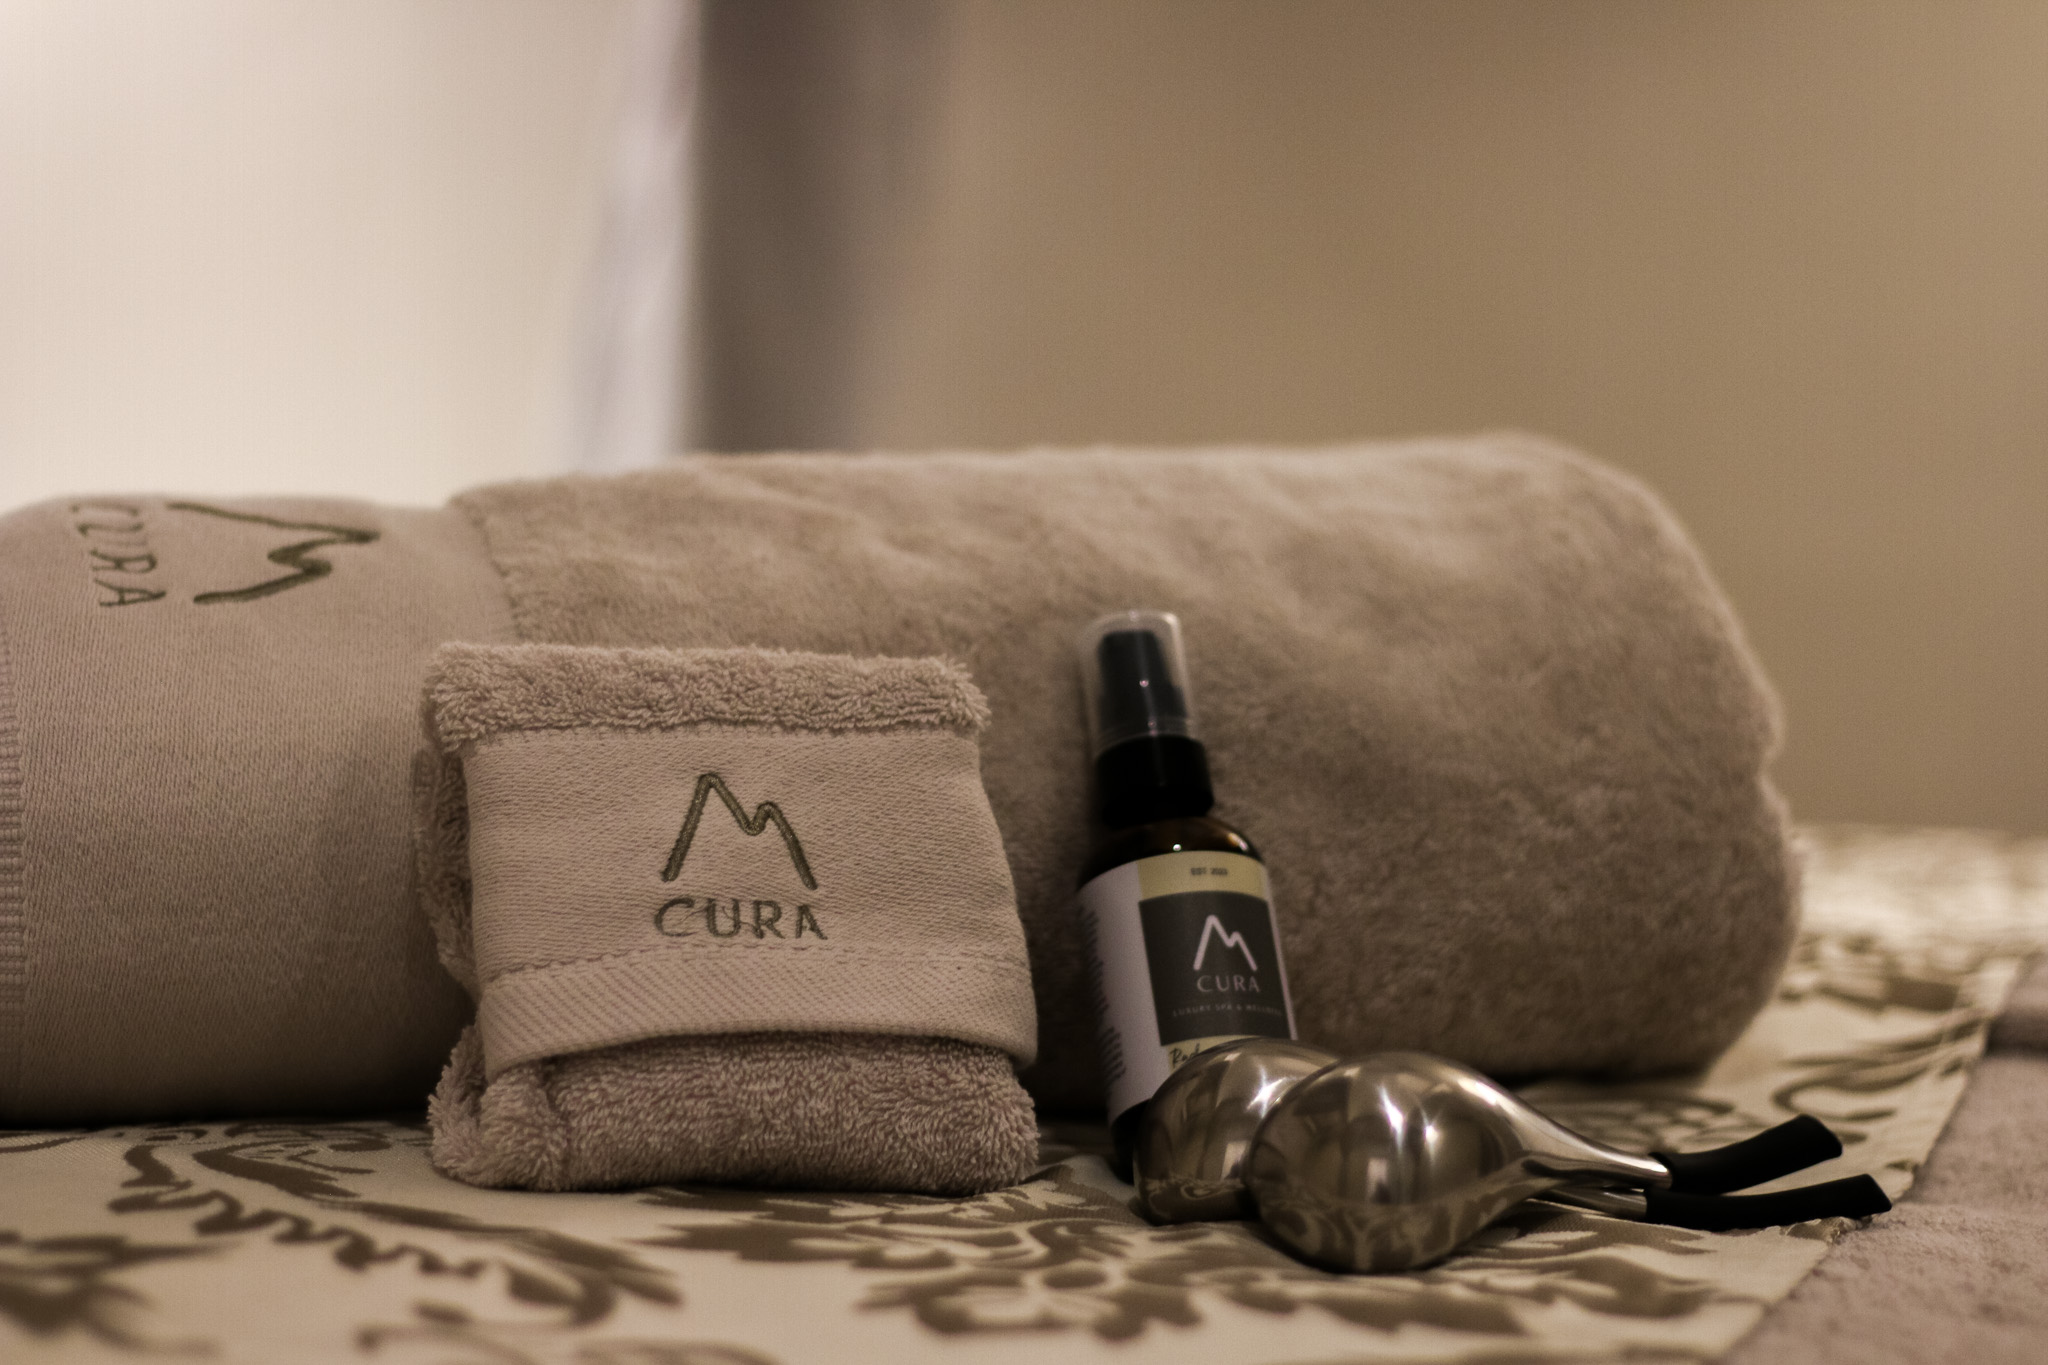
Embrace self-care at CURA Spa, Rancho Bernardo’s new luxury spa
BY INQUIRER.NET BRANDROOM
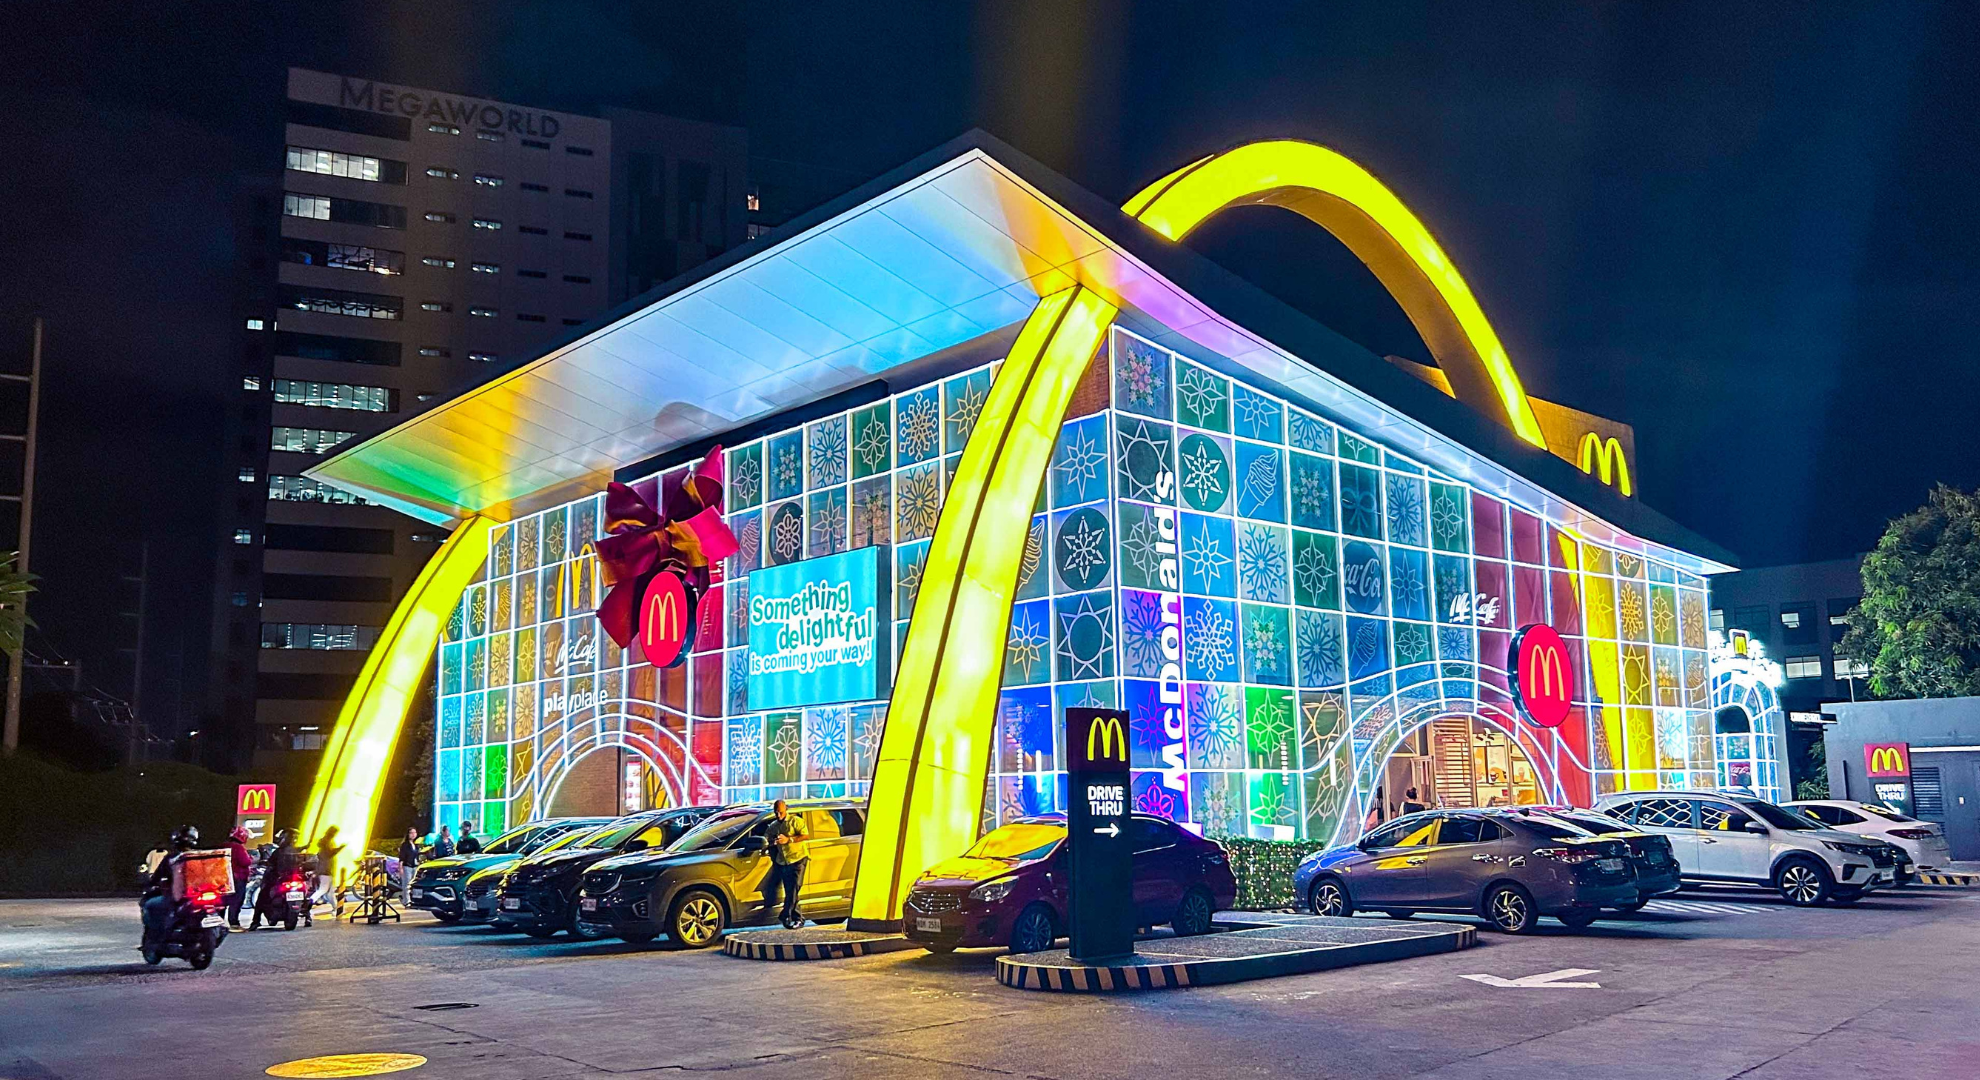
The McDonald’s Christmas Light Magic reflects 3 things Filipinos love about Christmas
BY INQUIRER.NET BRANDROOM
Previous
Next