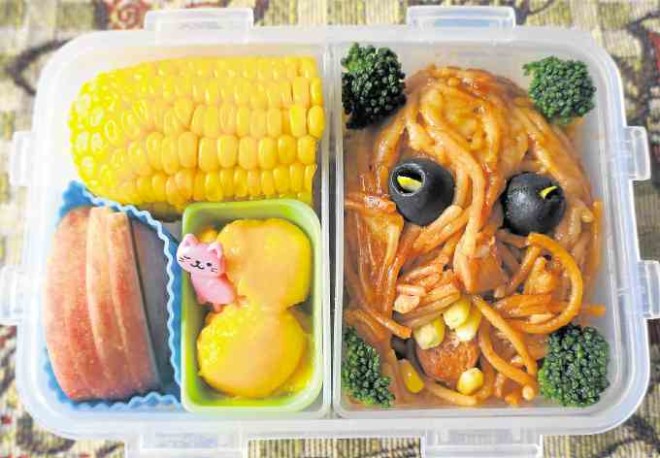
When my 5-year-old son Jack started kindergarten, our weekday lunches together ended. From preparing light snacks, I had to cook full meals.
That was how I got into making bento lunches—to transition us into this mealtime spent apart. I get to have a creative outlet while he gets to enjoy fun, homemade food at school.
It started out innocently enough; I read up on everything bento online, while I slowly built up my stash of bento tools (“Caution: slippery slope!” warned my friend and veteran bento-blogger at Kitchen Cow, Chrissie Peria).
At P66 to P88 an item at any Daiso store, starting out is easy (stopping, not so much).
The Japanese obento rules about colors and balance of carbs, veggies, fruit/treats and protein were a good guide, but not necessarily hard-and-fast rules.
The Western versions were mostly prepackaged, single-serve food in huge containers, reflective of their grab-and-go culture and hectic lifestyle.
Little extra
At first, it was overwhelming, seeing all these tools and intricately put-together meals. But, as I trudged on, one bento box at a time, it got easier.
I had to plan our meals for the home anyway; the process also added to the fun of planning an otherwise blah menu. It made me mindful of the quality and variety of the food we would eat.
I am still a rookie, but here are some things I learned along the way, having learned to prepare almost 70 bento boxes so far.
Keep it small
We use leak-proof Lock & Lock boxes with the two removable sections. Jack’s class gets only a few minutes to finish its meals, so I pack only what he can finish.
Food safety first
Newly cooked food can be safely stored at room temperature for up to two hours, so I pack Jack’s lunches cold. His class has access to a microwave, so I can prepare half of his meal to be heated while the other half can stay cool.
Japanese bentos are eaten lukewarm to cold, which is why there’s a pickled plum in the middle of the rice as antibacterial agent.
Plan ahead
Pinterest is a rich source of inspiration. Depending on the season, be creative before you plan the week’s menu and do your groceries. In October, Jack gets spooky lunches; in December, we can play around with Christmas themes.
Prepare what you can
One apple can be cut into wedges and styled as bunnies or checkerboards; soak in lemon water to prevent browning. You can make a tamagoyaki (egg roll), cut it up and store in the ref up to three days.
The freezer is your friend. You can portion out your rice into any shape you require and freeze them in cling wrap.
Fillers like broccoli and carrots can also be precut, blanched and stored in Ziploc bags in the freezer. Fresh fruit can be shaped into balls and refrigerated. Nori (seaweed) can be pre-punched.
Keep it tight
Pack the food snugly so the arrangement doesn’t get knocked around too much in the bag. I also use food dividers and silicone cups to add visual appeal and keep food in their place. It’s also helpful to think that the box is a snapshot of my child’s nutrition.
Enjoy the extra smiles and hugs!—CONTRIBUTED