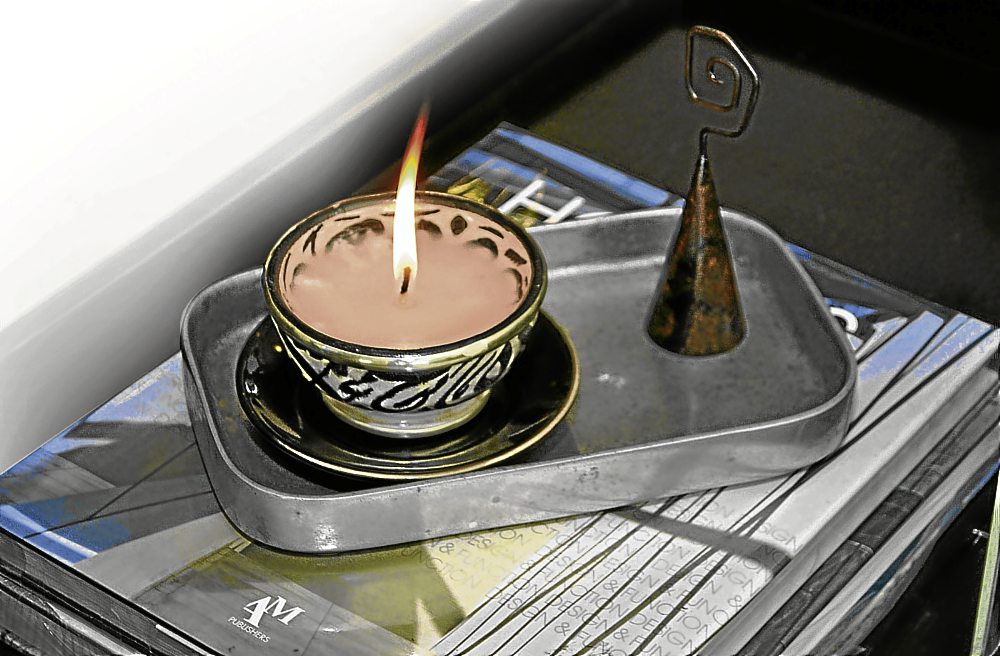
Candles have been a must-have décor for years now. They come in different sizes and shapes, the most common being the pillar candles.
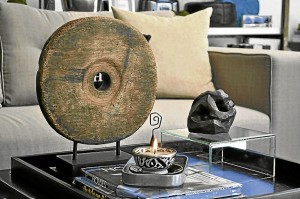
Displaying them in groupings mixed with other décor items creates an interesting tableaux on any tabletop.
Candles also make great gifts. There was one Christmas we received more than a dozen candles, and we must admit, they were all lit up and put to good use.
Lighting candles will often leave you with a hollow pillar of wax or a deformed “sculptural” block of wax. Give your old candles a new life with this DIY project.
Choose decorative containers that have been lying around your house—old tea cups, decorative vessels, clay pots, glasses and jars. Make sure the containers you choose are no fire hazards.
The process is simple and easy:
Choose a container and clean it well
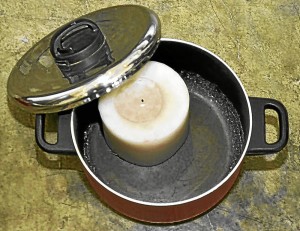
In a colander, place old candles and melt over medium heat
As the wax melts, use metal tongs to remove wicks. Do not make the wax reach boiling point. (If you have a candle thermometer, follow instructions.)
Option: you may add color to the wax by melting crayons with the wax.
Remove from heat and let stand.
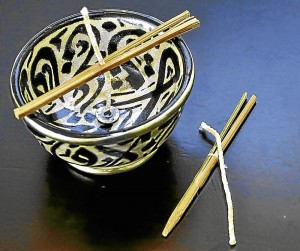
Prepare each container to receive melted wax. Place a wick weight—a small square piece of metal or a bottle cap will do. This will hold the wick down and allow it to stay in place when wax is poured into the container.
Use a nail to bore a hole in the middle of the wick weight.
Insert the wick into the hole of the wick weight and tie a knot to secure it.
Stretch the wick to reach the top of the container; add an extra two inches to the length so the wick extends past the tip of the top of the container
Tie the loose end of the wick around a wooden stick and let it rest on the top of the container, making sure that the wick is standing upright in the middle of the container.
Option: you may dip the wick, with the wick weight, in melted wax to coat it. This will allow it to stand straight when you position it in the container.
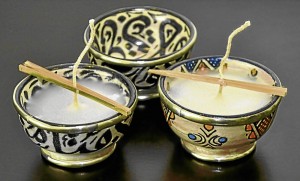
To hold the wick weight in place, position it in the center of the container’s base, pour approximately half an inch of melted wax over the wick weight, and let it dry.
When wax on the base is hardened and wick is straight and secured to the top of your container with the wooden stick, pour the remaining melted wax into the container till full.
Allow the wax to set (this could take several hours).
When wax has completely hardened, remove the wooden stick and cut the exposed wick, leaving about a half inch from the top of hardened wax.
Your candle should be ready to use; light it up and enjoy.

