Not a professional photographer but want to produce food photos designed to sell? Don’t worry. It’s not as complicated as you think. You don’t even need a high quality camera just to take outstanding photos for your business’ social media account.
Follow these simple techniques in food photography.
Know your aesthetics
Before you start, make sure that your shoot concept fits the image of your brand. Will it require props or simple styling? Knowing your aesthetic will allow you to strike the balance among the elements (such as color, lighting and design) you need in your photos as well as create a consistent visual appeal that you want your brand to be known for.
Use natural light
Photographers usually go natural, especially when shooting food. Oftentimes one source of light is enough as this will provide the best illumination for food as well as highlight its textures. Be careful when working with flash as this can create harsh reflections and glare which will make your food look like it’s floating in space.

Incorporate simple photography techniques
There are principles of photography that you can easily follow—you don’t need to be an expert to understand it. You can utilize the depth of field principle to draw focus on the important area of the photograph as this technique works with the range of distance. This will work well when you have a small focal point in a picture. Another technique you can use is the rule of thirds. Place your main subject not in the center of the photograph, but in one of the “thirds” of the shot. To identify these “thirds,” imagine the scene to be divided into nine equal parts.
Work with colors and shadows
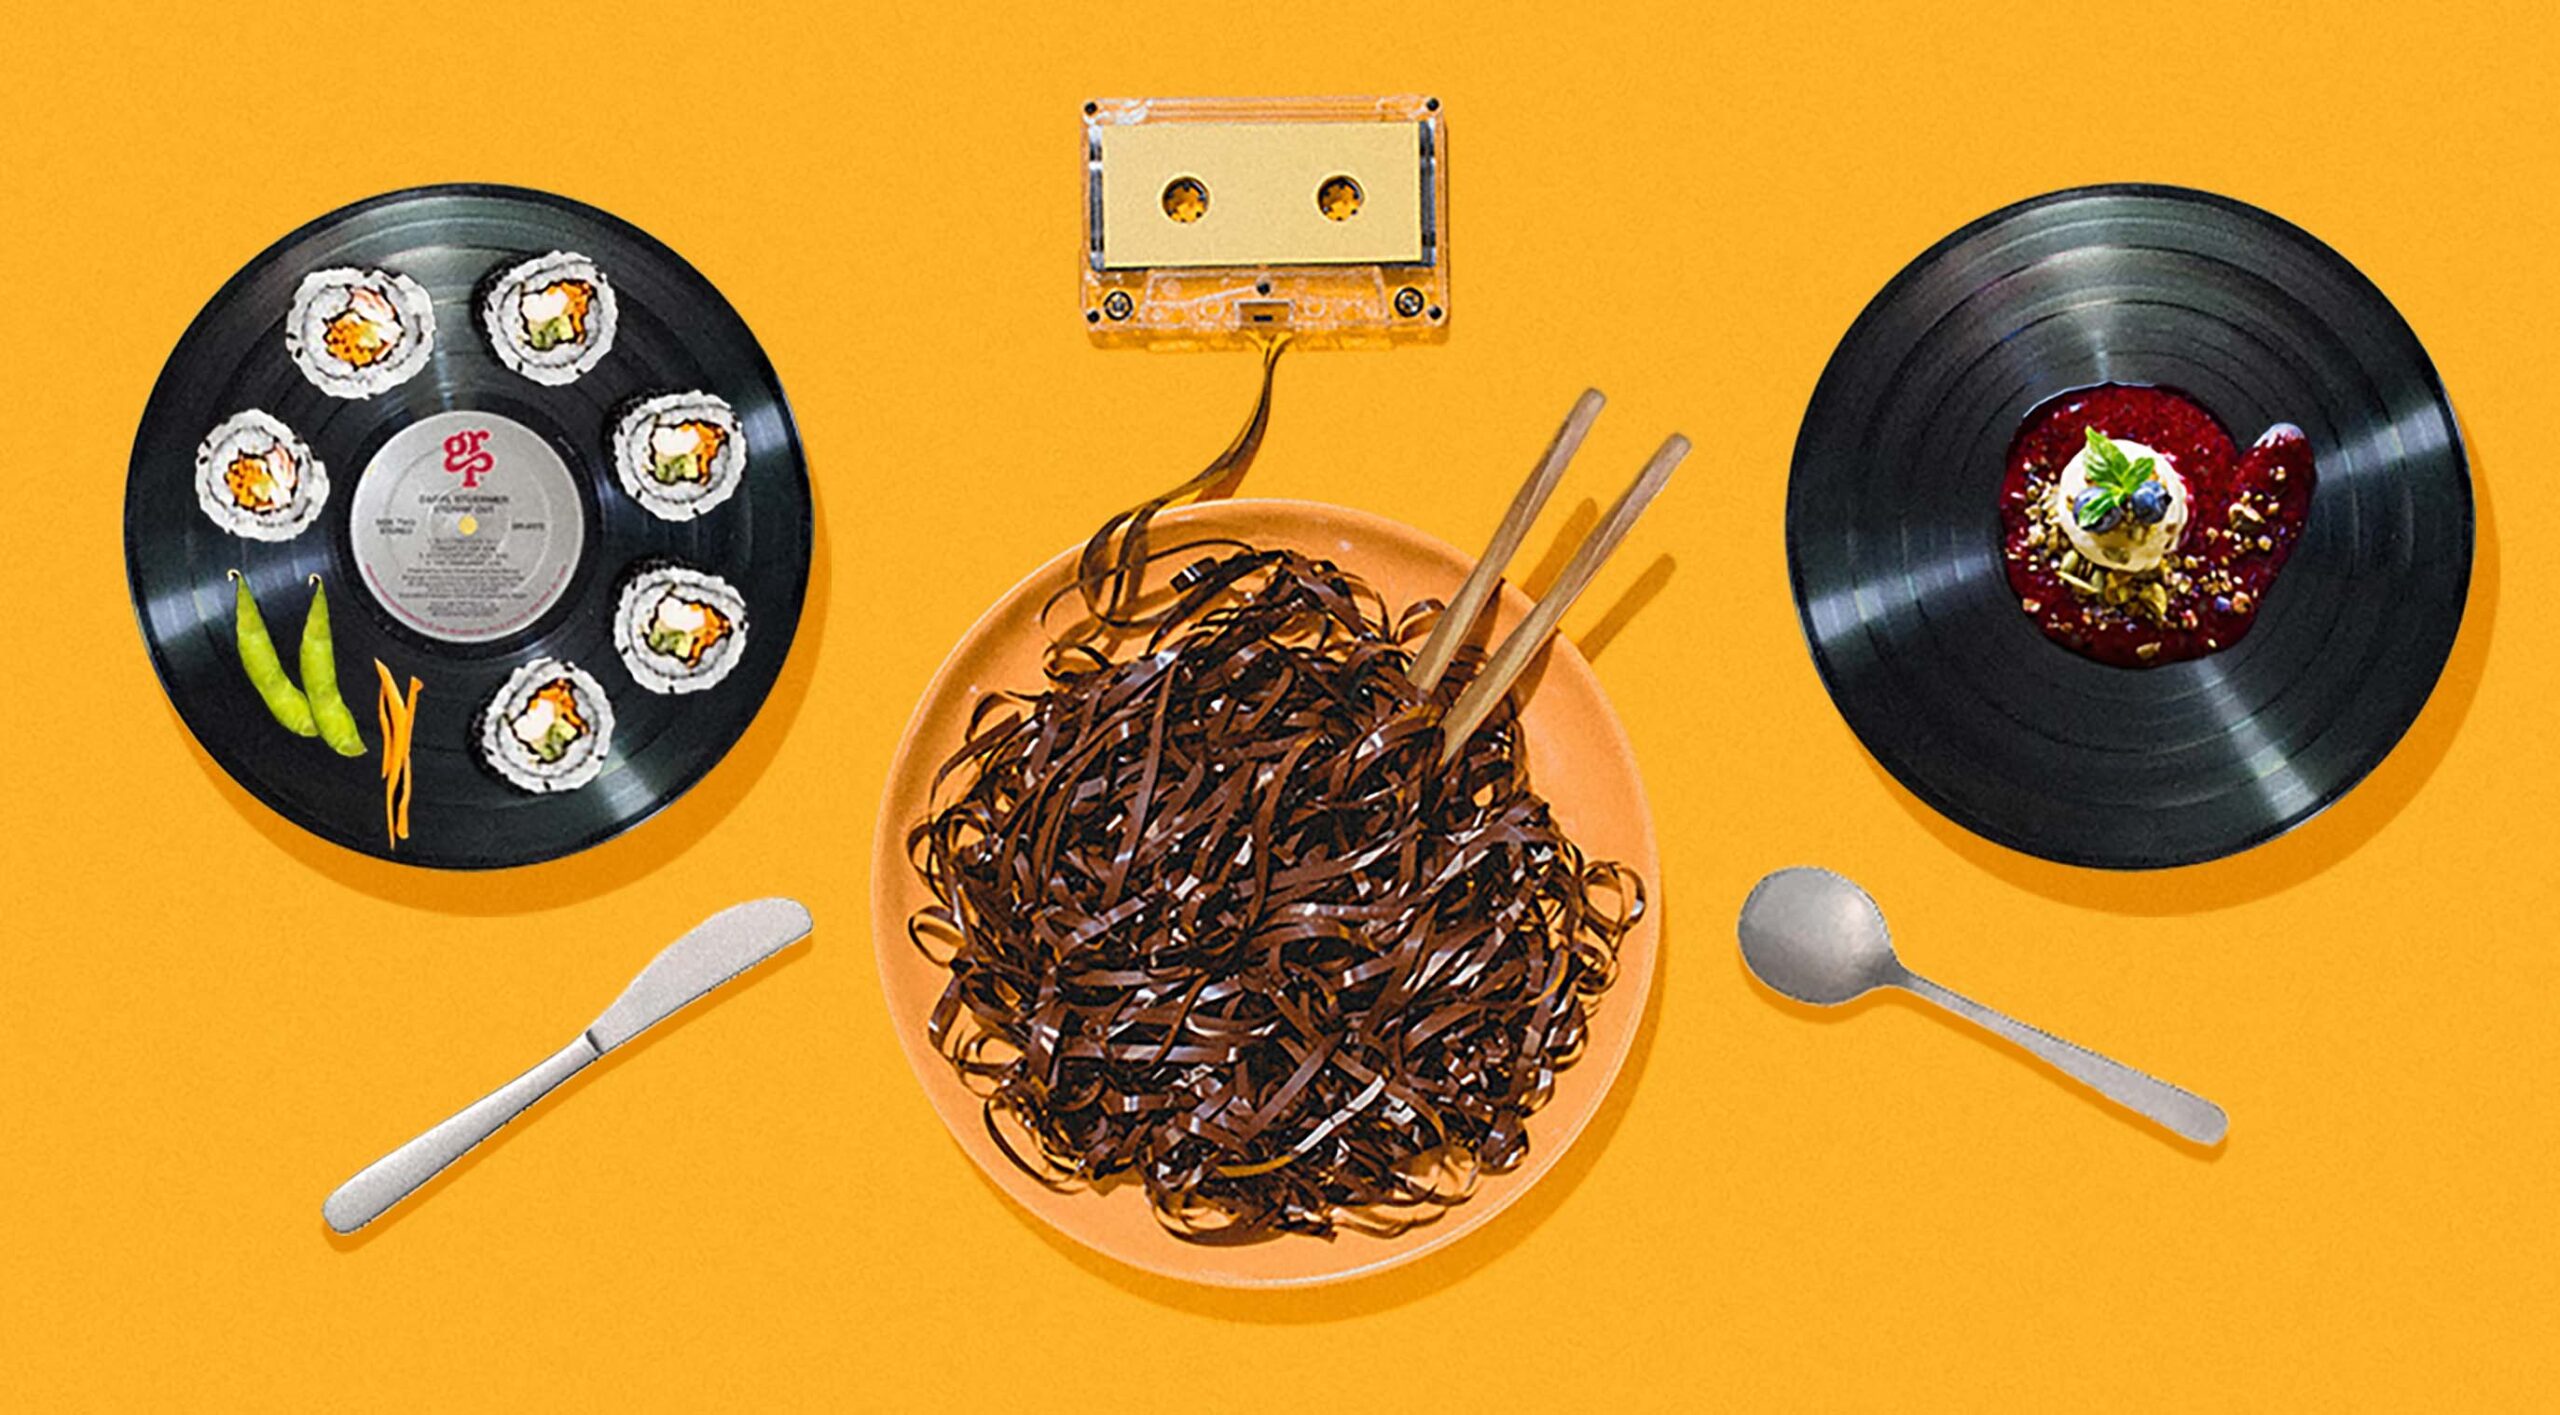
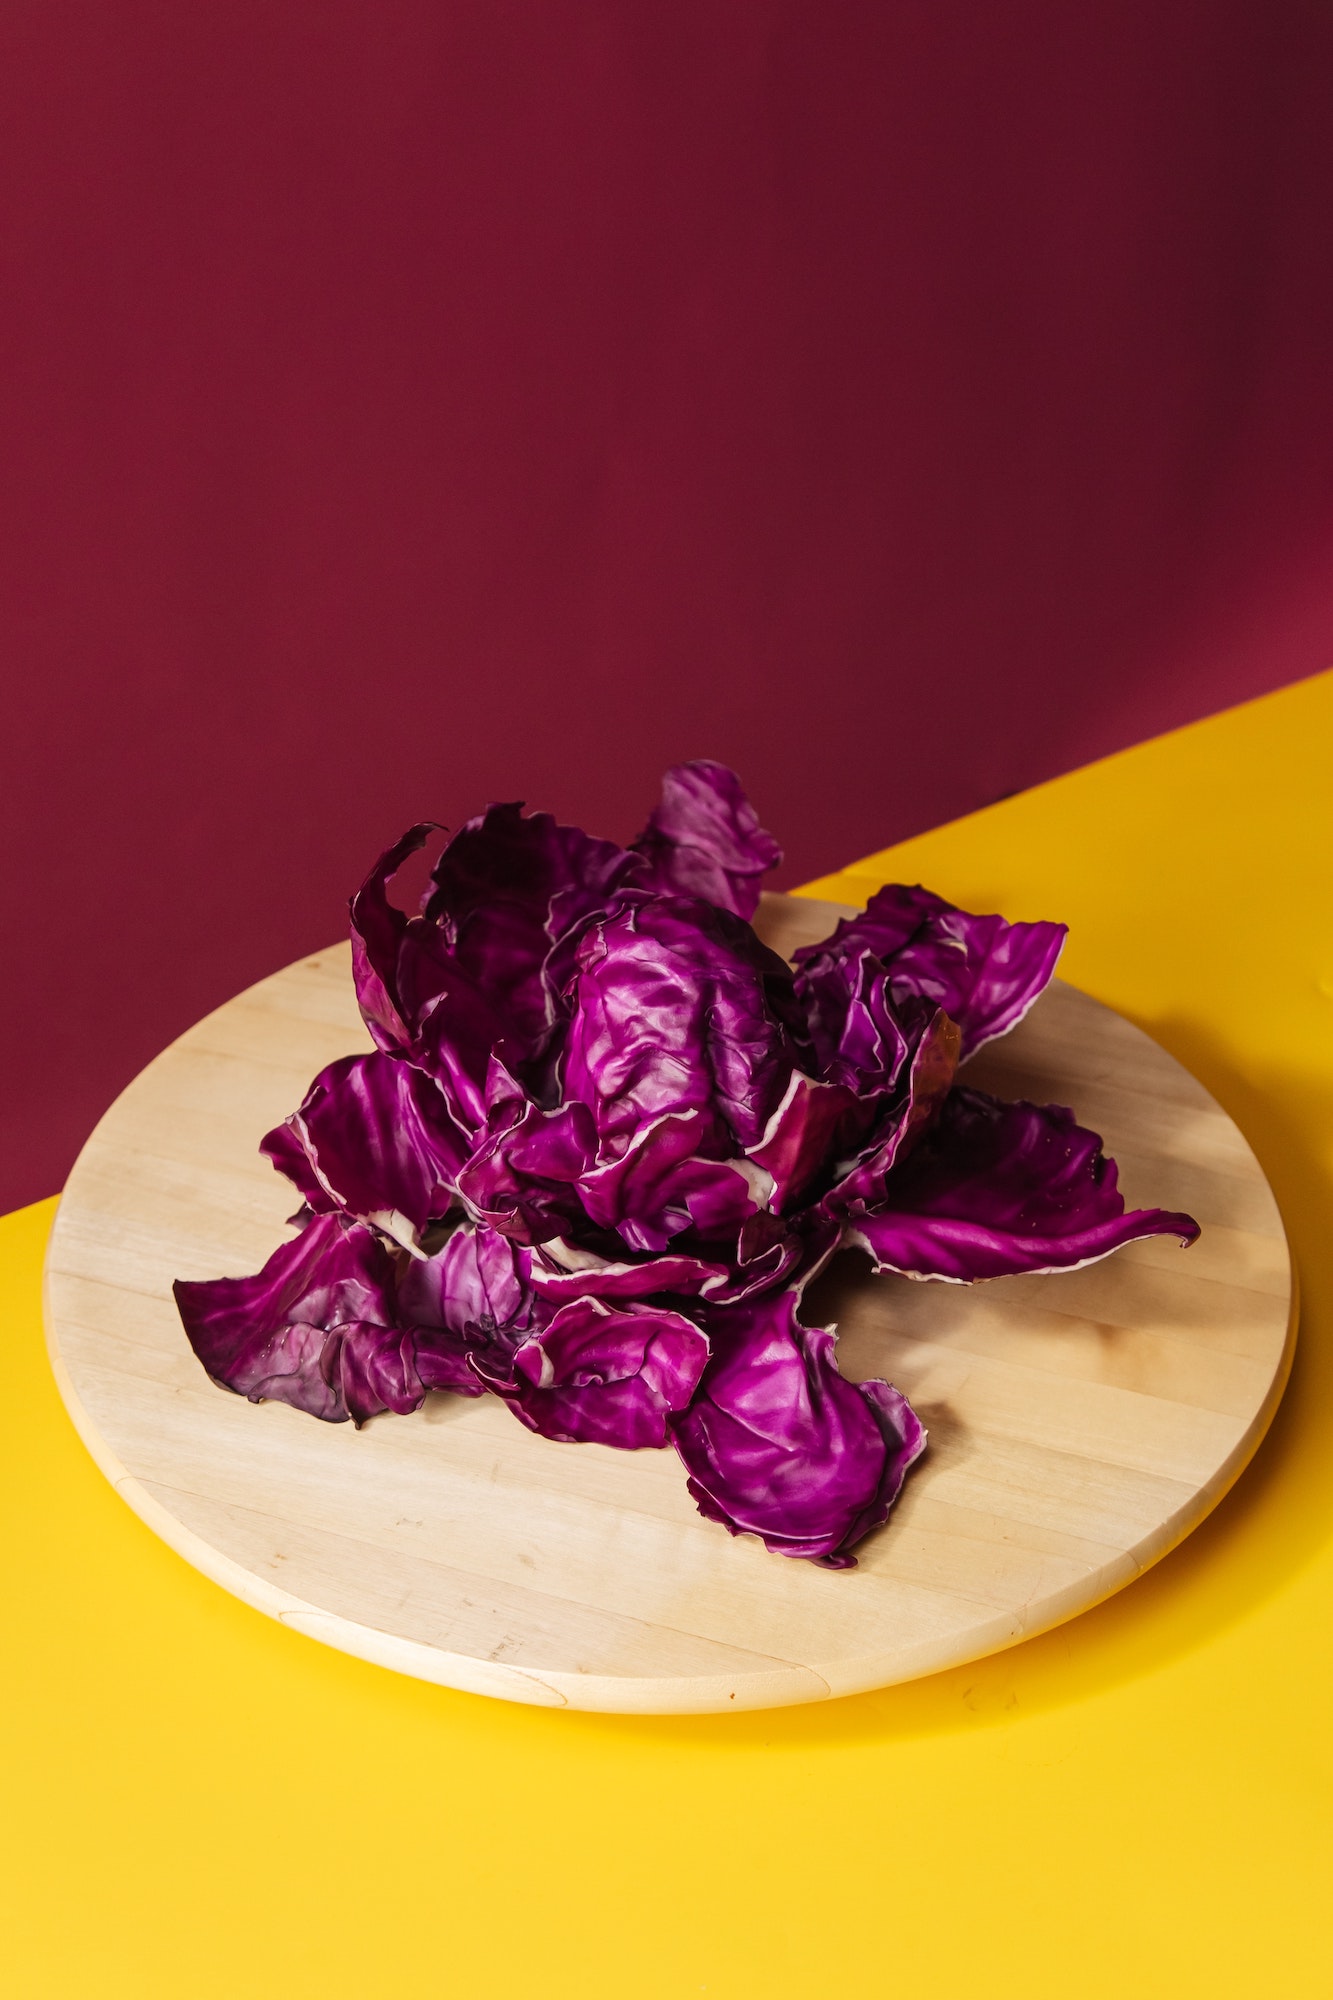
Colors greatly impact the composition and overall feel of your image. Know which colors evoke certain feelings that you want your viewers to feel, such as comfort and tranquility. You can also use contrasting colors to create a vibrant and dynamic photo that will attract your market’s attention.
On the other hand, shadows will add more depth to your image. The intensity of a shadow will depend on the type of light you use, whether it’s overcast daylight that creates soft shadows or direct sunlight that will create solid ones. In most cases, hard shadows are avoided in still life photography. If you’re shooting under direct light, make use of a reflector (a white piece of paper will do) to diffuse light. Soft shadows are more flattering since it creates a more subtle depth and dimension without overpowering the whole photo.
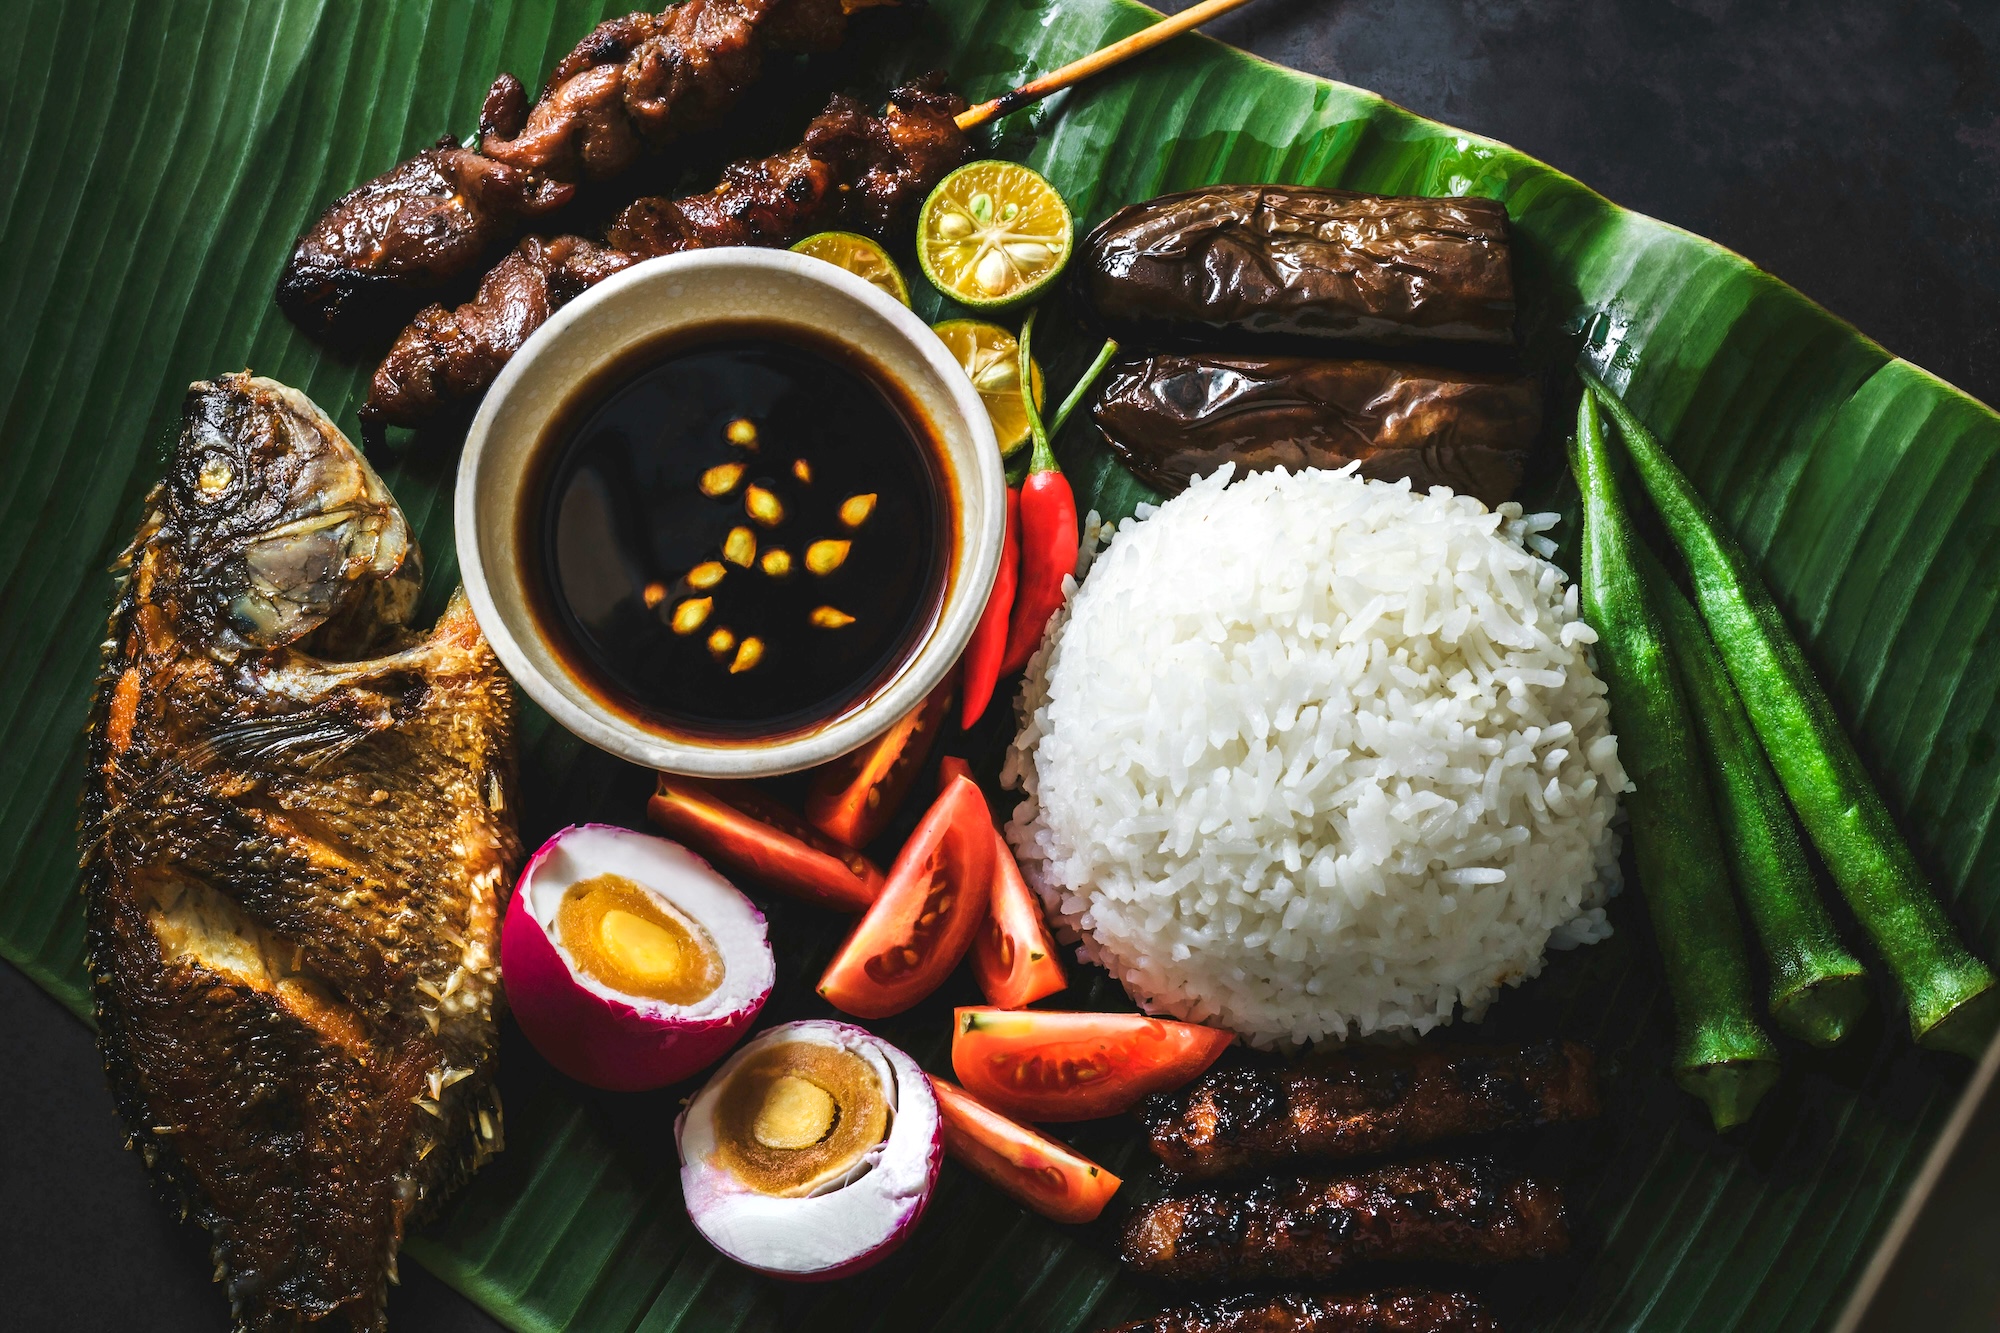
It’s also important to find the right angle when shooting to capture the dimensions of your food. A top angle is usually the go-to perspective since this includes the details of the food and background as well as emphasize other objects in the scene.
Have a neat plate and clean background
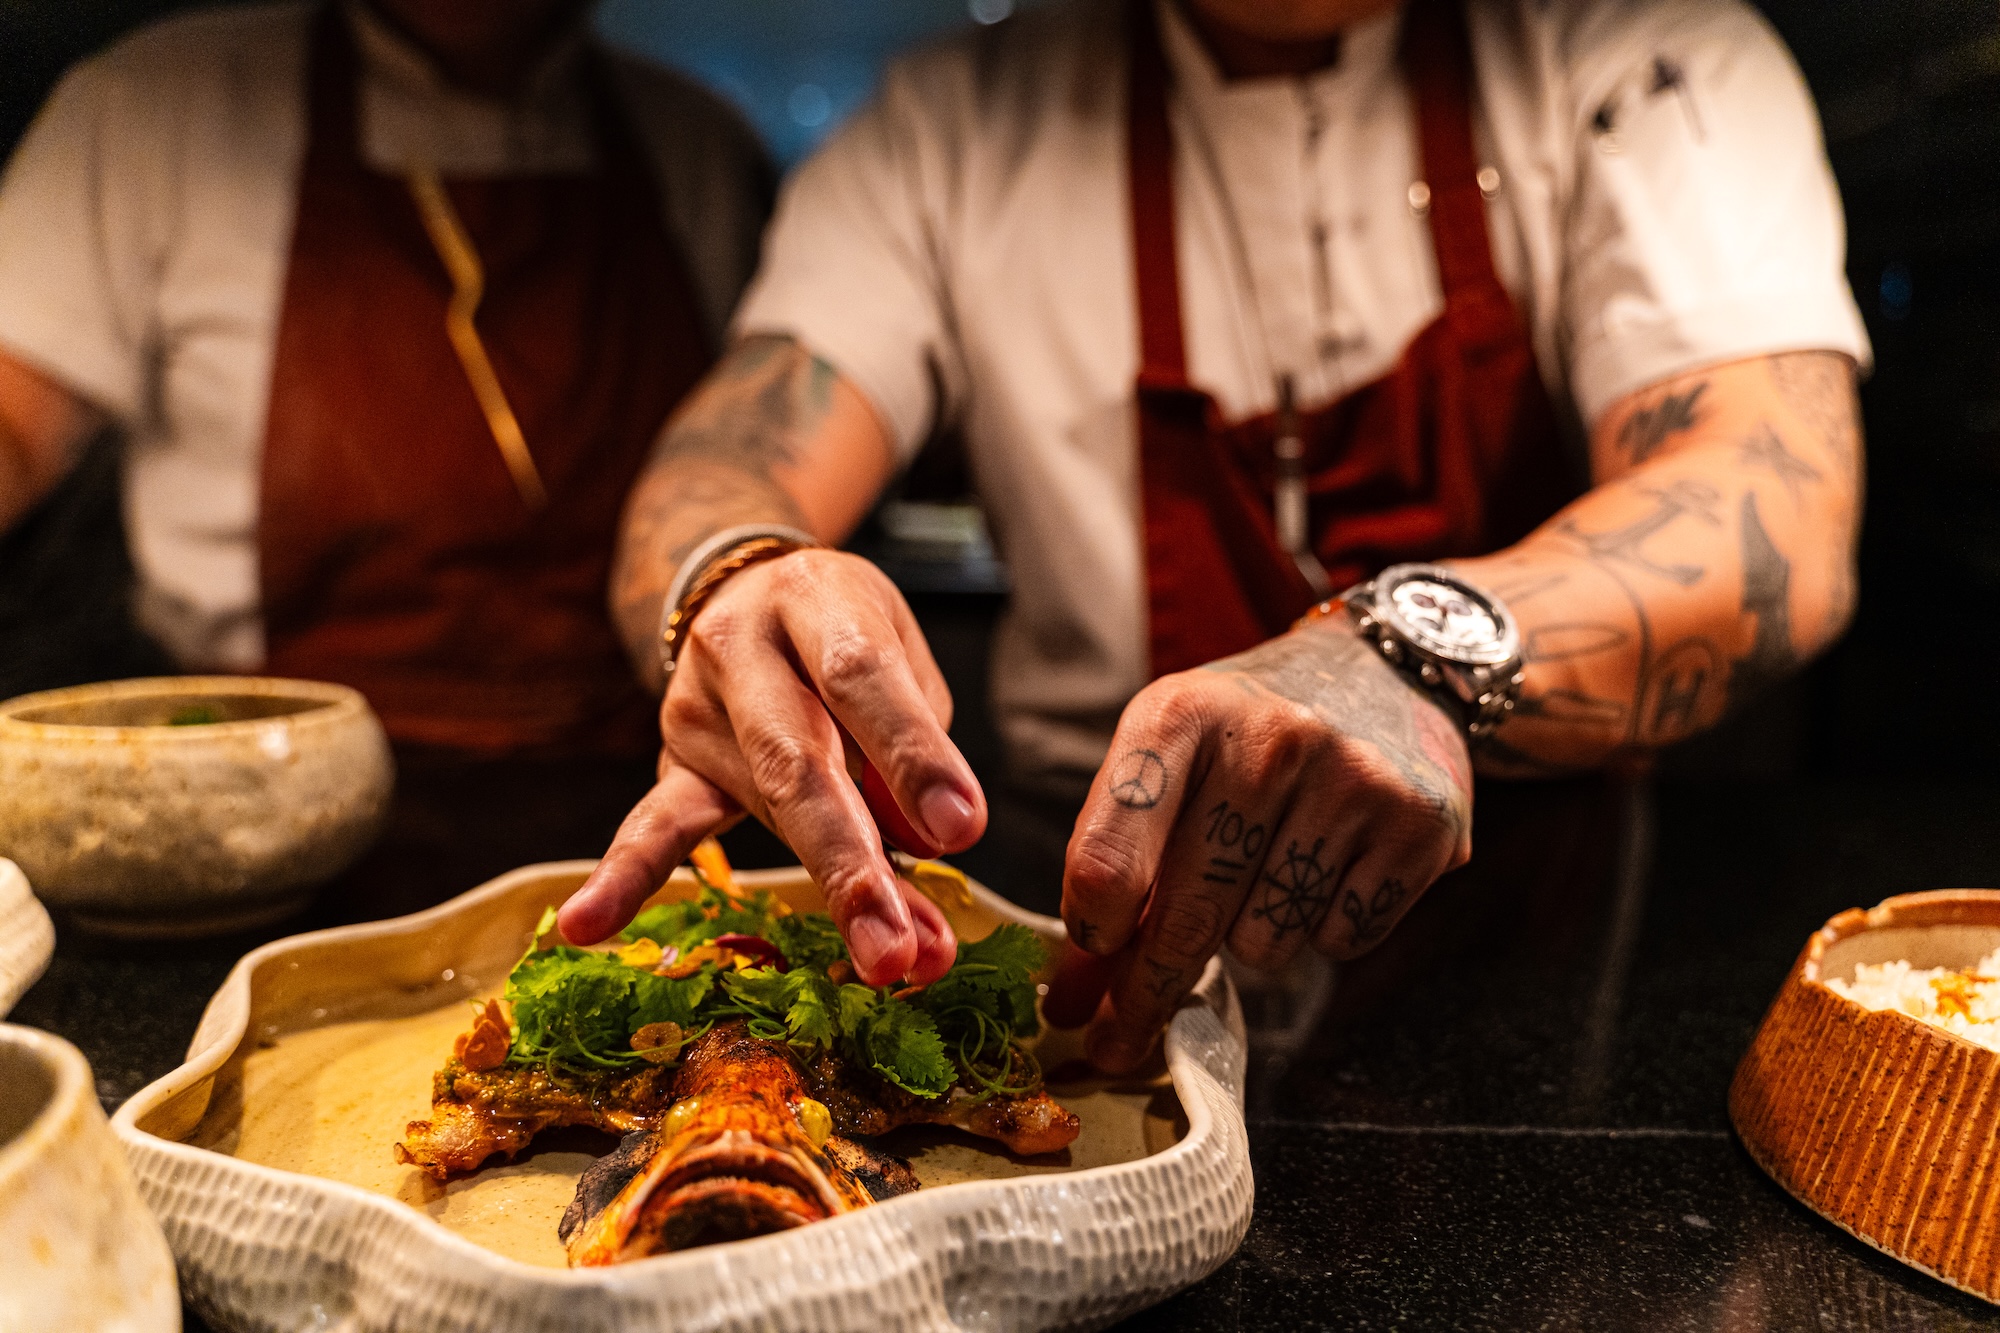
A tiny smudge or a misplaced ingredient can easily distract a viewer and ruin the photo. Be very particular about your food’s arrangement. Sometimes the best way to go is simplicity. Try using a tweezer (similar to what professional photographers do) to arrange the tiny details of your food. Similarly, keep your background clean since this can take the attention away from your subject. Other elements will make your photo more interesting, even create a story, but if you have too many decorations, there won’t be any breathing space for your food. This will instead make your photo look overcrowded and cluttered.
Be creative in editing
Sometimes, your phone or camera wouldn’t be able to capture the actual colors of your food. When processing your photos for editing, you can easily sharpen your image, make it more vivid or even mute the colors. There are many free downloadable apps that will help you get started on editing. Filters and other individual adjustment tools, such as color saturation, temperature and tint, will greatly enhance your photographs.
However, make sure that your edits aren’t too far to what you’re actually offering as this can be misleading. You don’t want your photos to be the source of issues that will be detrimental to your business or even cause its downfall.
Subscribe to our weekly newsletter to receive all the tools and solutions entrepreneurs need to stay updated on the latest news in the industry

