OVERWHELMED with thousands of photos in your computer? Driven crazy by the thought that they can all just disappear one day?
It’s time to declutter that drive.
Sure, some photos for public consumption you can upload onto the cloud or Facebook. The instant gratification of being able to share albums with friends and family and collect likes and comments is undeniable, but there is no guarantee how long that platform would last. (Remember Multiply?)
The satisfaction of swiping through memories is incomparable to that of turning printed pages.
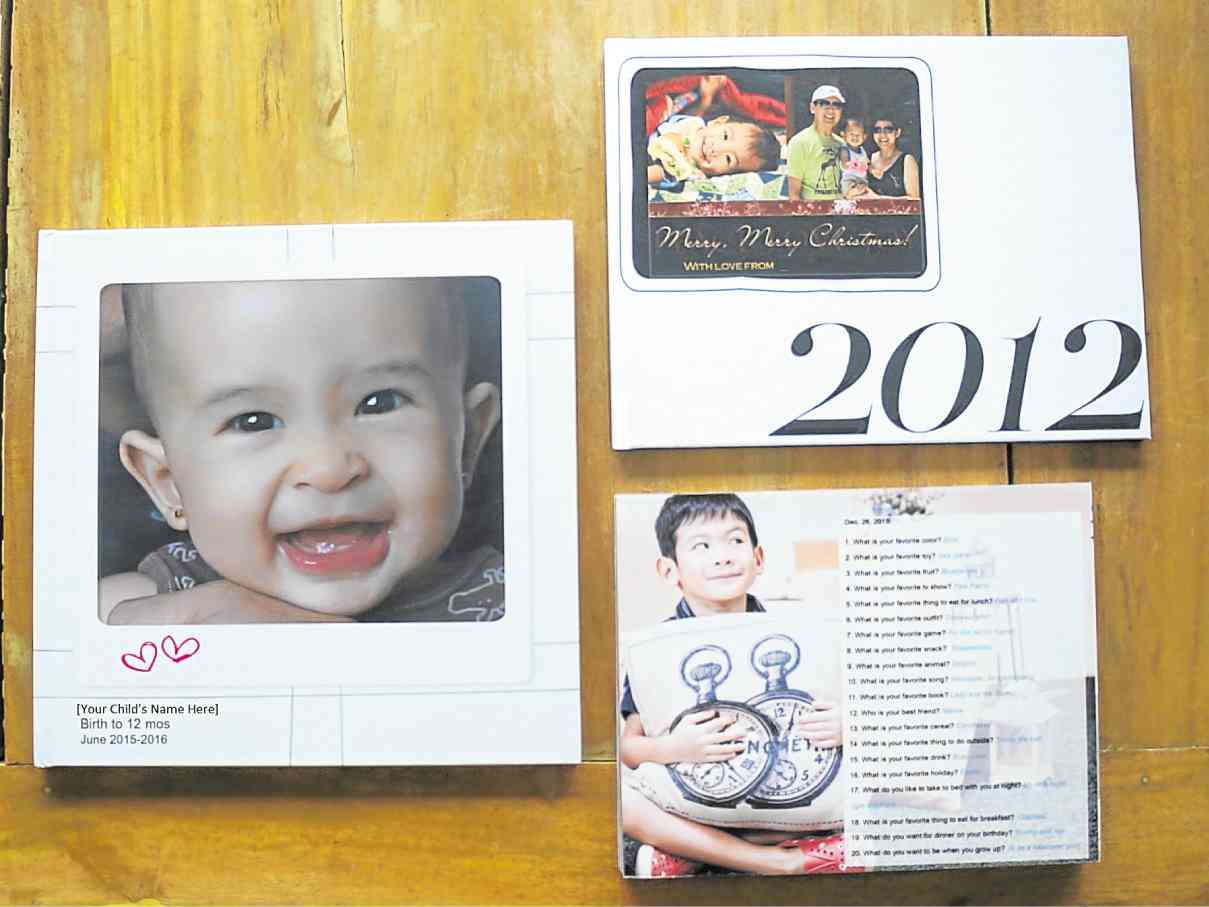
I was inspired by a Pinterest post of a mom who made magazine-like yearbooks of her child. They were thin tomes of curated shots of her unica hija for each year of her life, noting down her favorite food, movie, etc.
As the family paparazzi and scribe, I have the daunting task of organizing all our photos. Here are some guidelines I go by:
Clarify your objective
The Pinterest mom’s albums were beautiful, but as someone with more than one kid, I needed to be clear in my motive: to cram as many memories as I could into a format that adequately summarizes the year that was. (After all, on top of everything else, I still have videos to organize.)
By memories, I mean not just photos, but other printable material as well.
Realistically plan for sustainability
What can you realistically commit to accomplish? If you have more than one child, this is important. You wouldn’t want your youngest to feel shortchanged when life happens and he ends up album-less.
As the eldest of four, I had the most photo albums. Being the lone kid for six years meant my mom had time to use Dymo labels and organize my photos on sticky pages of padded albums.
My siblings got the minimalist versions. Succeeding albums got mixed with family, then disappeared altogether as it just became too cumbersome to put together and store.
For now, perhaps just make family yearbooks instead of having separate ones for the kids, to make the load more manageable. Or take your cue from Stephen Covey and begin with the end in mind, by streamlining your process of photo-taking and organizing from the get-go.
Select a photo book maker
I’ve tried three suppliers and they all have the same user-friendly software, but you can’t print interchangeably between them.
While there are some local purveyors of such photo books, I’ve had the best experience with Photobook Worldwide. It has special offers year-round and offer vouchers on sites like Metrodeal. For instance, you can get an 11 x 11-inch album worth P4,000 for P849 (plus shipping of P320, still a sweet deal overall).
Orders made through the Photobook Philippines site are printed in Malaysia. Shipping is done via DHL and takes about three to five days to deliver to your doorstep.
Choose a format
There is a beauty in having all albums the same size and look, but the reality is that the first few books you make might not look as good as succeeding ones, or vice versa.
A popular size is 8.5 x 11-in landscape, with 40 pages. At this size, I usually set a limit at 240 photos max. Any smaller and you’ll have teenier than wallet-size photos, and they won’t look good in print.
You can always add more pages if your family’s year was more exciting than usual. Whatever you decide, try to be as consistent as possible so there is some cohesion.
Make the cut
Before digicams, each shot of a reel of 24 or 36 had to be thoughtfully composed. Not so post-smartphone, when you can mindlessly click away and delete later.
Then again, not everyone deletes as regularly as they should, and lots of duplicates and throwaway shots continue to squat in precious storage space. When this piles up, it can get overwhelming, so be judicious in weeding out the losers from the keepers.
I organize our photos by month and/or year (or whatever makes sense), and as our family grew, segregated family photos from individual photos. As I dump the photos into our computer, I already segregate them this way. That pre-work helps when it’s time to build a photo book.
Plan your layout
Photo book software usually have auto-wizards or templates that are easy to use, and allow your select shots to “breathe” in proper white space, but you won’t be able to get as many photos in.
If your goal (like me) is to save as many photos as you can, you’ll need to customize your own layouts, with a maximum of six to seven photos per page.
As if choosing pics wasn’t challenging enough, there’s also managing the portrait and landscape orientation of your photos, balancing chronological order and flow, and deciding which photos deserve to be blown up.
For baby albums, milestones such as first solid food, first tooth, first steps, haircut, height and weight are nice to include.
For toddlers/preschoolers, scan select kiddie artwork so you won’t need to deal with too much physical clutter. I also keep a Word file where I log in my kids’ quotable quotes, along with the dates. Every year on my son’s birthday since he turned three, I ask him the same 20 questions (about his favorites, what he wants to be when he grows up), and it’s cute to note how his answers change through the years.
All these little nuggets can be standalone text blocks if you have the space, or superimposed over photos if you don’t.
If it matters, you can also superimpose the dates on each photo, just like our grandparents wrote dates on the backs of photos. Sometimes, it’s just nice to know—and has settled many a debate regarding when family members did what.
Don’t forget to add the title, and maybe year and other info, onto the spine of your cover so it’s easy to see what’s inside each book when it’s displayed on your shelf.
My favorite part is receiving the finished book via courier, thumbing through the pages and relishing the year that was.

