 A bow tie is used to hold the opening of a man’s shirt. These days, it is mostly used as a tool of function and fashion by guys and fashion-forward girls.
This will teach you how to make your own bow tie without shredding too much cash.
You’ll need
10” x 6” piece of fabric
4” x 2” piece of fabric
1” safety pin
Fabric glue or glue gun (Blue highlights show where glue is supposed to be placed).
1. These 10” x 6” and 4” x 2” fabrics are from my old white shorts; no need to buy new fabrics. Be resourceful.
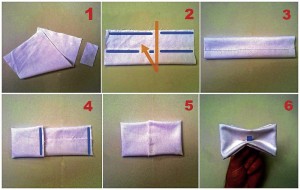
2. Lay the fabric and flip it halfway. Put glue horizontally on both tops. Since the fabric glue that I used is white, Sew No More (you can find it in hardware shops), I used a blue highlighter so you can see clearly where glue is supposed to be placed.
3. Press both tips together until bonded. Don’t worry too much about the fabric runs, you can use the glue to stop them.
4. Horizontally fold the fabric halfway and put glue on both sides.
5. Press both tips together until bonded. Photo No. 5 photo shows how the back looks like.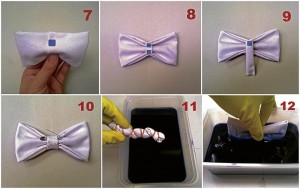
6. On the front, put glue on the center and press it until closed. (Blue highlights show where glue is supposed to be placed.)
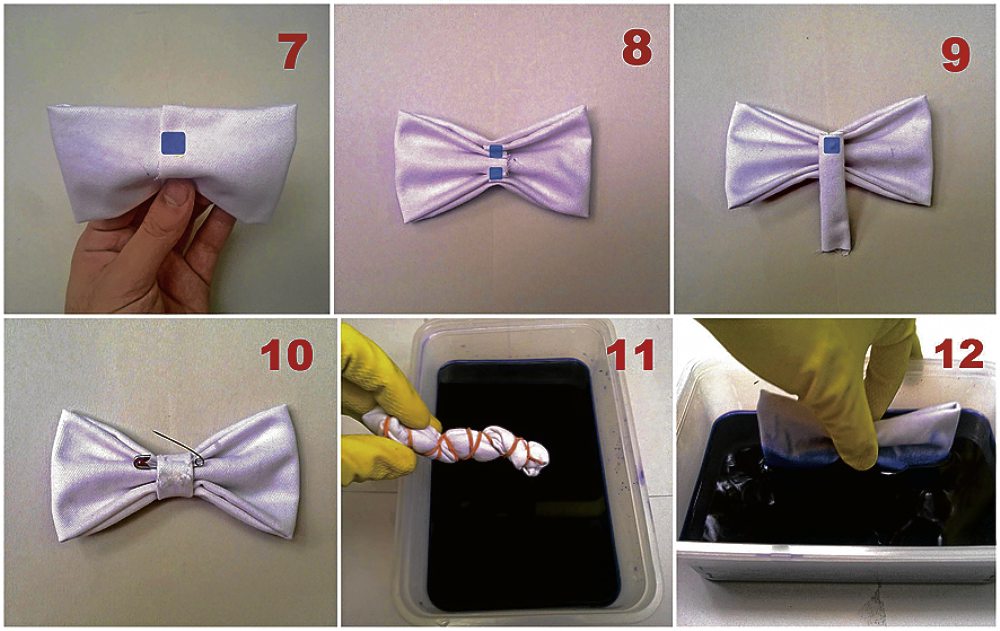
7. Turn it around again and drop glue on top and bottom, on the pinched section.
8. Photo No. 8 shows where the glue was placed and pinched closed.
9. Place the smaller piece of fabric at the center and put glue. Do step No. 2 on the smaller fabric, too.
10. Wrap the entire strip at the center of the tie and glue it closed. Since we’re going for the very basic way, insert the safety pin, and your bow tie is ready!
You can stop at step 10 if you want, but since my bow tie is pure white, I felt the need play it up a bit more and let dye get in the way. Let’s proceed to step 11 if you want to dye your bow ties, too!
You’ll need
Dye
Container
Warm water
Rubber bands

Put warm water in a container and dissolve the dye in it. If you’re not familiar with dyeing, instructions can be found in the dye sachet, the Internet or, last resort, from your mom.
11. Make sure the rubber bands are hugging the fabric as tight as possible. Dip the fabric in the dye for 10 seconds. Immediately release the fabric from the rubber bands and rinse with water until the water is almost colorless. Hang to dry, and your tie-dyed bow tie is ready.
12. Dip the bow tie halfway for 60 seconds. Rinse with water until the water is almost colorless. Hang to dry and your Ombre bow tie is ready.
You can just pin the bow tie right above the button hole of your polo, and you’re good to go. Now you can save your bow-tie money for something else, because you’ve learned to make your own today. I hope you enjoyed making your personalized and original bow ties as much as I did. Always be imaginative and resourceful. Why buy when you can DIY?

