Making my own bread at home is a level of self-sufficiency I wasn’t quite willing to breach, however desperate the times.
However, I was pleased to see photos of glorious, crusty boules of golden brown artisanal breads on my social media feed, made by everyone, from rookie home bakers to Martha Stewart. Everyone seems to be baking bread, perhaps out of need or just to fill the gaps in their days, cooped up at home.
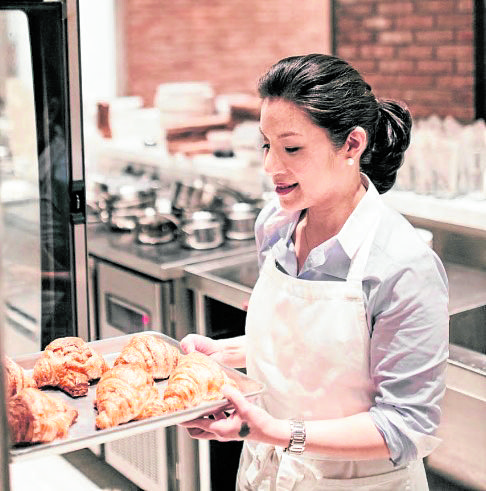
Ana Lorenzana de Ocampo, founder, co-owner and CEO of Wildflour Café + Bakery (@wildflourmanila, @wildflourtogo for takeout/delivery), advises wannabe bread bakers to have the basic tools, including a stand mixer with dough hook attachment, a weighing scale for precise measuring, and bowls to keep ingredients for prepping and mixing.
In place of electric mixer, you can use your hands to knead dough, as long as you’re making only small batches, says De Ocampo, who has degrees in hotel and restaurant management from the University of the Philippines Diliman and culinary arts from Le Cordon Bleu in London. It’s the kneading part in bread making that many bakers claim to be therapeutic.
“Also, it would be nice to have a Dutch oven because it creates a temperature-stable baking environment,” she adds.
(A Dutch oven or a Pyrex bowl is the equipment required for the no-knead bread that everyone seems to be making. Adapted recipe below.)
“Being able to create proper steam in your technique is key, and also having good quality ingredients,” she says.
Science
Beyond chocolate chip cookies, muffins and the imperishable banana bread, I’ve always found the fundamentals of baking fastidious and a tad intimidating.
I learned the hard way one time too many what they say about baking as an exact science. It requires following steps to the letter. Variables must be right for the product to come out great. Following the exact recipe twice doesn’t always yield similar results, because maybe the yeast is fickle, or the room temperature isn’t right, etc.
When you’re used to taking liberties with recipes of dishes, unconcerned with exact measurements and such, you set yourself up for disappointment if you apply the same in baking.
There’s also the wait. Some of us are just not wired for the long wait of “feeding” a sourdough starter for days until it’s ready for use, then waiting for hours more for the dough to proof.
Fickle yeast
That changed when I found a forgotten Ziploc bag of active dry yeast in my freezer, from an abandoned attempt to make bread in late 2016. I made garlic and rosemary focaccia, which seemed easy enough and didn’t require long hours of proofing.
While the focaccia tasted good, it lacked bulk and structure. (A friend who asked for the recipe had better results, judging from her photos.) I surmised there was an issue with the yeast.
Active dry yeast, I learned, stays good when kept in the freezer. To test, combine 2 tsp of it with 1 tsp sugar in ½ c of lukewarm water and leave it for 10 minutes. If it “blooms” or bubbles and expands, it’s still active. A commercial baker told me that you could compensate for old yeast, like the one from my freezer, by using more than what the recipe calls for.
There was no way to try making focaccia again, since flour is in short supply. When I was able to restock, I made pan de sal instead, which required only about an hour overall to make. Beginner’s luck—it came out quite decent, and I set out to make some again the next day. Same recipe, same conditions, but it came out a dud. The dough just wouldn’t rise and it was a warm and humid day, perfect for proofing dough. Beats me.
Make your own ‘levain’
Unlike this failed baker, De Ocampo prefers to make her own levain or sourdough starter to leaven her bread. (She shares a recipe below for both levain and a big batch of sourdough bread. Just do the math when making a smaller batch.)
“For first-time bakers, if you have the luxury of time, try to make your own levain. It will make a world of difference. Using levain or natural yeast instead of commercial yeast will make a huge difference in the flavor and structure of your bread.”
Starter yeast, she explains, “is your levain, a natural yeast that gives bread a natural sour flavor due to the fermentation.” Starter yeasts are nonpackaged yeasts you can make. It’s typically a combination of flour, water and active dry yeast. (Many home bakers during lockdown are using packaged instant and active dry yeasts.)
A typical levain is a mixture of flour and water that’s kept at room temperature to ferment and is “fed” for several days. Some add fruit or dried fruit to this mixture. “I like using grapes because there is natural yeast on the skin of grapes,” says De Ocampo. “It’s good to have the right room temperature so the yeast ferments naturally. It’s also important to use filtered water so that your starter stays as healthy as possible.”
She also recommends Chad Robertson’s “Tartine Bread” book for those who want to learn how to make a starter from scratch and how to bake sourdough using a Dutch oven.
“Aside from this,” she adds, “patience and practice are essential to baking bread at home.”
I think that means I will have to keep paying for good bread.
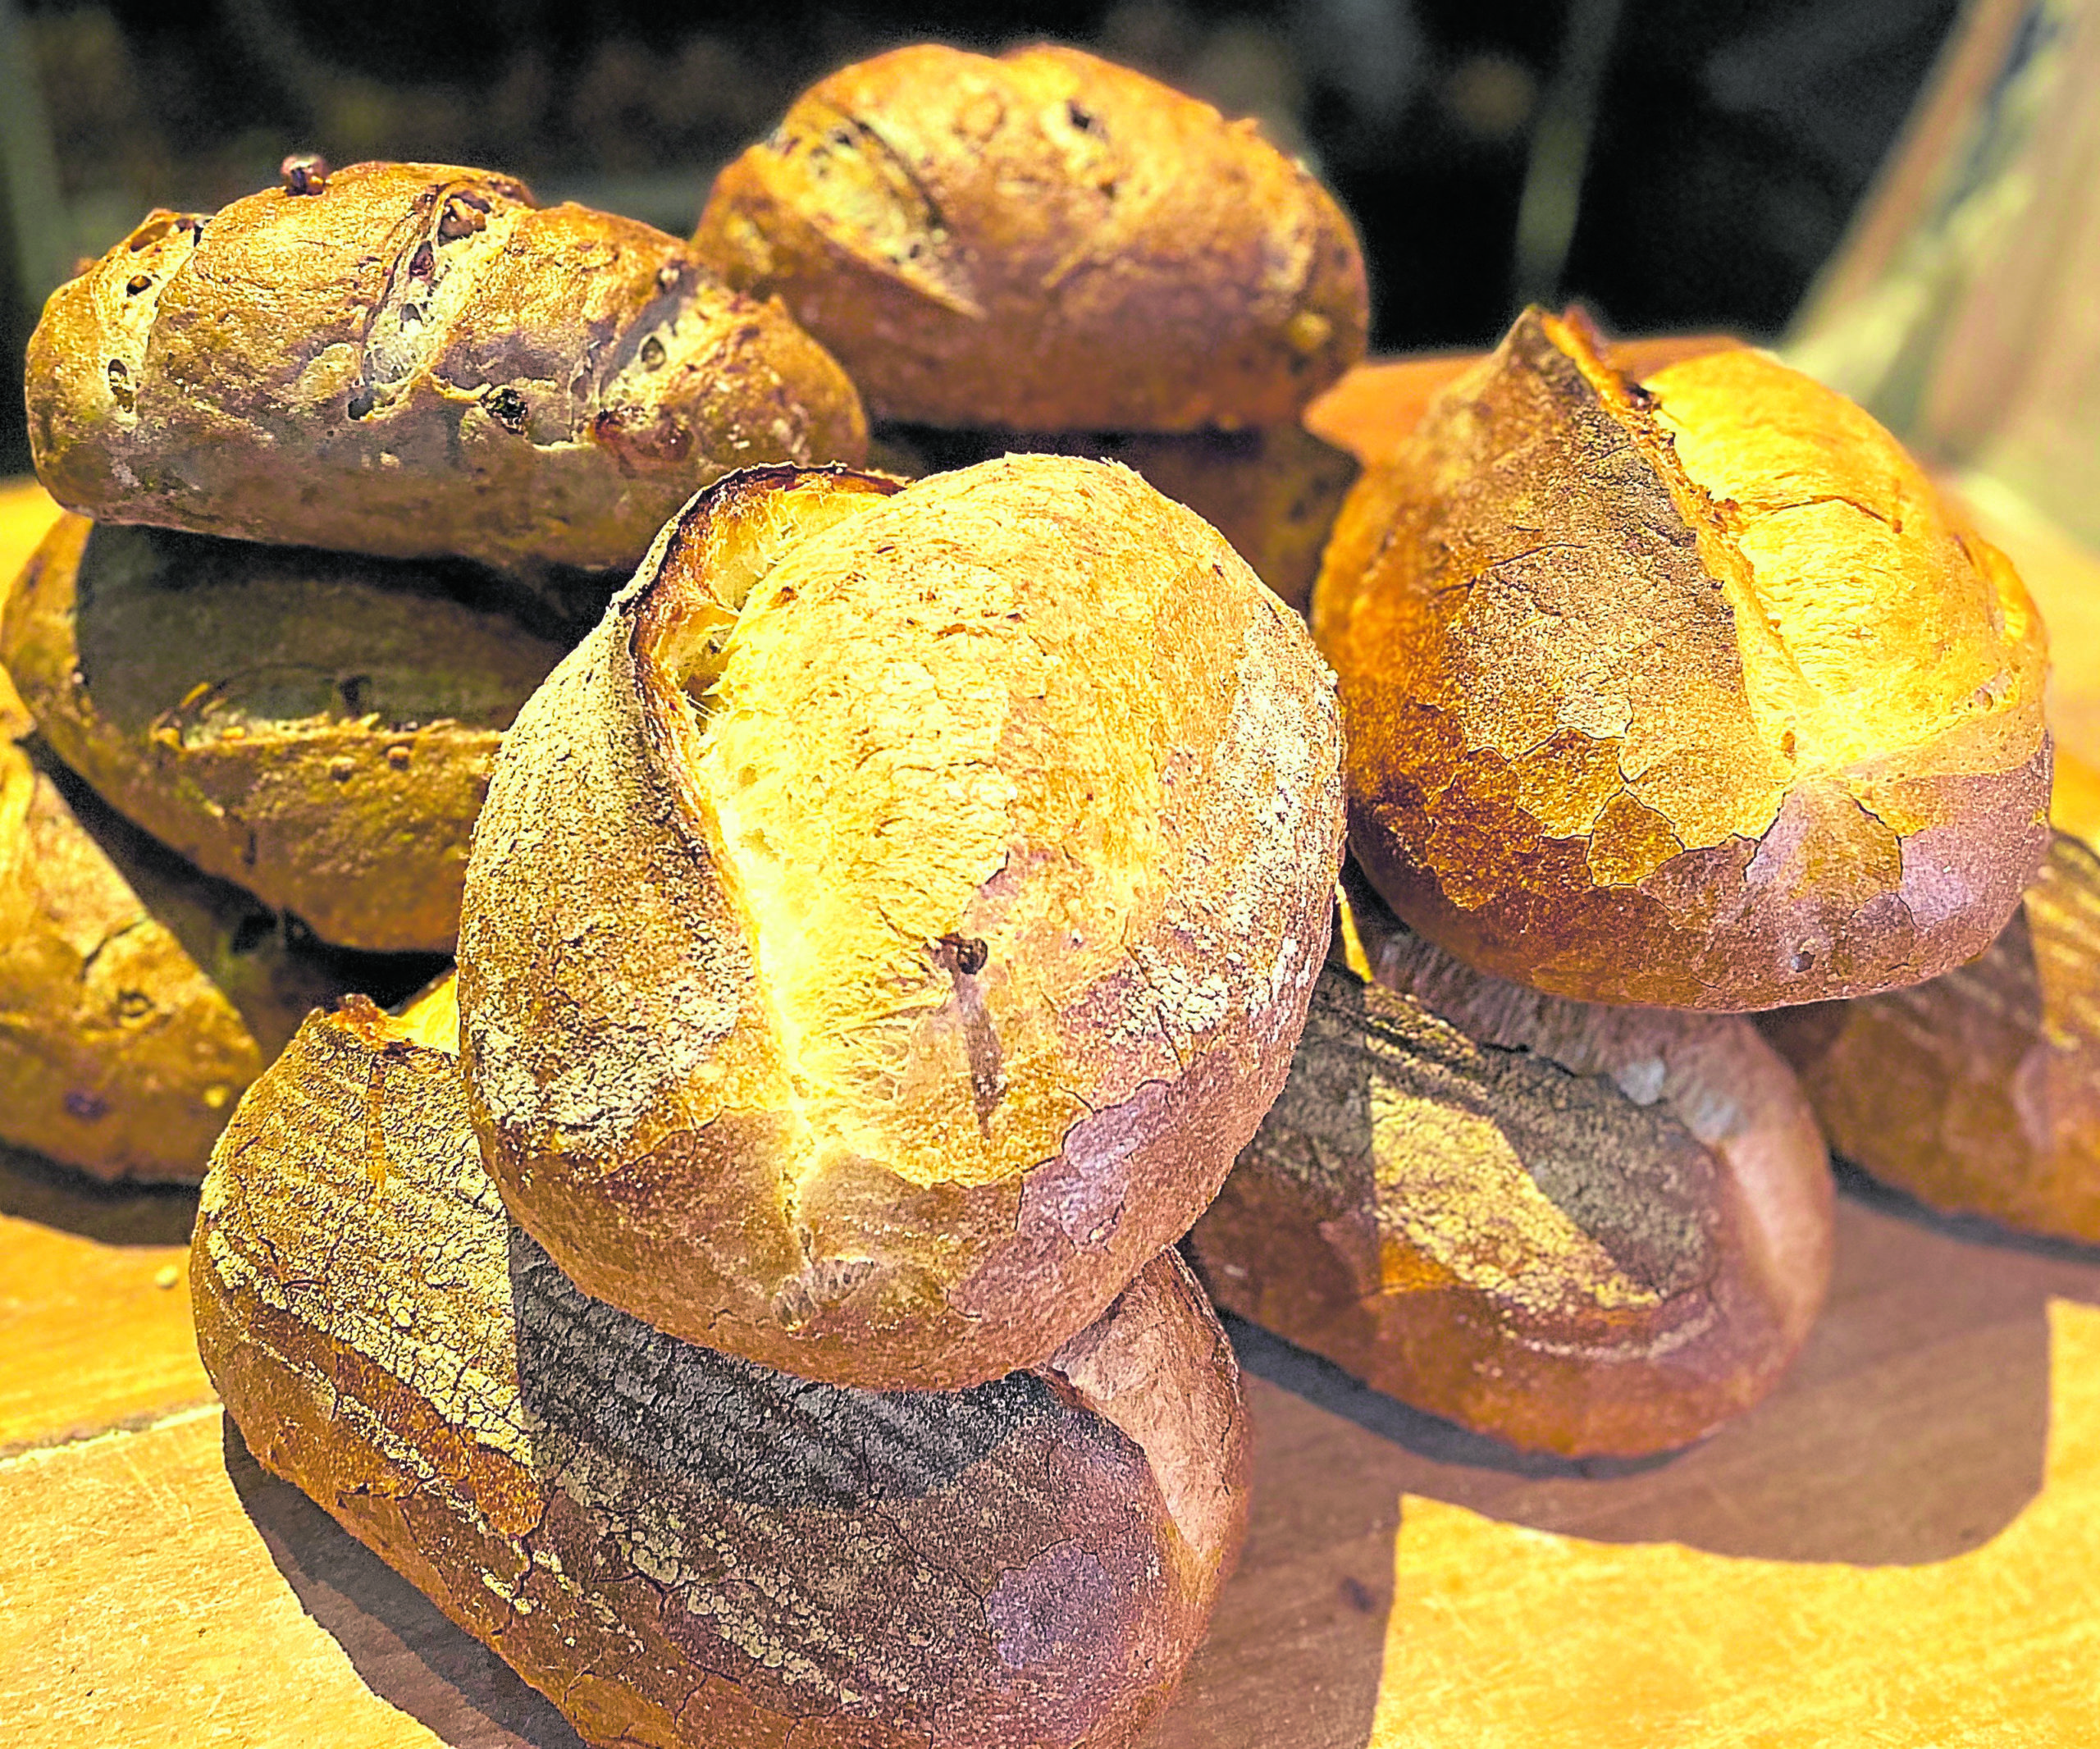
Wildflour’s Sourdough Bread
For the levain:
298 g bread flour
15 g rye flour
199 ml water
251 g starter yeast
For the dough:
1,881 g bread flour
1,317 ml water
48 g salt
1.5 g yeast
Mix all the ingredients for the levain together and transfer to a container. Cover and let sit for 10-12 hours.
Add the levain and the rest of the ingredients to create the dough. Put in the mixer at speed 1 for five minutes, then speed 2 for four minutes. Set aside covered for 90 minutes.
Transfer the dough to a wooden or stainless table. Be sure to dust your table with flour lightly.
Divide and weigh your dough in 800 g portions and shape into boules. Preheat oven to 450F at this point.
Let balls rise until about double in size. Bake for 40 minutes or until golden brown and delicious.
No-Knead Bread
3 c bread or all-purpose flour, plus more for dusting
1½ c water
¼ tsp instant yeast
1¼ tsp salt
Combine flour, yeast and salt in a bowl. Add the water and stir until it becomes a shaggy dough. Cover with plastic wrap and let sit overnight, from 10-12 hours, at room temperature.
Dust your kneading board with flour and transfer dough on it. Fold over a couple of times. Shape dough into a ball and place on a piece of parchment paper, seam side down. Cover with plastic wrap or tea towel for one hour.
Place your Dutch oven or Pyrex dish in the center of your oven and preheat to 450F.
Once dough is ready, lift parchment paper with dough and place in the Dutch oven or Pyrex dish. Bake for 30 minutes with the lid on, then 15 minutes more uncovered to get a golden crust. Let cool before slicing.
Focaccia
2½ c all-purpose flour, more for dusting
1 c lukewarm water
2 ¼ tsp active dry yeast
1 tsp salt
½ c extra virgin olive oil
¼ tsp fresh ground pepper
2 Tbsp each or a combination of chopped fresh rosemary, minced garlic, chopped olives, sundried tomatoes (optional)
Flaky sea salt
In a saucepan, combine oil, black pepper, garlic and rosemary (if using). Heat for five minutes over low heat to infuse flavors. Let cool.
In a mixing bowl, combine lukewarm water with yeast and sugar. Let stand for 10 minutes. Add one cup of flour and combine until flour is wet. Let stand for five minutes. Add the remaining flour, salt and half of the olive oil mixture and mix.
On a floured surface, knead dough for 10 minutes until it forms a smooth ball.
Lightly oil the dough and place in the center of a big bowl. Cover with plastic or tea towel and let rise for one hour at room temperature.
Preheat oven to 450F.
Grease the bottom and sides of a low-rimmed cookie sheet. Lay the dough on the center and spread to cover the bottom of the cookie sheet. Use the tips of your fingers to make indentations. Pour the remaining oil mixture, and garnish with the olives and tomatoes (if using). Sprinkle with sea salt.
Bake for 15 minutes. Cool on a wire rack before slicing.


