Ever since this pandemic started, we have all been scrambling for solutions and sprays and ways to disinfect everything and everyone around us. Lysol and rubbing alcohol have never seen such a surge in demand as they have now. But these expensive solutions can also do us more harm than good when used excessively and recklessly.
How does one disinfect food and every little thing we come in contact with safely and economically? You can do that by shoving your phone, keys, food, pretty much everything except live animals into a UVC sterilizer box you can purchase or make!
Roland Lustado, contractor and designer of Lustado Decore Design Services, shared with us his technique to make one’s own UVC disinfecting box.
Most of the materials are available in your local hardware or online, which makes the project ideal for our present quarantine limitations.
Note: There is a little electrical skill needed, so it’s best to consult with an electrician.
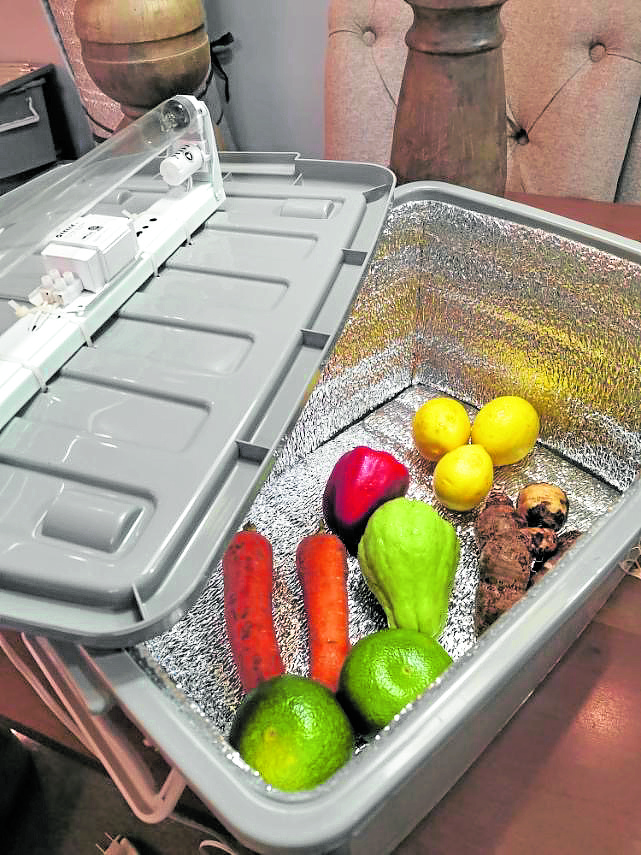
Lustado created a 30-liter capacity box so we can put in more items of varied sizes.
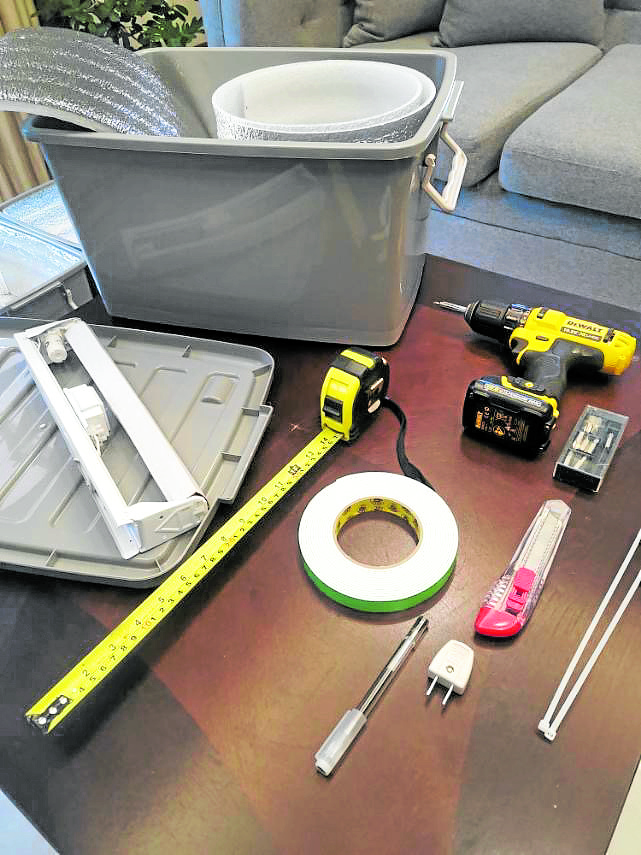
You will need:
130-L plastic box (he used a Megabox from SM)
10-watt UVC bulb with a holder and plug, available in Wilcon or online shops
5-millimeter-thick insulation, available in Wilcon or hardware
Double-sided tape
Nylon cable ties
Drill (Lustado used a Dewalt portable drill)
Cutter
Phillips screwdriver
Meter scale or tape measure
Marker
Scissors
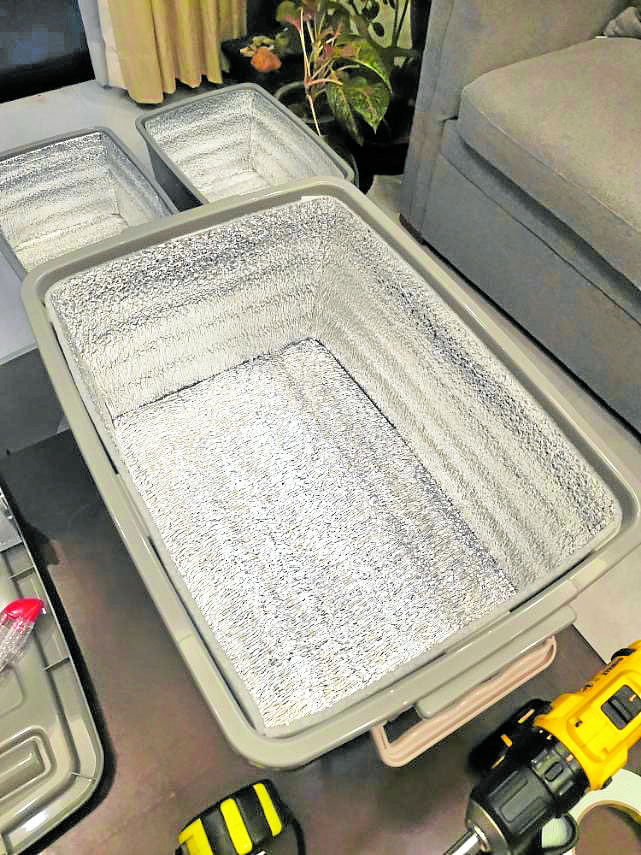
Prepare your plastic container by washing and drying it thoroughly.
Measure the interior sides and bottom using your measuring tape and cut your insulating sheet to size.
Secure the insulating sheet, reflective side out, with the double sided tape onto the sides and bottom of your container.
Make sure that the insulating sheets are well attached to all inner surfaces, with no gaps. You may also line the inside of the cover.
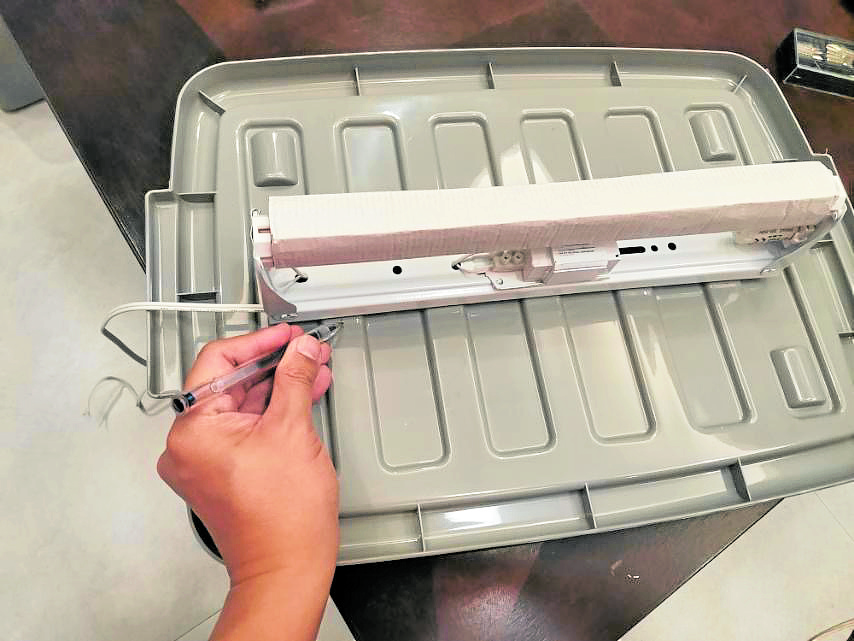
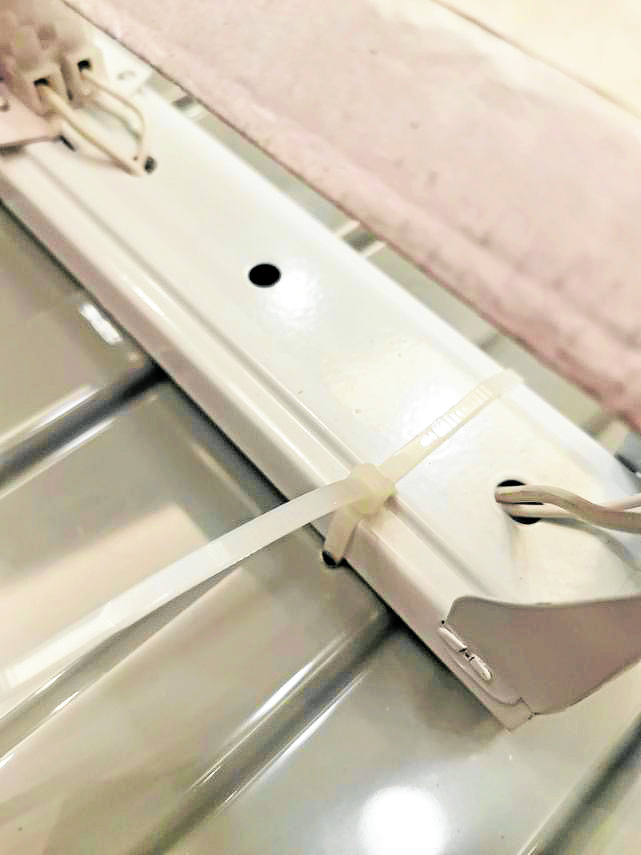
Measure the length of your light fixture and center it on the inside of the cover of your container. Mark both ends on either side for the holes you will need to drill for the nylon cable ties.
Drill holes on the marks you made.
Secure the UVC fixture tightly with your nylon ties.
Now you have your own UVC disinfecting box.
How to use your box:
1. Put your items inside the box and cover securely with the lid.2. Once the UVC light bulb is turned on, it is now operational—disinfecting and sterilizing.
3. It should take at least five minutes to properly disinfect. (See below.)
4. Leave the items in the opened box for at least five minutes to rest.
5. After using your box, remove the cover and allow it to release the O3 ozone for at least 10 minutes. Do this in an open area. Be careful not to inhale the expelled air.
6. Sterilization is complete.
Caution: Do not expose skin to the UVC light. This can cause sunburn.
Sterilization guide:
Five minutes: Documents, notebooks, books
Five to 10 minutes: Fruits and vegetables
10 minutes: Money, face masks, personal protective equipment, other medical tools or highly exposed items
15 minutes: Wallets, bags, keys, shoes, cell phones, analog watches, canned goods INQ
UVC sterilization boxes are also available through Roland Lustado, tel. 0920-9285768.