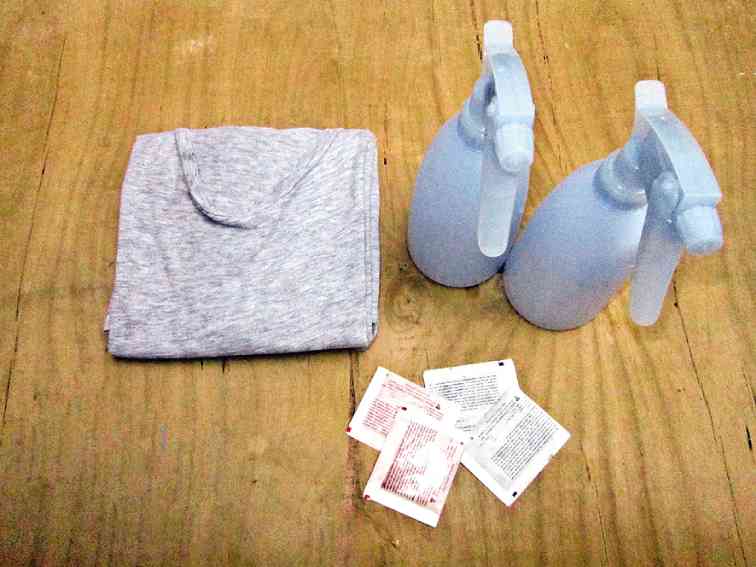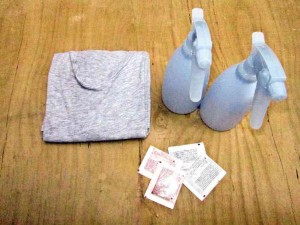
I’m not sure if Mr. Bond is going to be wearing something like this soon, but who knows? Anyway, I’ve been seeing a lot of dyed clothing pieces, ombré to be exact, and I think they’ve all come back from the hippie days. I don’t know if you’re aware of this technique for dyeing clothes, but here’s what you’re going to need to make your spray-dyeing successful:
1. Old plain shirt
2. Dye
3. Spray
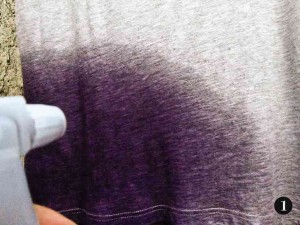
1. Prepare your spray dye. Dissolve the dye in the water of your spray. It’s up to you how dark you want your dye to be, depending on how much water you’ll dissolve it in. You can test it on a cotton ball or tissue just to see how dark or how light your dye is. Hang your shirt where it’s spacious so the spray won’t get anywhere but your clothing. Start spraying from the bottom of your shirt.
2. This is just a sample; since I’m going for a gradient look, you can see that I sprayed the dye up to at least half of the shirt in front and at the back. The design is totally up to you. You can play with two spray dyes with different colors and give it your personal style. After you’re done spraying, let the dye settle and hang the shirt to dry.
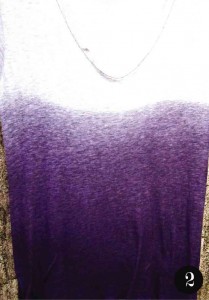
4. Here’s how the dried shirt looks when laid flat. You’ll notice that the second application of the dye made the shirt look like it’s fading toward the center, because it’s darker at the bottom, which I am really happy about. I have achieved the gradient-slash-ombré feel I was going for.
5. Since the shirt that I used is old and tired, but I didn’t want it to take a rest just yet, I decided to crop it into a tank top just to give it a new vibe. Here’s how the shirt looks like after I did the cropping.
You can stop at Step 4 if you want to; I just got really excited for summer. I’ve always been a fan of recycling old clothing. You can bring your old clothes back to life—it’s just a matter of styling and how you mix it up with your other wardrobe pieces. I hope you had fun playing with the spray and doing this DIY with me. Remember: Why buy, when you can DIY?

